
The first time I roasted pumpkin seeds, I burned the crap out of them.
It was heart-breaking, especially since I wasn’t convinced it was even worth the effort in the first place. All that seed cleaning and pumpkin de-stringing – I didn’t even get to enjoy the fruits of my labour. Hrmph.
Here is the part that no one told me about: The inner seeds cook much faster than the outer shell. I kept peeking in the oven and everything looked fine on the outside. Little did I know, the inner seeds were burnt to smithereens.
Well, thank goodness I didn’t give up after that first miserable attempt! My life just wouldn’t be complete without roasted pumpkin seeds.
I’m happy to say, the second batch didn’t just work, it blew my mind! The cup of seeds I roasted did not last long between the two of us. Every pass by the kitchen was an excuse to grab a crispy handful off the pan.
Today, I’m sharing my secrets for a fantastic batch of roasted pumpkin seeds. If you’ve ever doubted they were worth the effort or had so-so results, I beg you to try this one last time. Only I know it won’t be the last time, but the start of a life-long obsession. Watch out pumpkins, we’re coming for ya!
How To Roast Pumpkin Seeds:
1. Clean the seeds. The annoying-but-necessary task is that you have to meticulously clean the seeds until there are no signs of pumpkin guts. The best way to do this (that I have discovered from your comments!) is to plunk the seeds + guts into a big bowl of water and use your hands to break it apart. The seeds will float to the top of the water! They clean much faster this way.
Note: Some of you say that sugar pumpkin seeds yield much crispier seeds than carving pumpkins. I used sugar pumpkin seeds and mine were certainly super crispy!

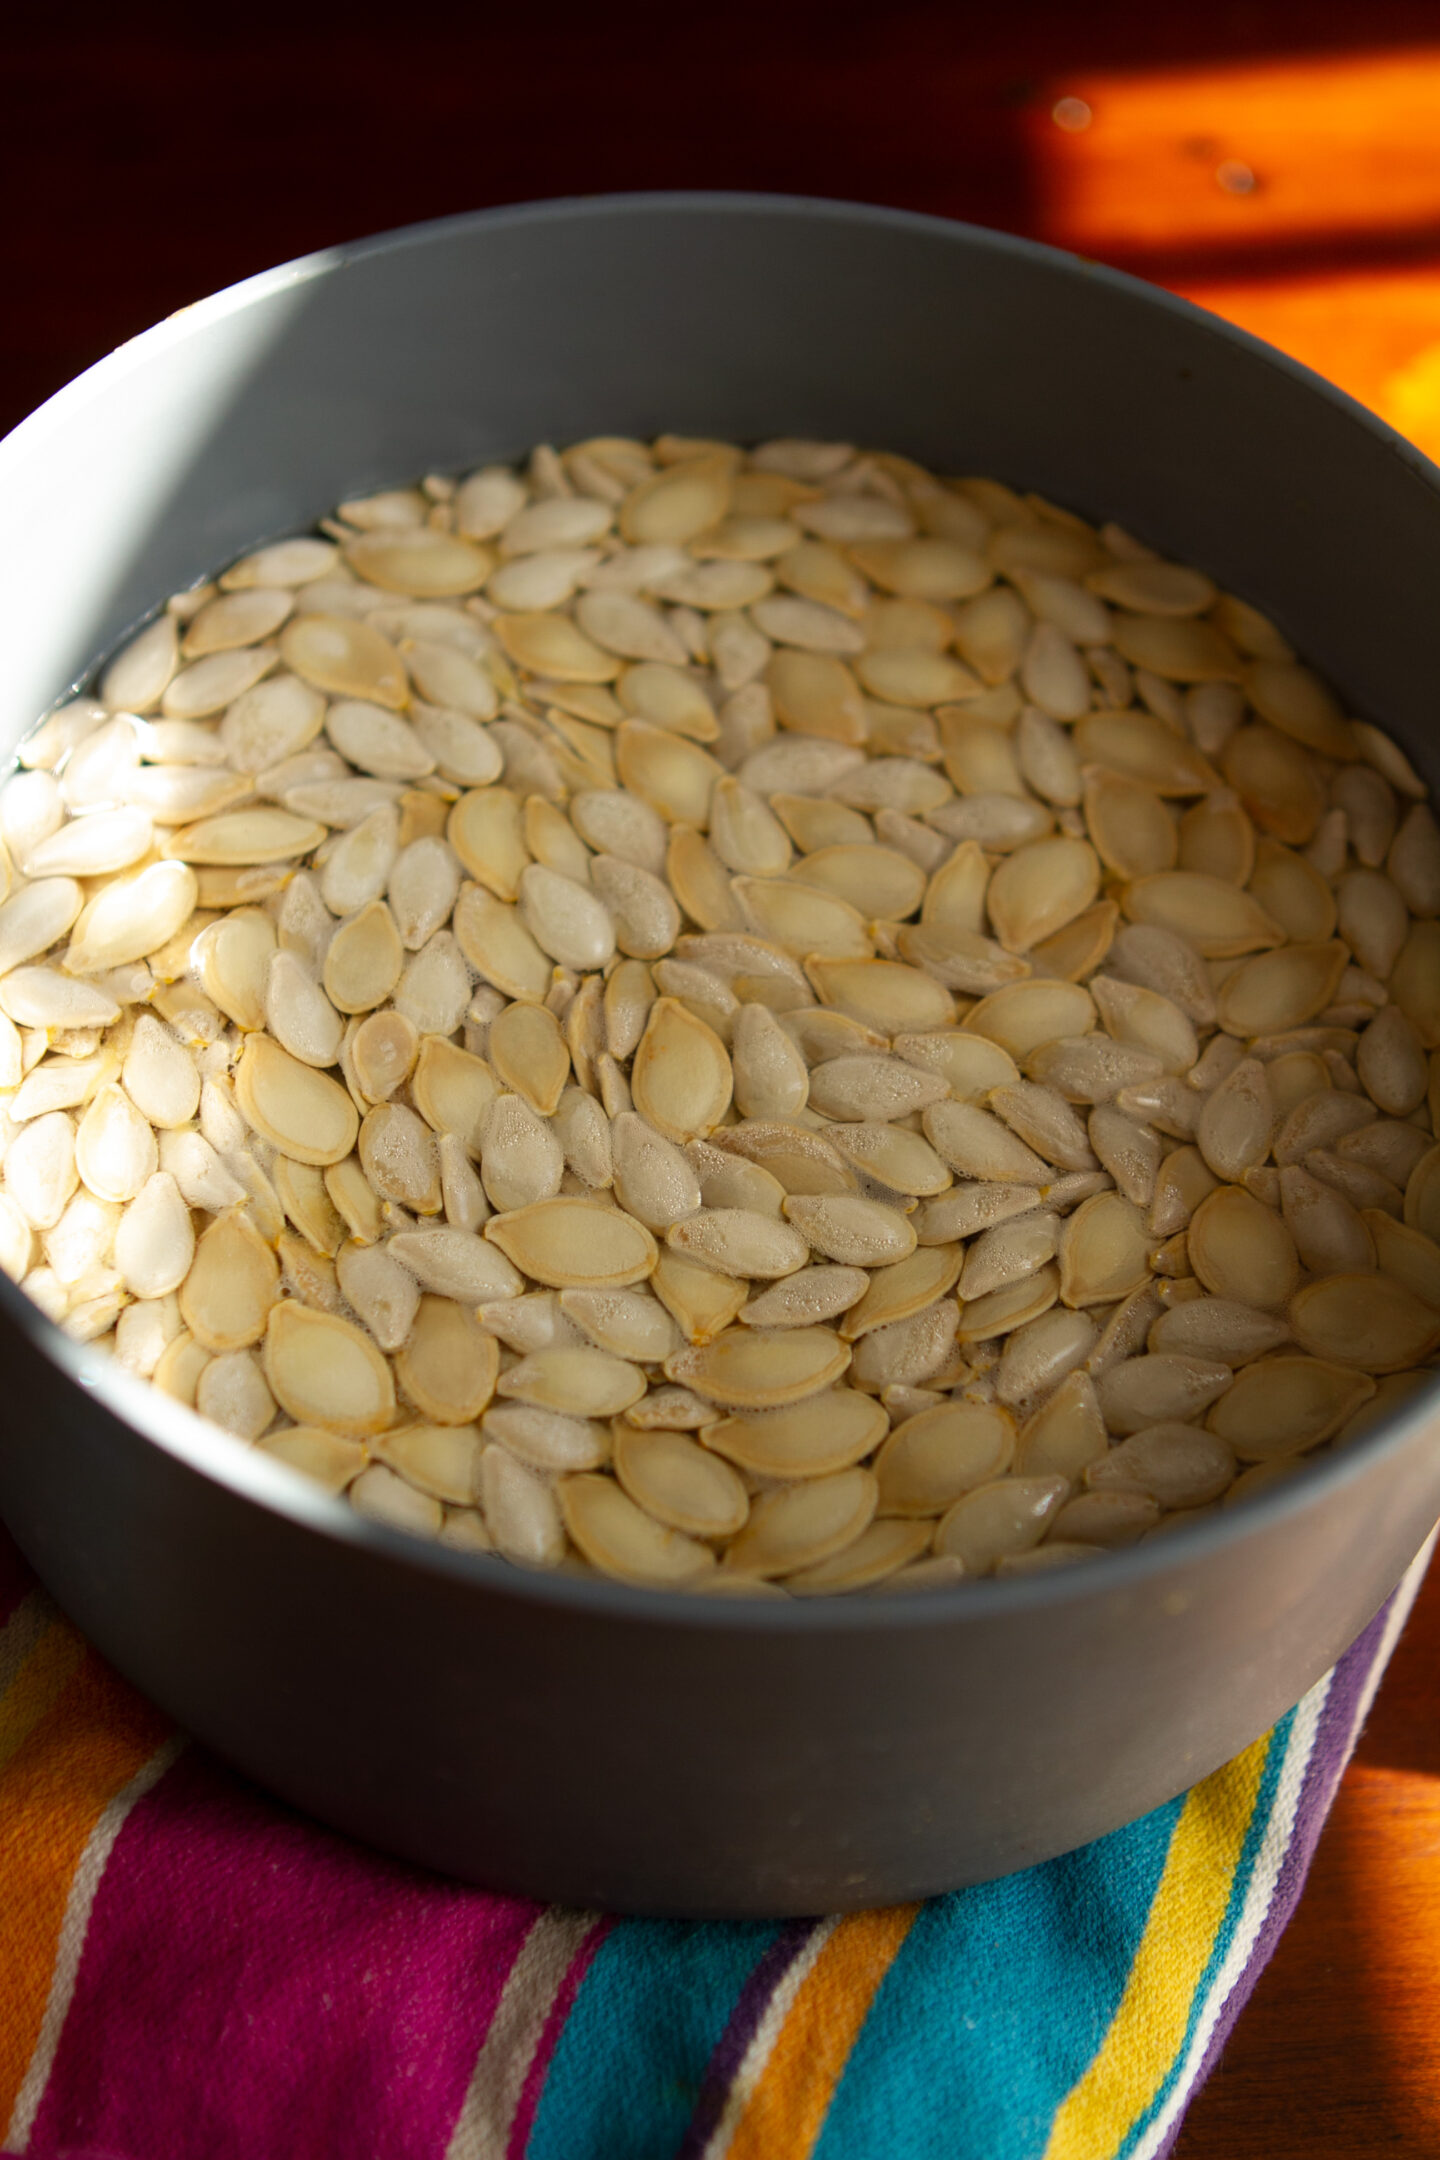
2. Boil for 10 minutes in salt water. Using Elise’s method for inspiration, I added the pumpkin seeds to a medium-sized pot of water along with 1 tsp salt. Bring it to a boil and reduce the heat to simmer, uncovered, for about 10 minutes over low-medium heat. Apparently, this method helps make the pumpkin seeds easier to digest and produces a crispy outer shell during roasting. If you are short on time, you can totally skip this step! They will still turn out lovely.
3. Drain the seeds in a colander and dry lightly with a paper towel or tea towel. The seeds will stick to the towel, but just rub them off with your fingers. Don’t worry, they don’t have to be bone dry – just a light pat down.
4. Spread seeds onto a baking sheet and drizzle with extra virgin olive oil (I only needed to use about 1/2-1 tsp). Massage oil into seeds and add a generous sprinkle of Herbamare (or fine grain sea salt will do). Try to spread out the seeds as thin as possible with minor overlapping.
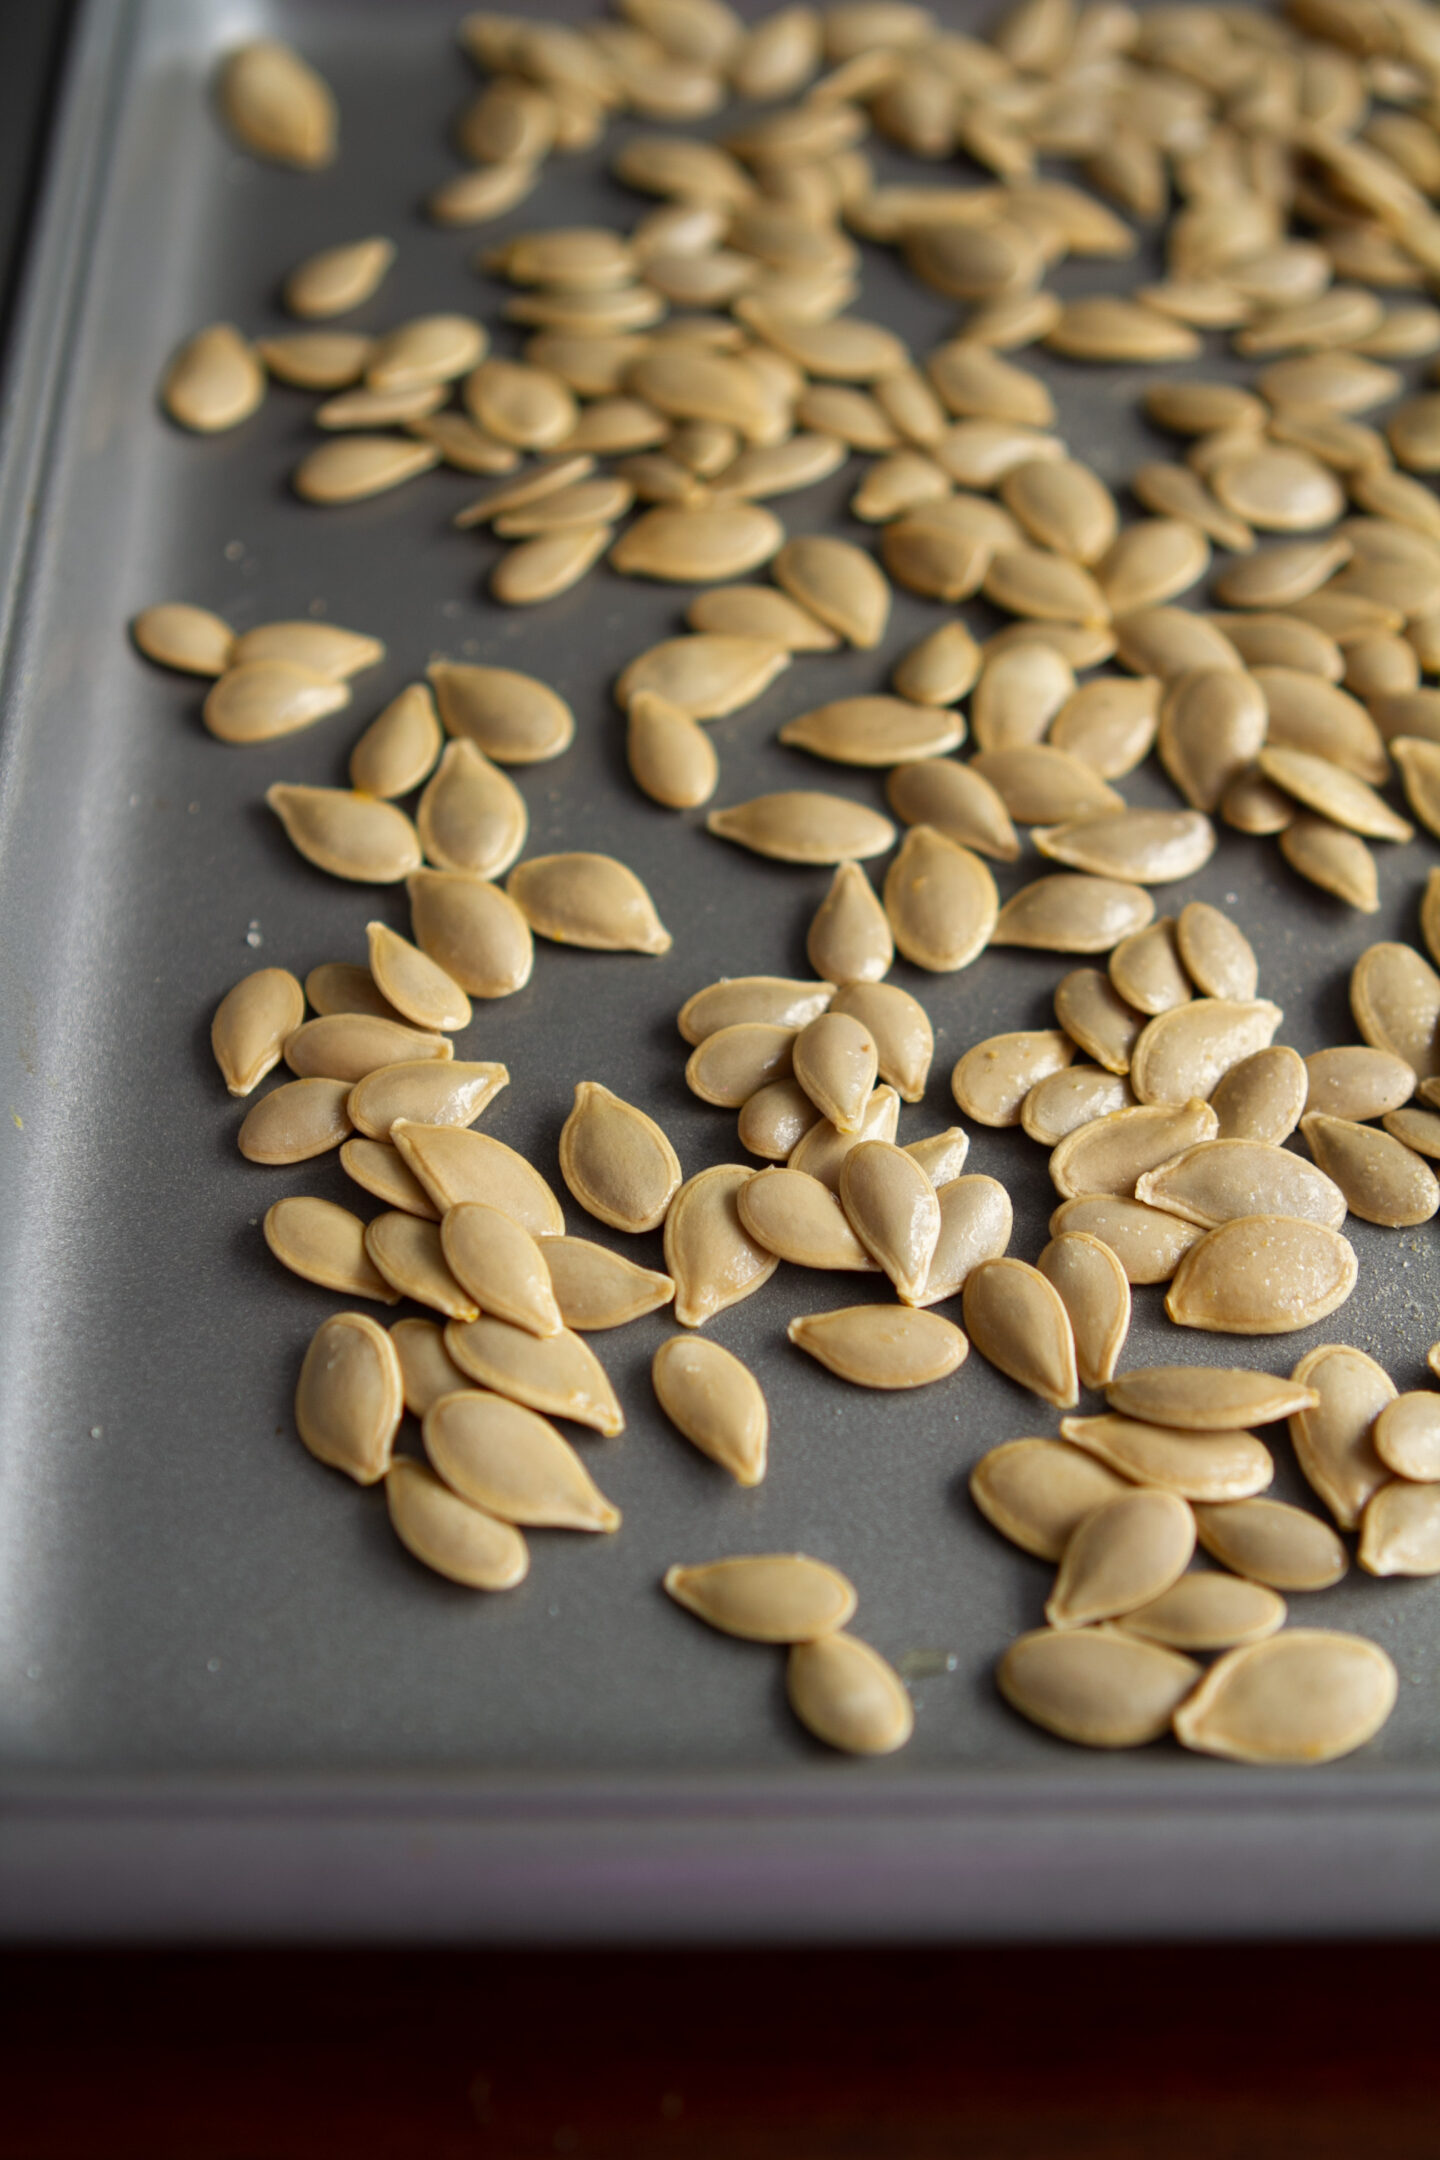
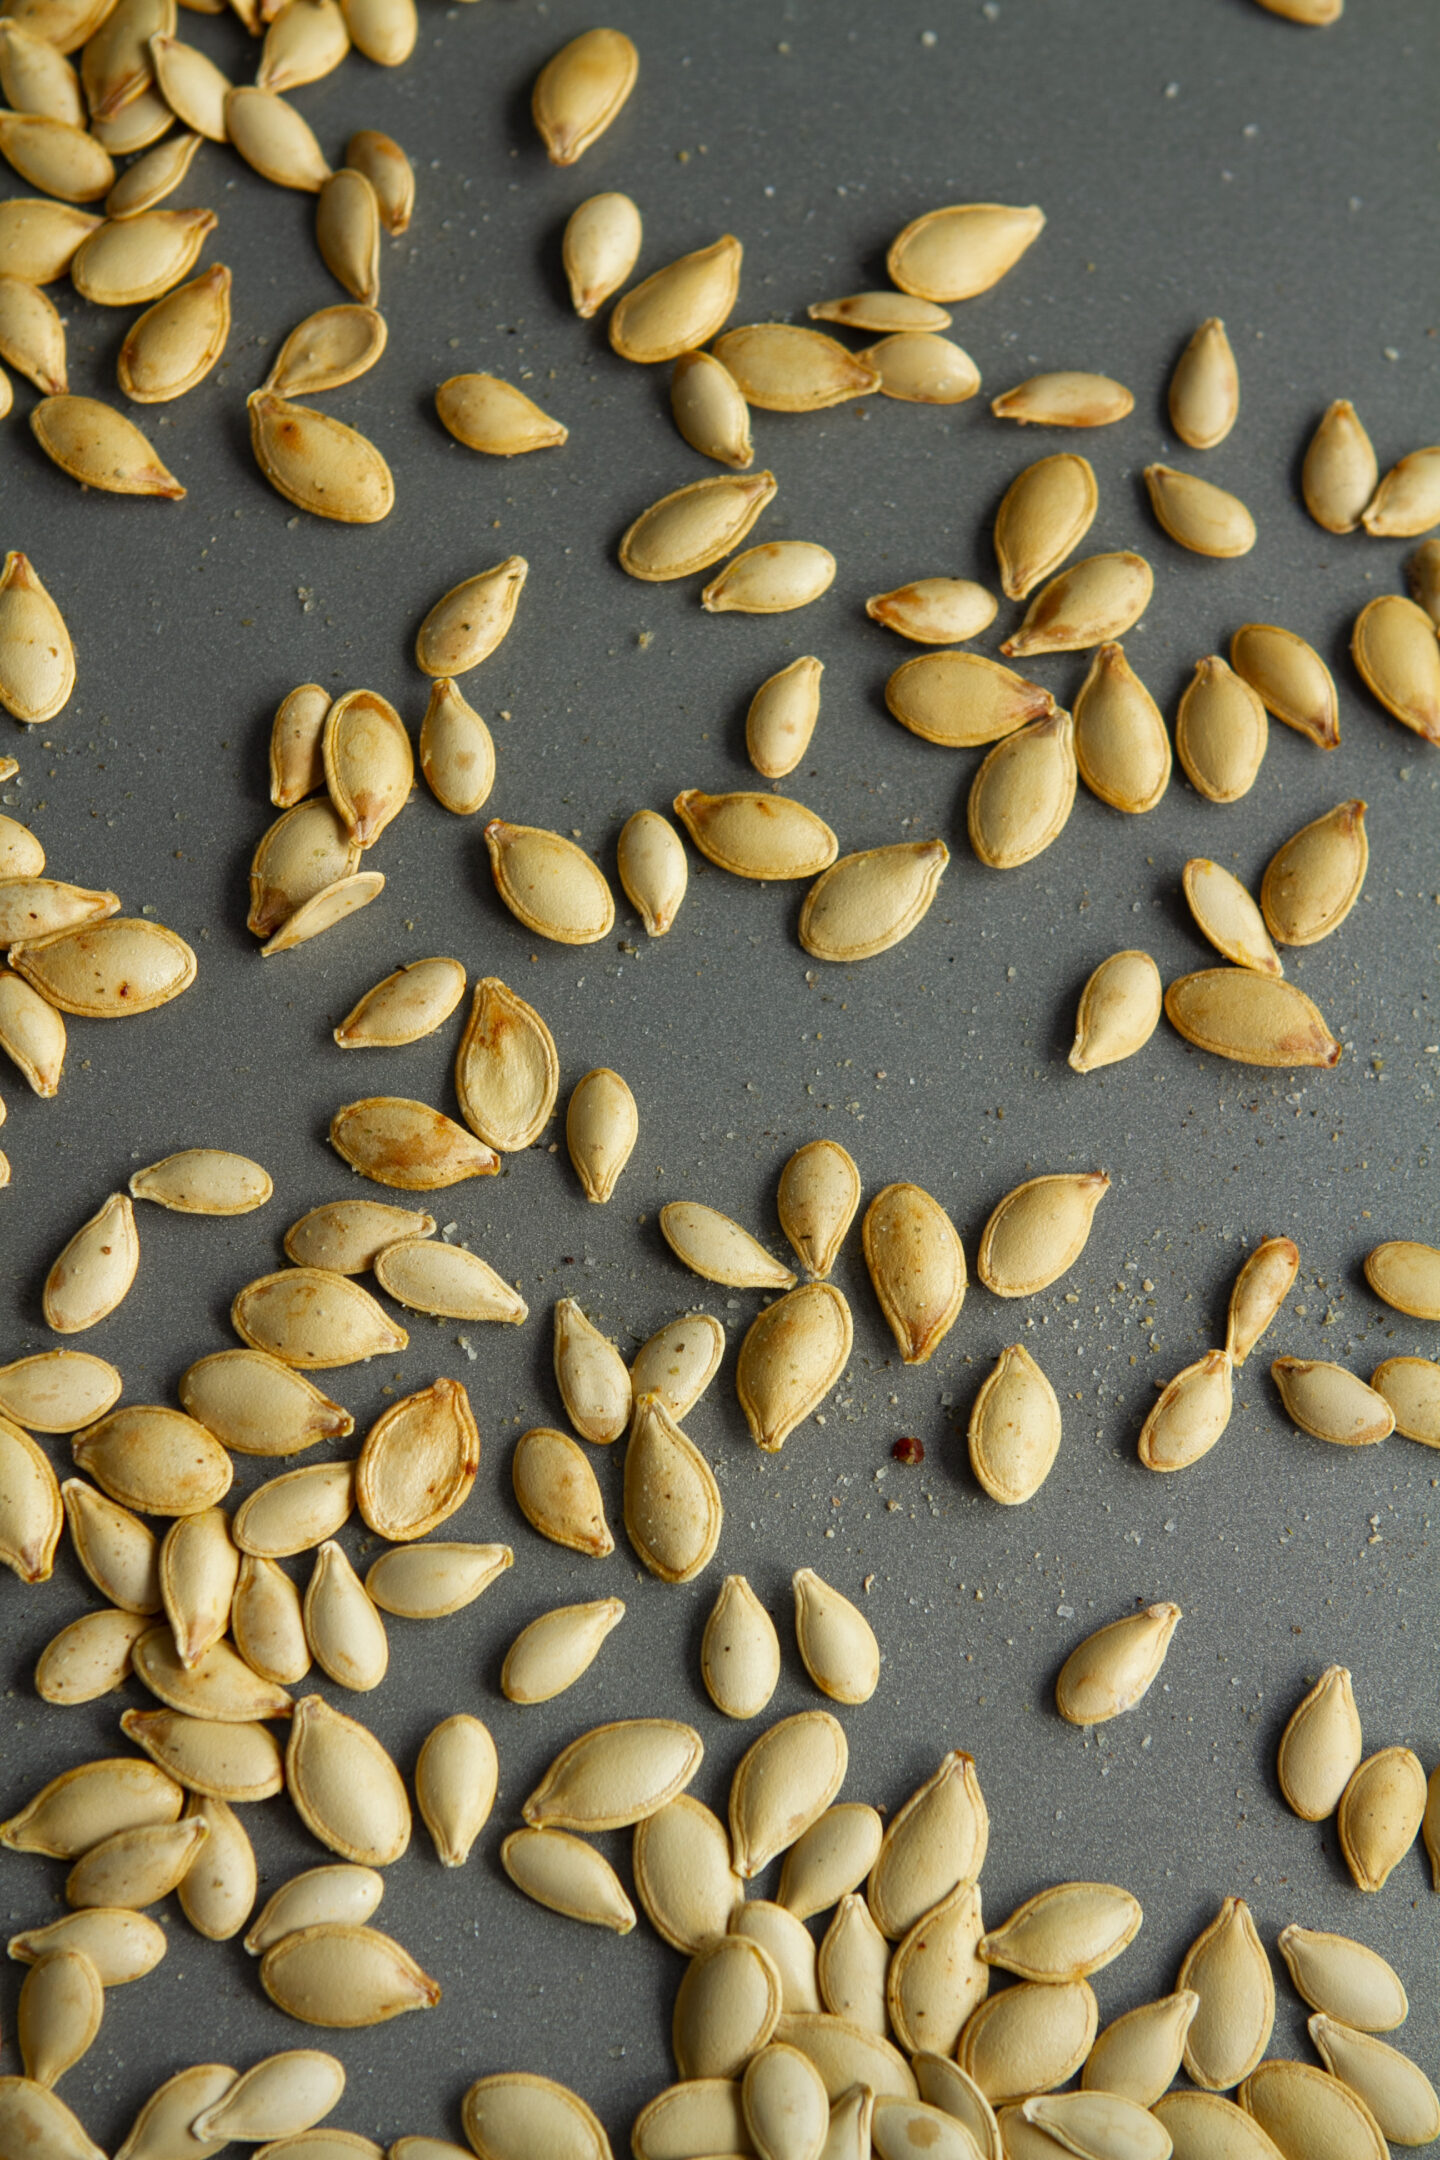
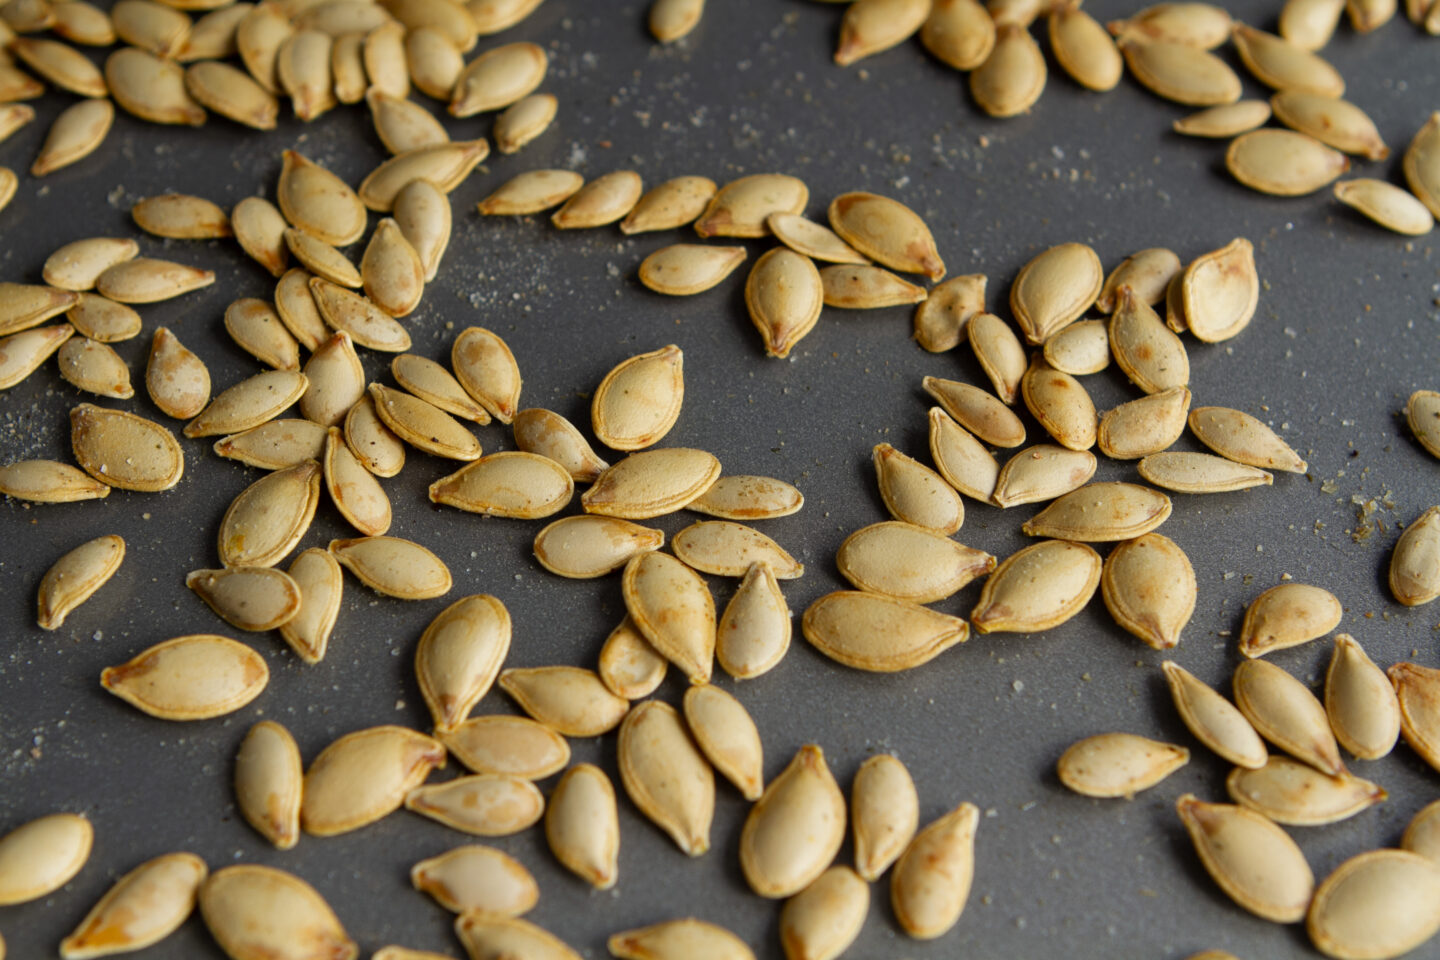
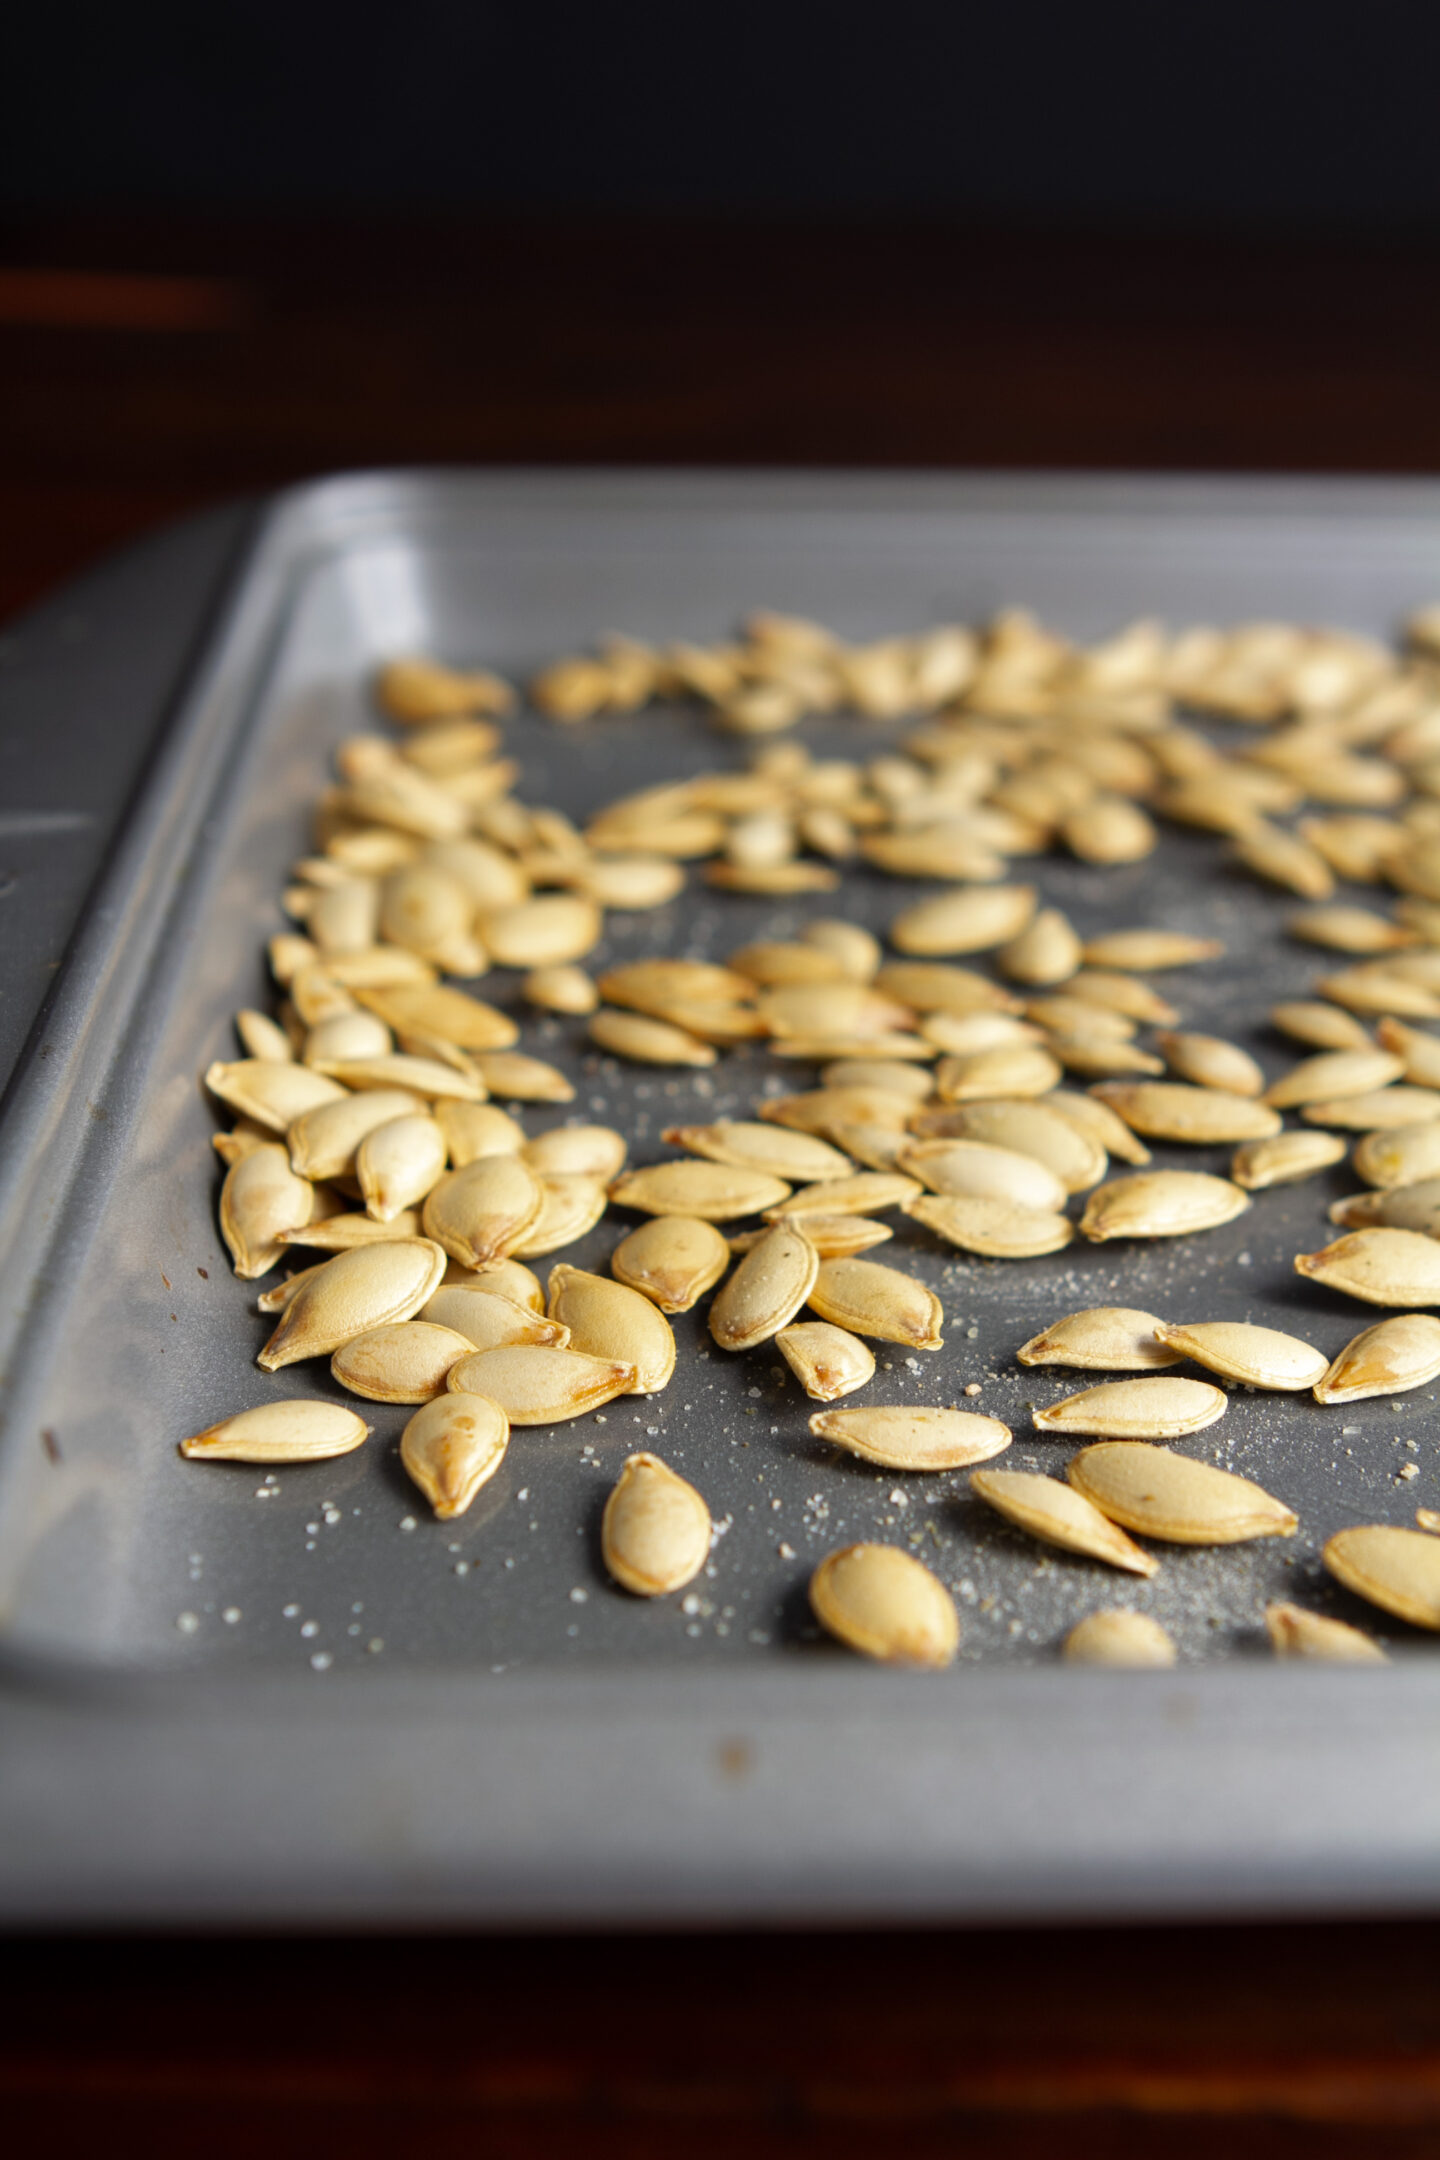
5. Roast seeds at 325°F for 10 minutes. Remove from oven and stir. Roast for another 8-10 minutes (if your oven temp is wonky, this bake time could vary a lot!). During the last 5 minutes of roasting, remove a few seeds and crack open to make sure the inner seeds are not burning (you don’t want the inner seed brown). Cool a couple and pop them into your mouth to test. They are ready when the shell is super crispy and easy to bite through. The inner seed should have only a hint of golden tinge to it. They should not be brown.
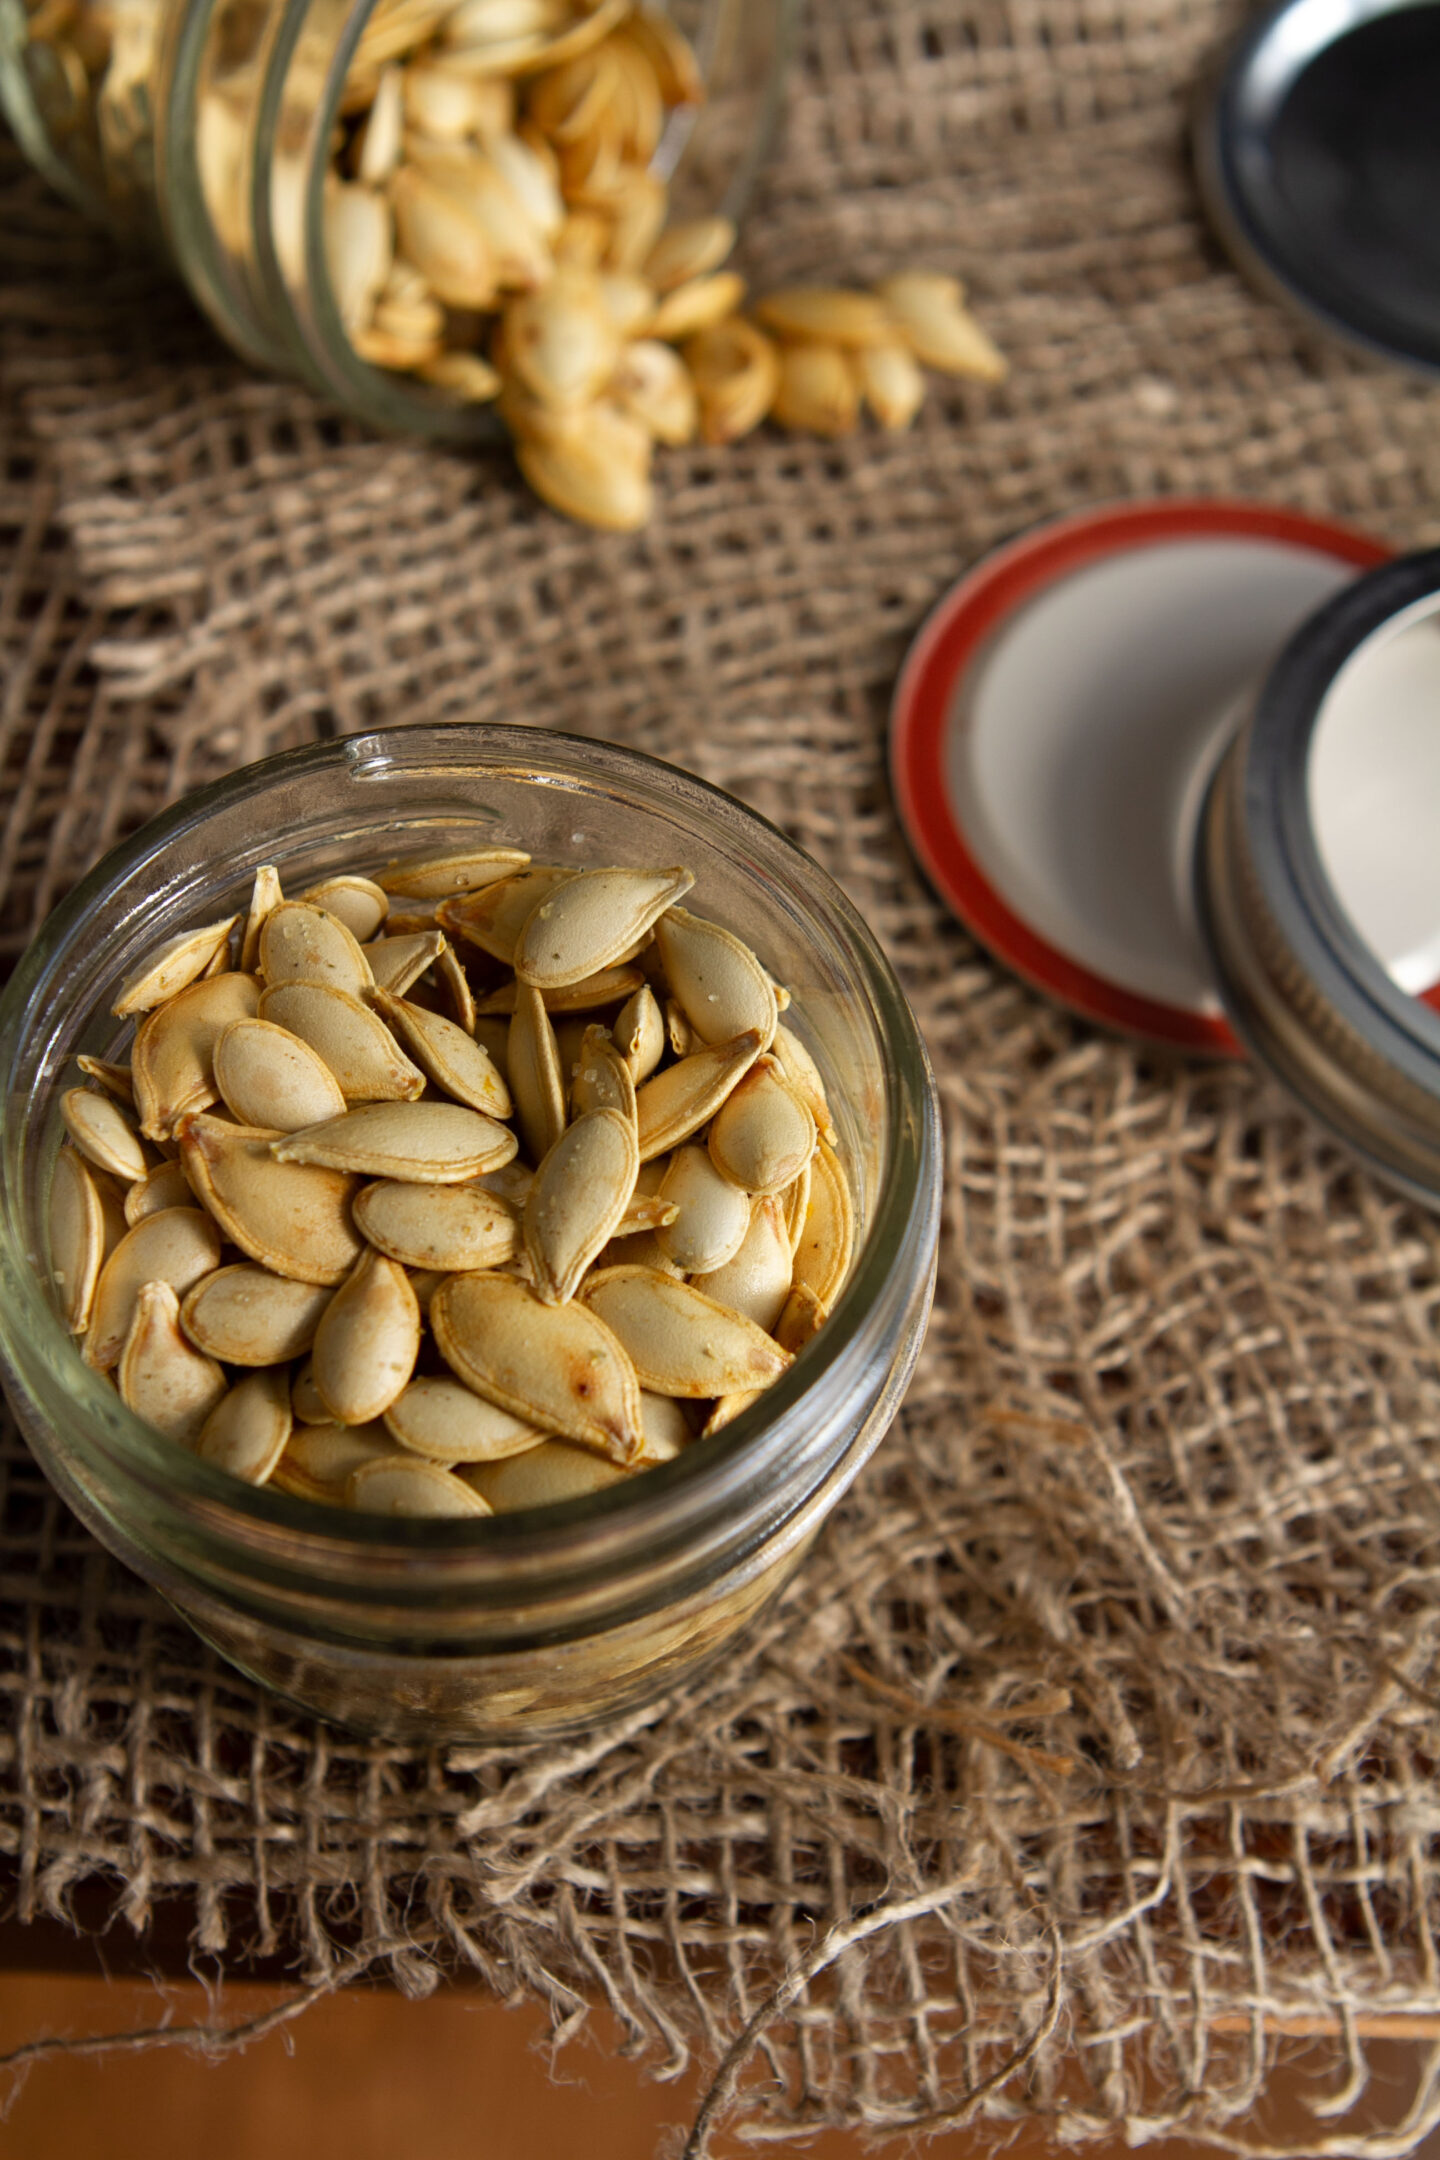
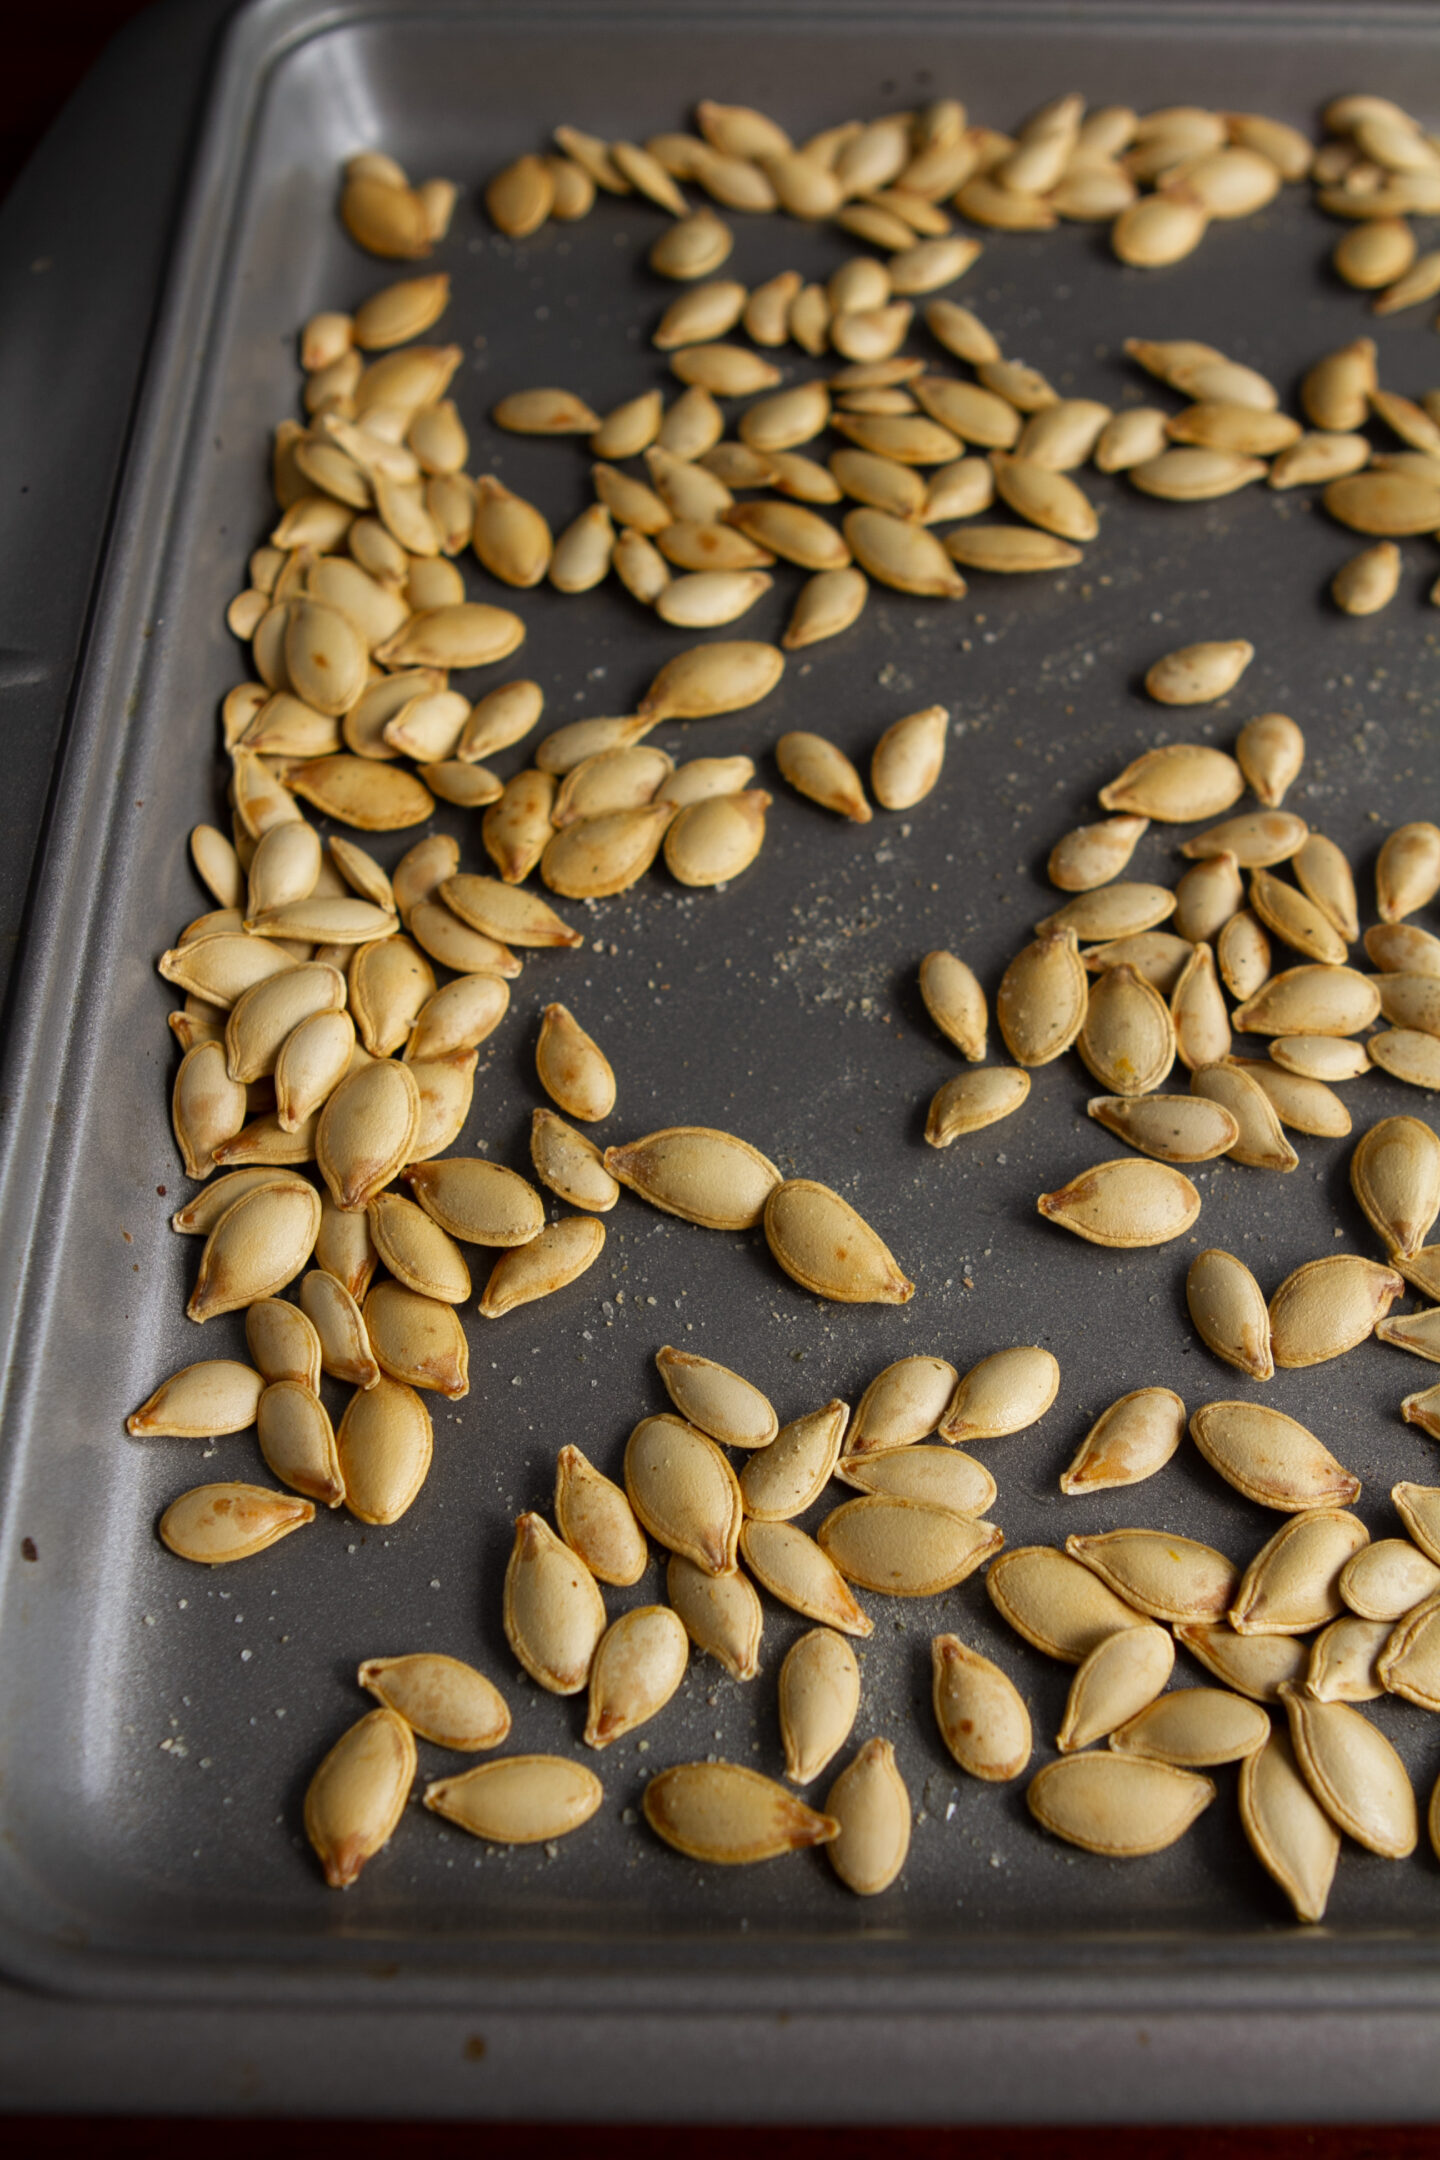
6. EAT! Remove from oven, add a bit more Herbamare, and dig in! Ah, so good, so good! There is no need to remove the outer shell; it’s quite possibly the best part.
I had no idea I was going to love freshly roasted pumpkin seeds so much. I love how crispy the outer shell is and how fun it is to crunch. They taste a bit like popcorn, but they are much crunchier, filling, and of course packed with nutrition.
Yes, pumpkin seeds are super healthy for you! They are packed with iron, magnesium, fibre, zinc, potassium, healthy fats, protein, and tryptophan (which can boost your mood and help you sleep). Vegans & vegetarians have been using pumpkin seeds for years as a natural source of iron. I think it’s just about my favourite way to get iron, next to Iron Woman Gingerbread Smoothies, of course. Be sure to pair it with Vitamin C to absorb the most iron you can.
7. Share with some very lucky people! (but chose them wisely…)

I promise you’ll never throw the seeds out again.
I want to buy pumpkins just to be able to roast another batch of seeds. And of course, make homemade pumpkin puree. I’m already looking forward to making some different flavour combos – maybe garlic powder, cayenne, rosemary, brown sugar or cinnamon, nutmeg, ground cloves, etc would both be nice to try out? I can’t wait to experiment…many ideas are a-swirlin’ in my…stomach.
Looking for more pumpkin recipes?
Creamy Pumpkin Pie Smoothie for Two
All Natural Pumpkin Butter from Scratch (the bomb!!)
Pumpkin Pie Chia Pudding Parfait
and more than 20 more pumpkin recipes!
What spices would YOU put on your roasted pumpkin seeds?


Featuring all new, protein-packed salads, hearty toppers, flavour boosters, and dressings you'll want to drink, my new cookbook will transform the way you think about salads. Oh, and be sure to flip to the back for a surprise dessert chapter!

How to Roast Pumpkin and Seeds

Yield
4 cups flesh, 3/4 cup seeds
Prep time
Cook time
Total time
This is my go-to method for roasting a sugar pumpkin and its seeds at the same time! Most recipes tend to provide instructions on roasting them separately, but I wanted to come up with directions on how to roast them both simultaneously. And, luckily, I've discovered it couldn't be easier.
Ingredients
- 1 sugar pumpkin (2 1/2 to 3 pounds)*
- Extra virgin olive oil
- Pink salt, fine sea salt, or Herbamare
Directions
- Preheat the oven to 325°F (160°C) and place two racks near the centre of the oven. Grab two rimmed medium-sized baking sheets and line one of them with parchment paper.
- Fill a medium-sized bowl with water and set aside. Lie an absorbent towel onto the counter next to the bowl.
- Slice off the pumpkin stem and discard.
- Place the pumpkin, cut side down, onto a cutting board. Carefully slice the pumpkin in half.
- Scoop out the pumpkin seeds and flesh/strings and place it all into the bowl of water. The seeds will float to the top (like magic!). Using your hands, grab the big chunks of flesh and pick off any attached seeds. Place the seeds back into the bowl of water. Discard/compost the chunks of flesh.
- Use a slotted spoon to remove the seeds. Let excess water drip off and then place the seeds onto the towel. Blot dry (the seeds don’t have to be bone dry and it’s okay if there are some strands attached—they add flavour!).
- Spread the seeds onto the baking sheet without the parchment and toss with 1 teaspoon of oil. Spread the seeds out into a single layer and sprinkle with salt.
- Mist or spread oil all over the inside of each pumpkin half and then sprinkle with salt and pepper. Place each half cut-side down onto the lined baking sheet.
- Place both sheets into the oven with the seeds on the lower rack. Roast at 325°F (160°C) for 20 minutes then remove the seeds and taste test a couple. As long as the inner seeds aren't tasting burned, you can keep roasting them. I usually return the seeds to the oven for another 3 to 4 minutes. Remove the seeds and cool.
- Leave the pumpkin in the oven and increase the oven temp to 350°F (180°C). Continue roasting the pumpkin for another 12 minutes or so, until fork-tender. (The timing may vary based on how large and fresh your pumpkin is.) At this point you can slice it up and serve it as a side vegetable with your meal, or process/blend the flesh to make homemade pumpkin purée.
Tip:
- * One sugar pumpkin (roughly 2 3/4 pounds) yields about 4 cups (720 g) of roasted pumpkin flesh and 3/4 cup (75 g) seeds.


So… of course, as others have mentioned, if you squeeze the guts while still in the pumpkin, they’ll pop right out, separating from most of the strings. Then you’ve got to get the last remaining bits, right? I don’t know if anyone else has said/tried this, but here’s what I found (sort of by accident)–
I had the seeds in a colander and ran hot hot water over them (as hot as it comes from the tap). I put on my dishwashing gloves (the yellow rubber kind with the diamond-print texture on the palms– this is key). I found that if I then used my gloved hands to swish the seeds around in the running hot water, then strained them with my fingers (just small handfuls at a time), the remaining pulp would separate from the seeds and stick to my gloves. Worked like a charm!
OMG these were gorgeous thanks you legend!
clean pumpkin seeds by fill a bowl with water swish seeds there ya go
You legend!
Secret to washing the seeds is washing them immediately after removing them from the pumpkin. If they dry a bit with the pumpkin string, it makes the task muck more time consuming.
I found it so easy to clean them in a strainer by simply grabbing a handful at a time and rinsing under water. Removing the big pieces u see and can grab. Then keep straining,, if your fossett can do a hard water. Shoot them under that,, all the pumpkin will go to the bottom of the strainer,, so just watch ur bottom seeds. Only took me 10 minutes
I have found if you use a wire mesh strainer the remaining flesh will just push through the wire mesh leaving your seeds very clean.
just followed this recipe…..finally a recipe that works. I did bake 10 minutes, stirred and baked an additional 4 minutes. they turned out great!! First time I really enjoyed home made pumpkin seeds, thank you!
I can tell you how to clean the pumpkin seeds. You have to do it as you gut the pumpkin and there is a methodical way to do it. If you take the vein tha has the cluster of seeds on it, garb the seeds about half way down. Squeeze the seed like you’re trying to “squit” it back towards the palm of your hand. Your palm of your hand should have mostly clean seeds in it! As I gut a pumpkin I place the seeds in a separate bowl. The bowl needs to be pretty good size. After you’re finished gutting all your pumpkins, take bowl to sink and run the hottest water you can get out of the faucet into the bowl. I let them soak while I clean up the pumpkin guts and finish scraping the insides of the pumpkins so they are ready to carve. Any guts that were left on the seeds have sunk to the bottom of the bowl! From here I get a large slotted spoon and take seeds out and put them into a colander. The seeds always feel slimey and that’s normal. Rinse e seeds one last time while in the colander. I boil the seeds but not to make them crispier but so the salt soaks into the seeds so I don’t have to oil them as some recipes say to. After they are boiled and placed on the sheet pan I sprinkle salt on them. At this point they do NOT need oil for the salt to stay on the seeds. That is if you think you’ll need more after boiling them n salt! I add a little more because I like the saltier taste but you have to be careful. Feel free to email me if I haven’t explained it well enough!
Hi Kelly, do you know what will happen if I boil them for too long? I put them on to boil and forgot about them! :) I hope I did not ruin them :)
Boiling these ruined my seeds! I usually make pretty good seeds in all kinds of flavours but nothing tastes good on these. Yuck. I can’t believe so many people had such good results. I agree with those that say to not over rinse and leave some guts on. More natural means more nutrients and better taste in my opinion.
well i just burnt my second batch of squash seeds, this time acorn flavor but i now know i should have taken them out when they first started popping instead of going “huh??” and watching the miniature explosion going off in my oven.. also the temperature was too high and the seeds were probably a bit too dry.
But for getting the gunk off, I actually use scissors and cut the seeds off all the stringy bits and then rinse them and then to dry, i put them in in a baking pan, sit it on top of the stove while i cook the squash and they dry in no time..maybe too dry that way!
onwards on my squash journey..
Wow!! My first time as a mom baking pumpkin seeds. Your receipt was spot on. We loved them as a family. Thank you!!
Tried your way tonight! Boiled them in salt water. I drained them through a colander and poured them into a shallow bowl. I patted them dry then mixed a teaspoon of salt and a teaspoon of sugar together and poured it over the damp pumpkin seeds. I spread them out over a cookie sheet then baked them for 15 minutes at 350 degrees. Very tasty! Thanks!
So I made the carving pumpkins andbaked the seeds off for another 10 minutes to crisp them up. They didn’t brown inside. The outer shell is just less chewy and they are great.
To get the seeds clean more easily, put all of the goop in a large bowl or sink full of water. The seeds float, making it much easier to get them free. I then put them in a second bowl of water and mixed them around to get the little scraps off. Then I used a small strainer to skim the seeds off of the top of the water. Much easier than picking the seeds out of the gllop!
If your put seeds into big bowl and fill with water, the seeds will float to the top. Skim them off with very little pumpkin to remove.
I find that when trying to de-string the seeds if you have your seeds in a large enough basin (I wash my sink and then fill it up with water to de-string) I just use a whisk and whisk really hard and fast and the whisk tends to tangle the string to itself and snap the seeds free.
Yummy! My first time ever roasting pumpkin seeds! I followed your recipe, except I used regular salt, and they turned out wonderful!! Thanks so much!!
I made my first batch last night :) They came out great! After boiling them, I tossed them in 2 Tbsp. Olive oil, 1 teaspoon Worcestershire sauce, 1 teaspoon garlic powder and salt to taste. I had 4 pumpkins worth of seeds, so my batch was large. I baked at 325, stirring and tossing every 10-15 minutes. It took about 45 minutes but they were so good! Tonight I put the second batch of seeds to boil, and forgot them for about 1.5 hours! Does anyone know what will happen to the seeds? Did I ruin them?
Use a kitchen aid salad spinner to remove pumpkin guts….works like a charm.