
Murphy’s Law: You will have troubles with your Furnace during a cold-snap.
Thank goodness for space heaters!
Our heat has been wonky last night and this morning and the house feels like an icy igloo. I woke up this morning feeling like I’m coming down with a cold too. My poor body is just trying to stay alive!
Right now, I have my space heater so close to me, I could melt, but I am willing to take that risk. Hopefully the technician will be able to make it today.

Of course, all I could think about this morning was getting WARM and it was the perfect morning for a hot bowl of oats that would warm me from the inside out.
Aside from making Rustic Banana Cake, another easy way to use up black bananas is by mashing them into oatmeal for a lovely Banana Bread effect. A really ripe banana makes for a sweet bowl of oats too, so I didn’t need any additional sweetener in this bowl which is always nice!

[print_this]
Strawberry Banana Peanut Butter Oats
Yield: 1 serving
Ingredients:
- 1/3 cup regular oats
- 1 cup Almond Milk, or adjust to preference
- 1 tbsp chia seeds
- 1 ripe banana, mashed into oats
- 1/2 tsp pure vanilla extract
- 2 tbsp PB2 Peanut butter OR 1 tbsp peanut butter
- 1/2 tsp cinnamon
- Toppings: 1/2 cup sliced strawberries + 2 tbsp chopped walnuts + sweetener if preferred
Directions: Whisk all ingredients except strawberries and walnut in a pot over medium heat. Whisk well until combined. Stir every minute or two for about 10 minutes until thickened. Before serving, stir in the strawberries and nuts. Makes 1 delicious serving.
[/print_this]
A reader sent me some PB2 to try out a while ago so I thought I would try stirring some into my oatmeal this morning. PB2 is basically powdered, defatted peanut butter with 85% less fat than traditional peanut butter. They also add in some sugar and salt to pump up the flavour. I have to admit, it does taste better than I thought it would, though, I still prefer using real peanut butter in moderation, extra calories and all. ![]()

Eric surprised me with some organic strawberries the other day. We normally don’t buy the non-local berries in the Winter, but once and a while they are a nice treat. This pint was really flavourful for some reason.

After cooking the oats, stir in the toppings of your choice…

Oh, and try to avoid doing this…

[I blame my frozen, lifeless fingers…]

I added a splash of Almond Milk to my bowl. I really enjoy a bit of milk poured on top of my oats lately.

How To Make A Light Reflector In 1 Minute Flat
The main way I have learned more about food photography is by using online tutorials and then practicing these tips in my shoots. I thought it would be fun to occasionally share with you the tips and tricks that I learn along the way.
The other day I came across this easy tip on how to build a light reflector. Light reflectors are often used in photography to bounce the light and brighten up your shot. I’ll show you a before and after below.
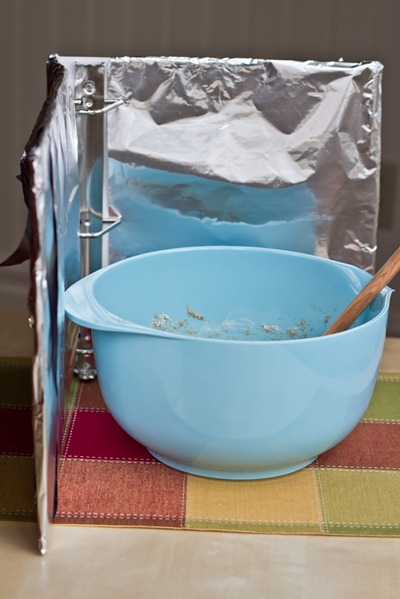
Step 1) Grab a Binder

Step 2: Cover it with tin foil.

Step 3) Secure with tape.

A benefit of using a binder is that you can bend it forwards and backwards.
Before (not using light reflector)
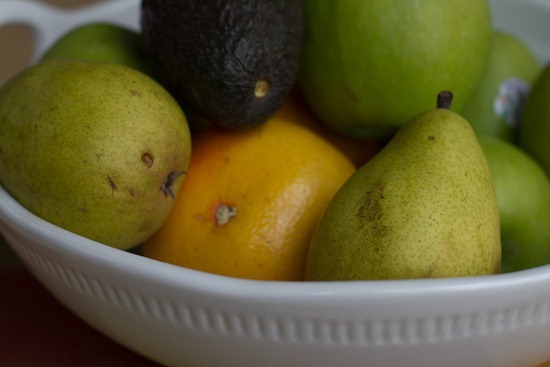
After (using light reflector)
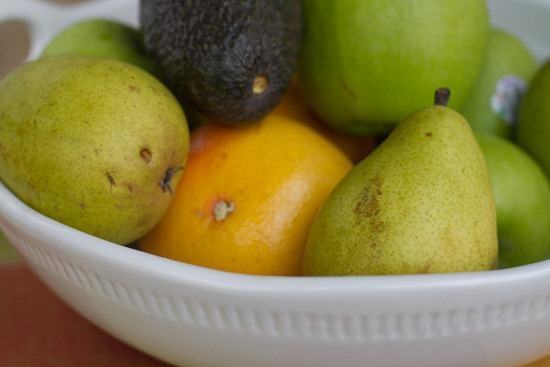
The difference is very subtle, but you can see how it brightens up and fills out some of the dark areas in the after shot!
Just try not to get the binder in your shot… ;)

My next tip has to do with using props in a photo. I have some fun progress pictures to show you from my first experiment.
You might also want to check out my ‘how to make a light box’ post from the other week.
I think more hot tea is in order. :)

how do you position the binder? this is such a cool idea!