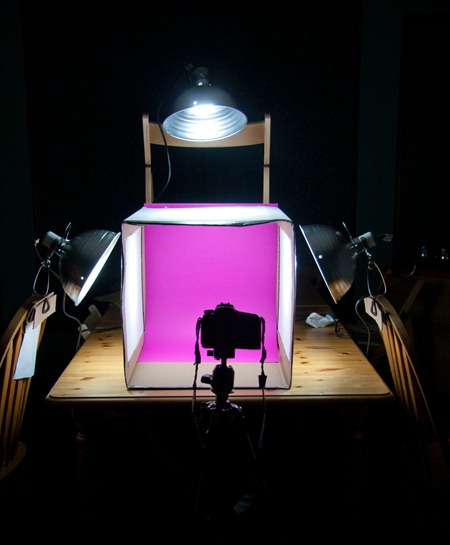
Last week, we built a light box!
Ok, I’ll be honest. Eric built the light box and I took the step by step pictures…
Light boxes have been all over the food blog world and while I loved the idea of them, I could never see myself building and storing one in the house. I get really intimidated by ‘do-it-yourself’ projects that involve anything outside of my domain (the kitchen).
This is where my DIY husband comes into play.
Eric and I started talking about light boxes one night, after looking at Ashley’s tutorial, and Eric convinced me that he could make one for me in under 2 hours. It was almost a dare. To himself.
I think he was secretly looking for a project that did not involve installing new door handles, but that is another story. I’m not a girl to pass up an offer, so off we were to Home Depot to gather a few supplies!
However, I feared that bad, bad things were looming ahead. [Never admit this out loud to your DIY husband.]
What You’ll Need:
- A large cardboard box (medium might work too if you need it smaller!)
- Duct Tape
- White tissue paper or white fabric (we used a tablecloth cut up)
- X-Acto knife (I laughed SO hard when I found out how to spell this word!!)
- 3 Daylight bulbs — 100 watt
- 3 utility lamps w/ clamp bottoms (we used 10 inch)
- Fabric or paper for backdrop
- 3-outlet extension cord
- SKETCHIE! (for your entertainment)
- Possibly other things I’m forgetting
Using this awesome how-to from Ashley, we gathered our supplies and were on our way!
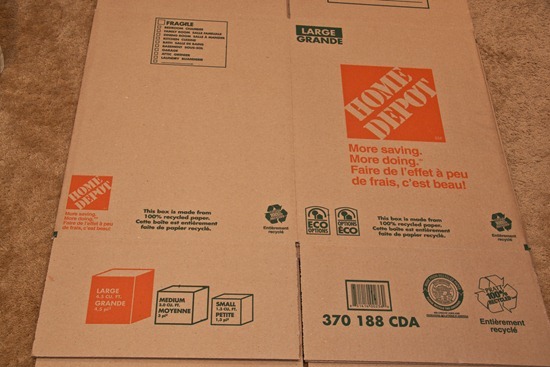
Grab a large box.
Buy a large box if all your boxes are beat up from a recent move.
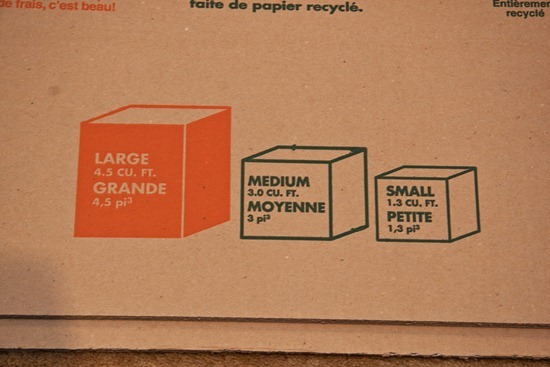
Wheeeee. Now I know why Sketchie loves these things…
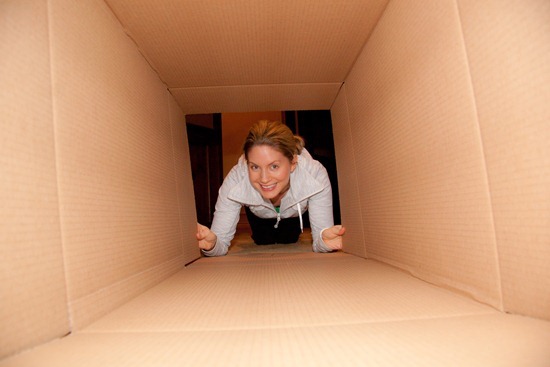
Secure bottom with duct tape.
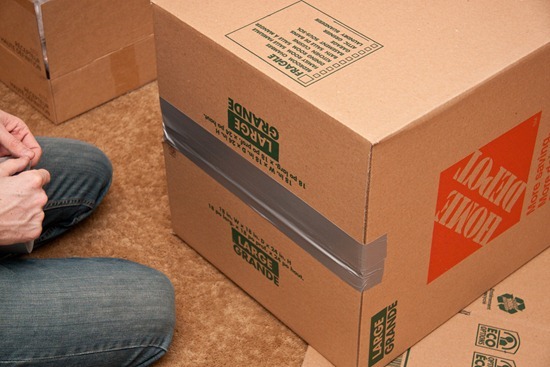
Tempt kitty cat with box until he cannot take it any longer.
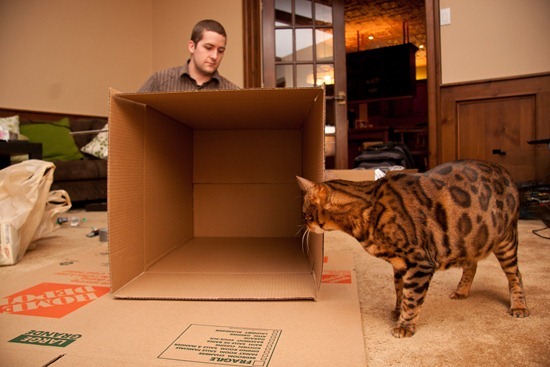
Sketchie STAY.
Sketchie SIT.
Add a ruler to the mix and watch kitty cat swat ruler.
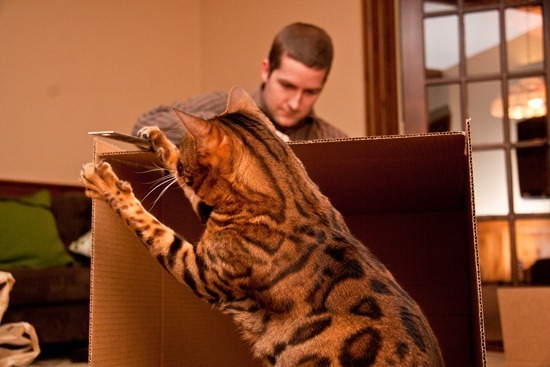
BAD KITTY.
When kitty cat can no longer resist, watch him enter the box and sniff corner when you aren’t ‘looking’.
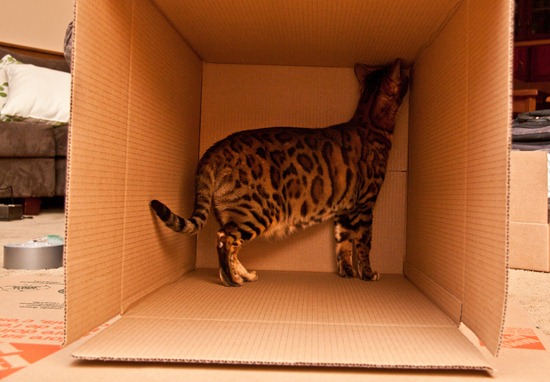
What is he smelling? Or is he spying on Eric through the hole?
Now, is the least fun part of the entire process (to watch). Eric tells me it is also the least fun part to do…
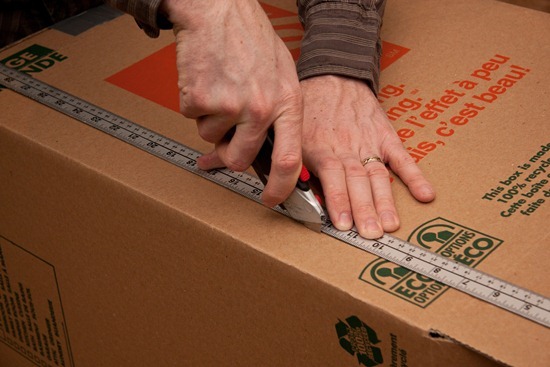
You must measure and cut the edges of 3 sides of the box to create 3 rectangles. (Sorry that just made no sense at all). Cut 3 rectangles (better?).
Eric left a 2 inch border.
Allow kitty cat to inspect your work to assure quality control.
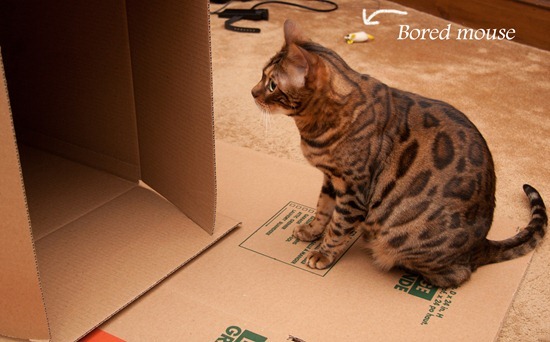
Keep going…(Sketchie is getting BORED…we’re losing him! Is he asleep standing up?)
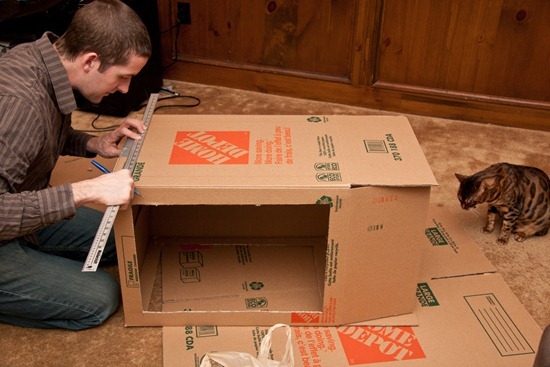
Sketchie says, ‘Unfortunately this does not look level. #fail’
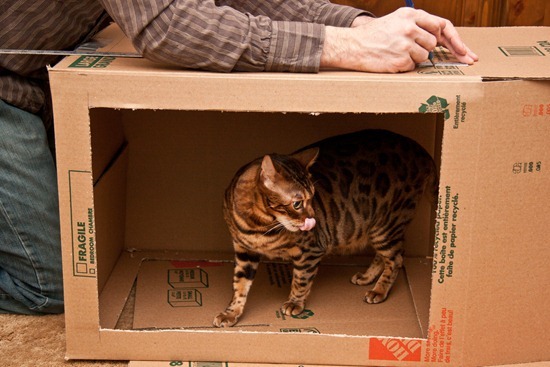
You now have 3 rectangles cut out- right side, top, and left side. Taped bottom remains intact (this is your background).
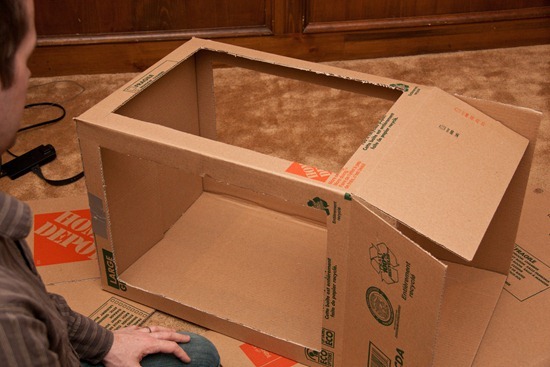
Sketchie does not enjoy boxes with holes. Can you see the heartbreak in his face?
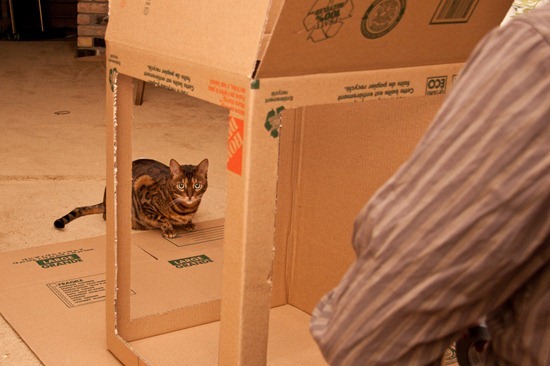
We win.
Cut off the box ‘flaps’…
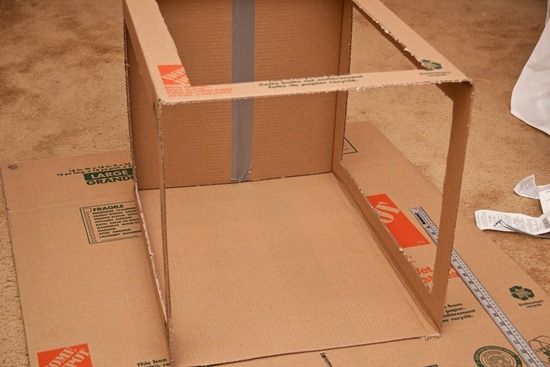
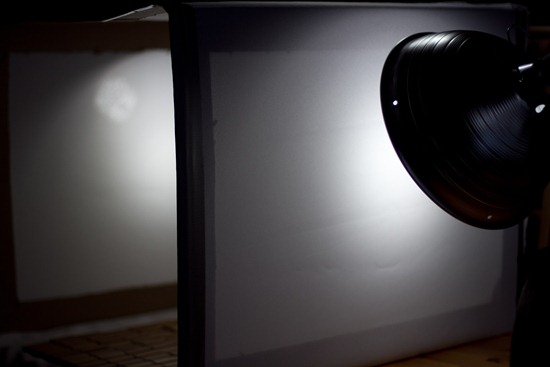
Grab something white to drape over the 3 rectangles. We used a white tablecloth, but I hear you can use tissue paper too. Whatever you use, make sure it will diffuse the light entering the box. This will prevent harsh shadows and direct light.
When the tablecloth came out, Sketchie started to have fun again!
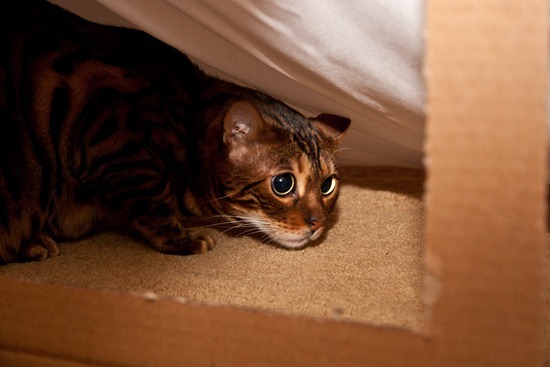
He loves to hide under things and jump out at us. (I’m not sure he knew that I could see him through the hole.)
Tape edges to secure.
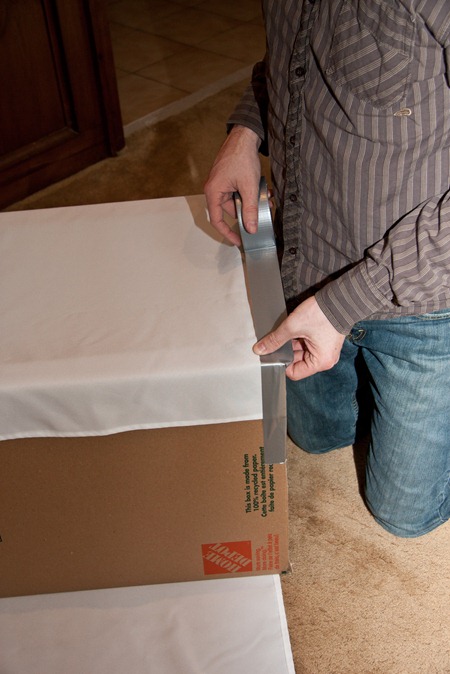
Oops, I cut off his head.
Eric is doing a great job!! Cheers, applause, make him a tea, massage his back.
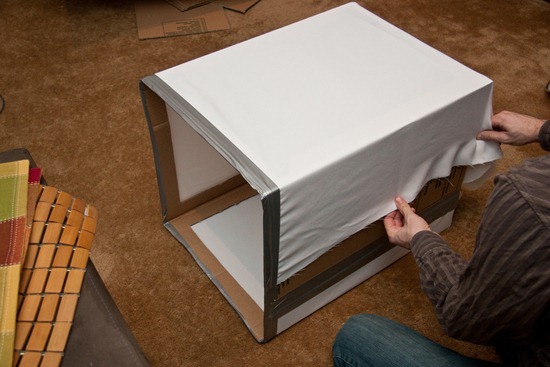
Almost there…
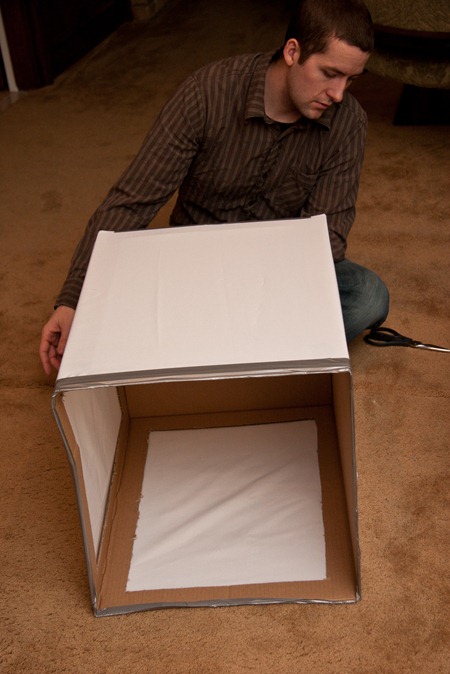
You can do it!
Eric cut a bit of fabric off the top rear of the box…if that makes any sense. Didn’t think so.
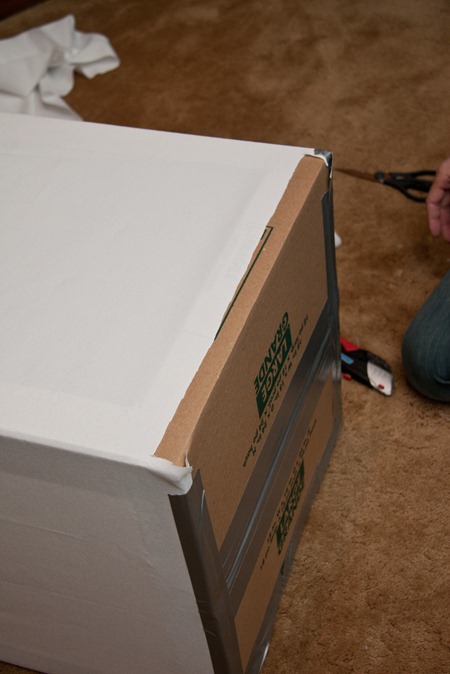
Then he cut a SLIT into the rear (are we still talking about a light box?) with the idea that we could ‘drop down’ different backgrounds into the slit.
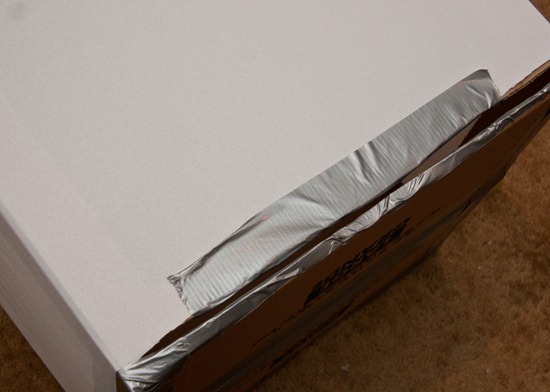
I really have no idea what I’m talking about at this point. Just go with it.
I dropped down some pink Bristol board through the slit to test it out. It worked pretty well.
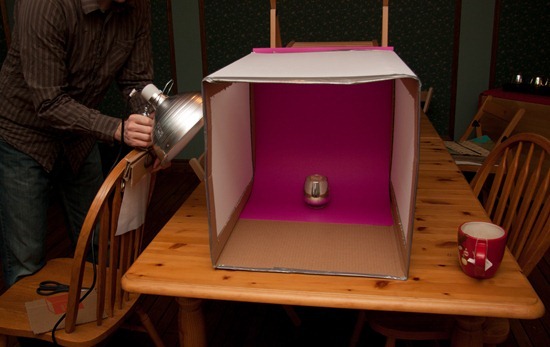
Eric attached 10 inch work lights to chairs…one for the right, one for the left, and one above. You need a total of 3 work lights with clamps. We bought ours at Home Depot for $20, but I assume you can find them cheaper elsewhere. I’m pretty sure we got ripped off! Impulse buy.
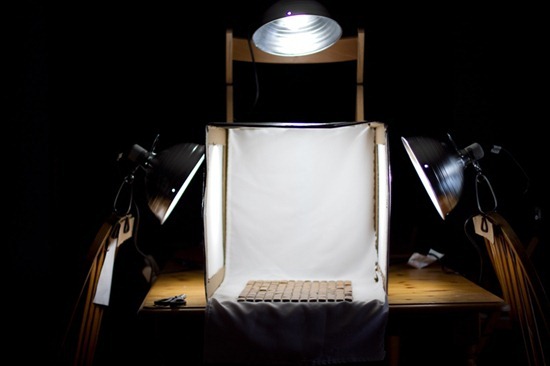
Thanks for the great tutorial Ashley!
Here are some of the first shots I took with the box…

The pink background is a bit much, but this illustrates that light boxes are great for ‘product photography’; in other words, shots of single items that you want to stand out.

The next day, guess who I found sleeping in his warming hut? He tried to tell me he was on a tropical beach.
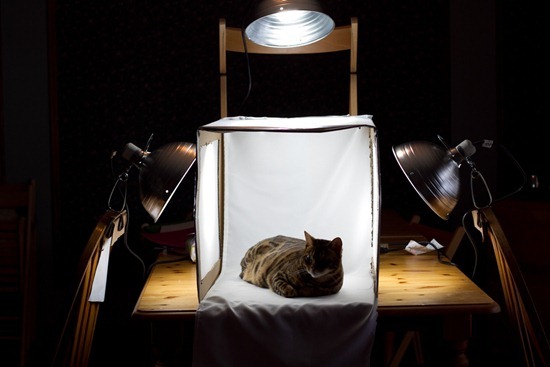
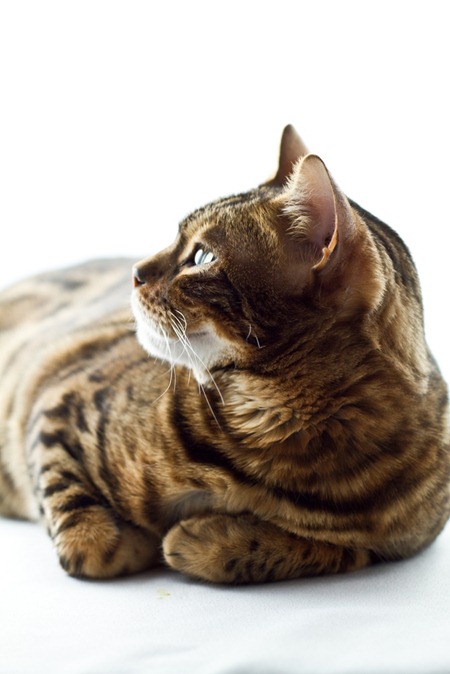
It actually worked out, because Sketchie got his very first ‘professional’ headshots!
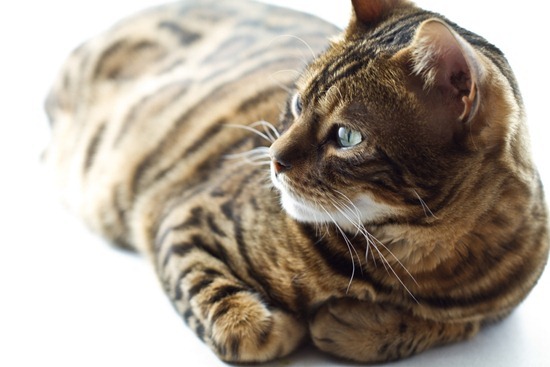
The heat from the lamps made him veeeeery sleepy.
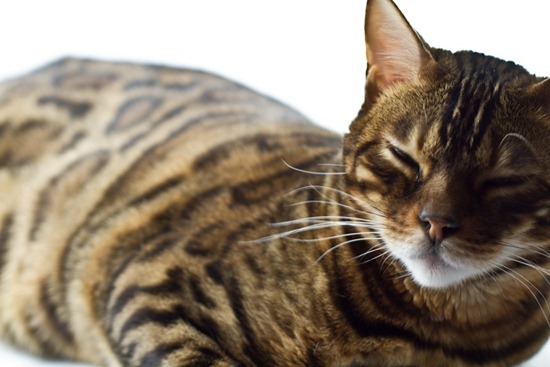
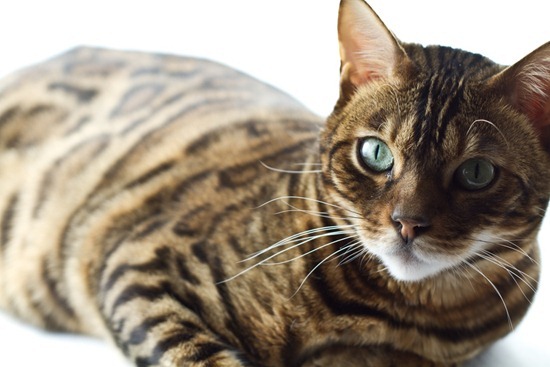
I’m a model, ya know what I mean. And I do my little turn on the cat walk…
So, what do I think of the light box?
Well, first of all, I think Eric did a fantastic job! It is very professional and sturdy. He made the entire thing in about 1 hour and 45 minutes too.
Swoon.
As for the pictures, I find that my pictures are definitely better than normal night time shots.
Here is a comparison of two non-edited photographs:
A) Normal nighttime ‘yellow’ lighting on the stove top:

B) Light Box shot:
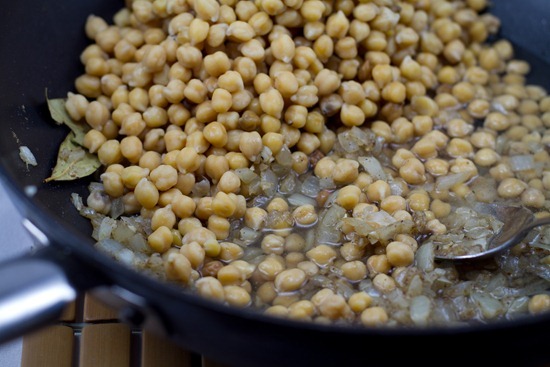
The difference is huge!
The light box shot looks more like natural light, whereas the first shot is very yellow and not pleasing to the eye.
I shoot in RAW format and I use Adobe Lightroom to edit my photos, so I wanted to show you what I can do to help improve the look of a bad photo with basic photo editing.
A) Night time yellow photograph, EDITED = I increased the exposure, brightness, clarity, and decreased the temperature (less yellow) to produce this:
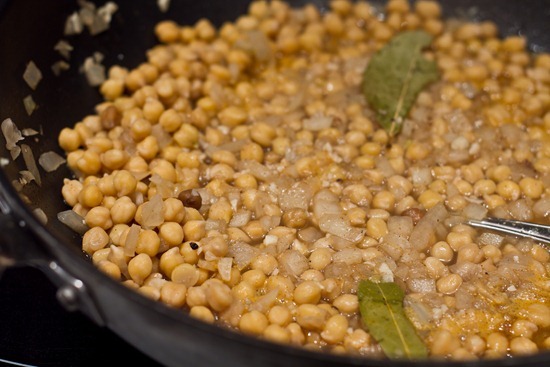
[I also usually white balance my photos, but I did not do this for these two.]
Side by side:
Before After
B) Light Box Shot = EDITED. I had to increase the temperature (yellow tone) because the light box creates a very blue, washed out tone.
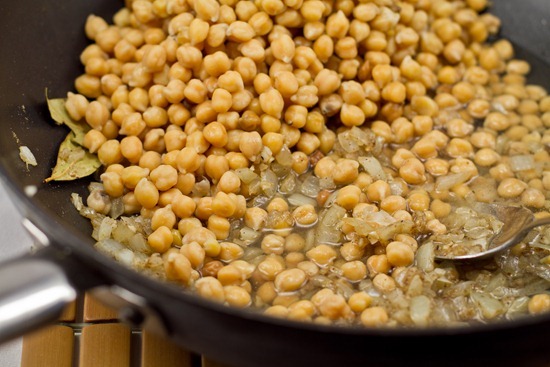
Side by side:
Before After
Which one is better- when edited?
In my opinion, you can barely tell the difference when looking at a night time edited photo versus a light box edited photo. Is this normal or am I not maximizing the light box’s potential? What photo do you guys prefer?
All in all, I am glad that I have the light box to play around with. I think it is great for product photography (or cats!) and it is really fun to experiment with different backgrounds and props. The cost was not as cheap as we thought it would be- it was around $70 CAD for everything we purchased, but it was still not crazy expensive for such a professional result.
After shooting with the light box over the past week, I do not think that the light box can compare to natural daylight. In my opinion, nothing beats natural light and I will always chose natural light over the light box if I have the choice! With that being said, it is a good option for night time photography.
The biggest drawback of the light box is how much space it takes up. Right now we are housing it in our unused dining room, but I really am not sure how long I will keep it there.
CLEAR. AS. MUD. ?
So there you have it, my initial review of the homemade light box. I’m sure my thoughts will change as I play around with it more and learn some news tricks. I’m not sure if I am using it correctly or maximizing its potential, so feel free to chime in.







I totally LOL`d through this whole thing, especially at the ”bored mouse”. oMg
great article, my fav light box tut yet, and your cat is gorgeous
Awesome job! I made an attempt to make a box after reading your post. I thought I would try tissue paper…not a good idea with Anna, my curious cat. She quickly occupied the box and then within a minute punched through the tissue paper sides! I’ll try again when I can have a helper keep her occupied!
Now I’m reading your recipes and getting very hungry! Need to do some shopping to make a breakfast parfait! Thanks so much!
Thank you for the lovely instructional with pictures. Sketchie is adorable!
Hi, congratulations on the light box. Looks very well made.
OT: What breed of cat is this? I’ve never seen a cat with such a coat before. It looks a bit like an ocelot.
Cheers,
jj
He’s a Bengal :)
This is super helpful!! Thanks for the tutorial — I’ve been trying to improve my food photography!
Omg thankyou so much for this! I’ve been searching on how to make a decent product background. That cat is beautiful btw!
xo
Chrissie
Your cat is beautiful!! Bengal right? :)
OMG I JUST came across this and am totally going to try this, thank you for the amazing tutorial!!
Awesomest instruction ever. Since I have a cat, too, I can already see her doing the exact same stuff as Sketchy. Thanks for sharing and for making me laugh so much :)
Thanks for this awesome tutorial…I am so excited because I have “The Perfect Box” for this project…how weird is it that I am looking forward to cutting up a cardboard box …?
Just to make things more safe, I suggest this: When measuring the rectangles for the windows, take a sharpie and draw the lines on, then cut them. I kept worrying about the ruler slipping and someone cutting off a digit.
I recently found your site and am already a fan!I wanted to reach out to you and see if you would be willing to test out some of my glass etching craft supplies for free for feedback. Can you let me know if you are interested by email? Shipping of the supplies will be free as well. Urgently, waiting for your reply. Thanks Eric
First of all, Angela, great name! ;) I want to say how much I enjoyed reading your comments through each of the above steps, they made me LOL! Sketchie is such a gorgeous, cute kitty! Great light box, too! All the best with it. I love your recipes and made the Crispy Quinoa Cakes (with a few modifications) a few days ago, and they came out great! Your recipe for almond milk is first (and only) one I’ve tried when starting to make my own; that was the first time I came across your site, actually. Also, I cannot wait to download your app, which looks incredible!!! Congratulations, that’s so exciting!!
Thanks for that.Good job man!Well organised good lady. I’m going to try one too.You should start a band with a name like “Ohsheglows!
Cheers,
Nick
Really great article. Thanks for taking the time to explain things in such great detail in a way that is easy to understand.