

I must have been really excited to share this post with you yesterday because while I was in the early stages of writing the post, I decided to hit publish instead of save draft. It was really no big deal and I quickly marked the post as private and it disappeared from my blog. Whew. Well, 10 minutes later, I saw the unfinished post pop up in Google Reader! Cue mini freak out. My apologies if you saw a post pop up without an actual recipe. What a tease! Not knowing what to do, I tried to overwrite the post with “ummmm ahhhh sorry, I will be back tomorrow with the post!” message, so you may have witnessed that hilarity instead.
Moral of the story: Do NOT trust me with a computer when I’m on cold meds…ever.
Moving on.
I don’t have much patience when it comes to many things – organization of any kind, taxes, traffic, slow computers, waiting for food to cool…and apparently, writing blog posts. Finicky desserts are high on the list too. Trust me, I have no idea how I ever made these cookies a few years ago. Who was that girl? Luckily, I’m high in persistence and determination (read: stubborn as heck), which is why I stuck with these Kit Kat knock-offs despite my dwindling attention span. After making a third trial this morning, I finally decided on a recipe to share with you.
And I never want to see another Kit Kat bar again.


That is, until the next chocolate craving hits. If you don’t mind spreading several layers of melted chocolate onto thin, easy-to-break wafers and freezing it all several times, then this dessert is for you. If you tend to get distracted by shiny objects like I do, consider yourself warned.
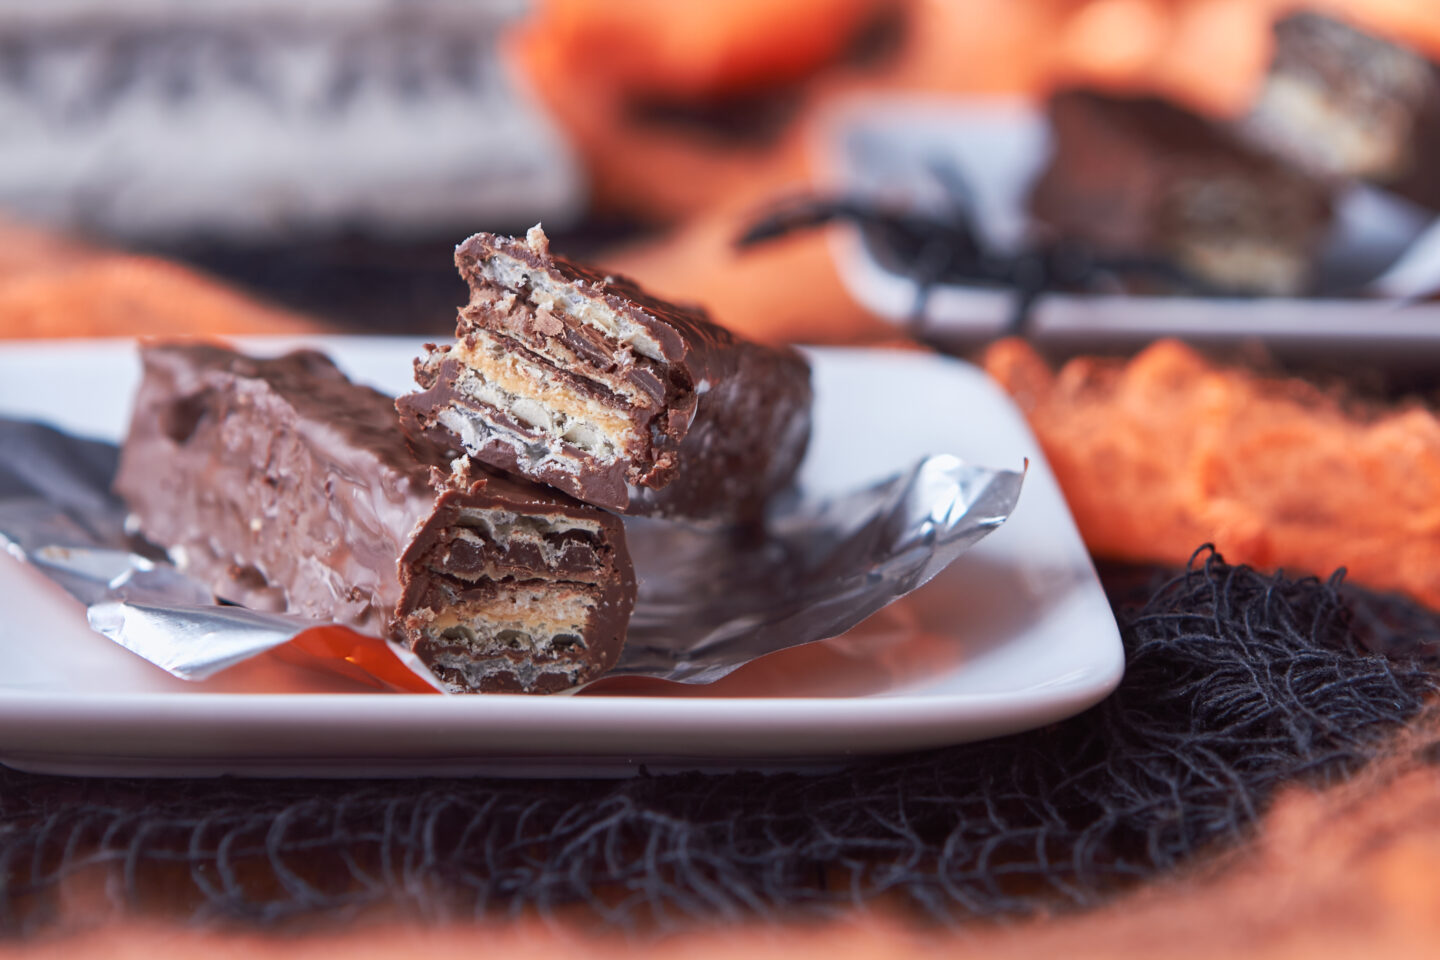
Orange tin-foil candy wrappers are just so pretty…
Now, it’s been years since I’ve had a Kit Kat bar, but from what I remember there are 2 layers – wafers and chocolate. Whoop-dee-doo. I wanted to spruce things up a little so I made homemade coconut whipped cream blended with cocoa powder and maple syrup. Why not?

And of course, melted chocolate. I also added a thick peanut butter layer because it obviously goes amazing with chocolate. I found the tort wafers at Bulk Barn (about the size of a sheet of paper – 5 per package). If anyone else knows where to purchase tort wafers, please leave a comment below!
Speaking of patience, here are step-by-step photos with captions for all the visual learners out there. If you click on the first picture you can click through the entire (enlarged) slideshow all at once. The full recipe is linked at the bottom of the post.


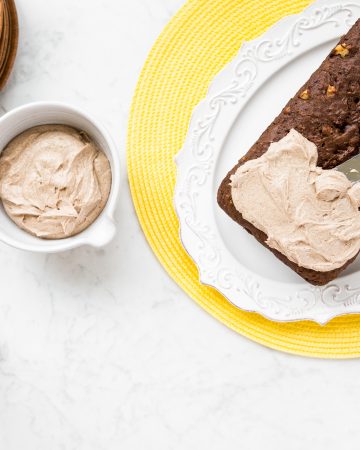
The leftover chocolate whipped cream made the perfect dipping cream for the kit kat bars!

Did I mention this is not a health food?
Note to self: When you leave a huge plastic spider in the kitchen sink, you WILL scream at the sight of it several times throughout the day.
In the end, I’m quite happy with how these turned out. Due to the fussy nature of the bars, I’d probably rather make my Homemade Rolo recipe because 1) it’s much faster, 2) these bars are messy to make, and 3) I like the taste of the date caramel better.
Just my two cents. :) Maybe some of you crafty bakers can make a hybrid of the two?


Featuring all new, protein-packed salads, hearty toppers, flavour boosters, and dressings you'll want to drink, my new cookbook will transform the way you think about salads. Oh, and be sure to flip to the back for a surprise dessert chapter!

Homemade Vegan "Kit Kat" Bars

Yield
about 25 small pieces
Prep time
Cook time
0 minutes
Total time
I purchased my tort wafers from Bulk Barn.
Make sure you use good-tasting chocolate because the chocolate will make or break these bars
Ingredients
- 3 Tort Wafers (11.5" x 9 1/4" sheets), cut in half
- 2.75-3 cups non-dairy chocolate chips, divided (approx 450 grams)
- 2 tsp coconut oil, divided
- 3-4 tbsp peanut butter
- 1 can full-fat coconut milk, chilled overnight in fridge
- 2 tbsp cocoa powder
- 2 tbsp pure maple syrup
- 1/2 tsp pure vanilla extract
Directions
- Chill full-fat coconut milk can overnight in the fridge. Grab 3 tort wafer sheets (11.5 inches x 9 1/4 inches) and slice in half to create 6 halves.
- In a small pot, melt 1.5 cups chocolate chips with 1 tsp coconut oil over low heat. When 2/3 of the chips are melted, remove from heat and stir until all chips are melted.
- Place a wafer half on top of a board lined with parchment paper. Spread 2 tbsp melted chocolate over 1 wafer. I found a spatula helpful for spreading. Place another wafer (#2) on top of melted chocolate and press down firmly. Add heavy object(s) on top and freeze for 5 minutes to set.
- Remove from freezer and spread 3-4 tbsp peanut butter on top. Add another wafer (#3) on top of peanut butter and press down firmly.
- Spread 2 tbsp melted chocolate on top and cover with 4th wafer. Press down firmly and cover again with heavy object(s). Freeze for 10 minutes.
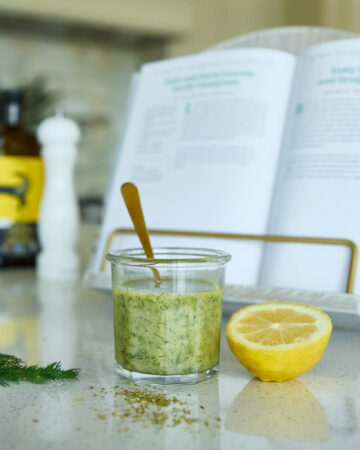
- Meanwhile, make the chocolate whipped cream (for step by step photos, see this tutorial). Flip coconut milk can upside down and open lid. Pour off excess liquid (you can save for smoothies). Scoop out the remaining coconut cream and place into a bowl. Beat with electric beaters until smooth. Now sift in cocoa powder and add maple syrup and vanilla. Blend until smooth. Reheat melted chocolate over very low heat if necessary.
- Remove stacked wafers from freezer and spread on about 3 tbsp of whipped cream until smooth, being sure to coat all edges.
- Grab the final (5th) wafer and spread on 2 tbsp melted chocolate. Flip wafer (so chocolate side is facing on top of whipped cream) and press onto the whipped cream, firmly. Add more heavy objects on top and freeze for 15 minutes.
- Meanwhile, melt another 1.25-1.5 cups of chocolate chips with another 1 tsp coconut oil on low heat.
- Remove stacked wafers from freezer and score with a knife before slicing through. I sliced about 12-13 rows and then sliced those in half to make 24-26 small pieces.
- Dunk each piece into melted chocolate until fully coated. Use a knife to remove excess chocolate and place on parchment paper. Repeat for the rest. Freeze for 15 minutes or until set. Store in fridge. Use leftover whipped cream as a dip for the bars.
Tip:
Note: On the tort wafers I used there was a smoother side and a not as smooth side (with deeper squares). I prefer to use the smooth side to spread on the chocolate/filling because you don't have to use as much to coat.
I’m hoping to get rid of this awful cold as soon as possible. I’m drinking green things and oodles of tea, eating homemade soup, and trying to keep Sketchie from eating a bag of fresh rolls that are for a photoshoot later today (don’t ask…).
Have a great weekend!


Amazing. Amazing!! Ange I laughed so hard at the thought of you screaming at the pretend spider you left in the sink, and a few times at that… it’s definitely something I would do!
Over-the-top..Wowza! These look and sound amazing…use to love Kitkats(especially-chunky!)…When I hunt down the wafers…it’s on! Love, love, love your photos and the orange wrapper <3
Angela, you are nothing short of amazing! I would never have the patience to do this, never in a million years! Having said that, do you deliver? ;)
These look amazing. If you don’t want them all, I could surely take some off your hands for you. :) I don’t even have enough patience to bake so I know for sure I wouldn’t have the patience to make these! I will have to try the whipped cream though!
Ummm one word: AMAZING!!! This is one of the best recipes I’ve seen in a while :)
You are getting fancy, in a good way! Happy Weekend!
I did see this go up for a sec yesterday and got all excited!
You never cease to amaze me. If I ever grow some candy-making balls, I’m making this first!
These look like a good version of nutty bars too…miss the little debbies!
you are so right!
These look sooooo good
I’m really wishing I wasn’t on a low-carb diet, I want to make these so badly!
Vegan desserts and candies are my downfall hehe:D
Thanks for posting these in time to make them for Halloween parties by the way :-D
Oh wow, they look perfect!!
Now that is a project I would love to try at home with my son!
You are awesome Angela :-)
Ana
Oh man I wish I wasn’t so lazy right now. Those look so delicious. Nice job.
You are always so creative and an inspiration.
I’ve published a few blog posts prematurely myself! It happens to the best of us. ;)
I can see where these bars are a bit finicky to make, but you’re kind of my idol for having even attempted it. There are some things I look at and never even consider making at home, and kit kat bars were definitely one of them. How are kit kat bars made? I dunno, magic? :P
Yours sound so much better than ‘real’ kit kats, anyway. Love the peanut butter in the middle!
That early ‘publish’ and then terror of Google Reader picking it up despite the ‘cancel’ is a fear I’ve navigated a few times. Kind of glad it’s not just me!
These look wonderful, and well worth the wait of a day – also much better than commercial Kit Kats :)
Oh the premature publish… I’ve done it twice and have proceeded to totally freak out both times!! These were worth the wait though… you’ve done an awesome job! I can imagine it was pretty messy, but at least the taste testing would have been fun! :)
Wow, these look impressive! If you add a caramel layer, and a roasted peanuts layer, it will stop being a kit kat, but will be another amazing candy bar :)) Thank you for an amazing recipe, Angela!
This seems like a good meditation recipe when you want to focus on an elaborate project and just ignore everything else and lick chocolate off of everything! Always a good thing to have the option of doing! Thanks for the effort!!
That dip looks amazing! I could drink it with a straw : )
Amazing recipe! And with the visuals it doesn’t actually look that hard! You go girl!
Love, love, love this recipe, but those spiders are freaking me the EFF OUT!!!!
If you’re giving these out at Halloween, I’m coming trick or treating at your house! ;)