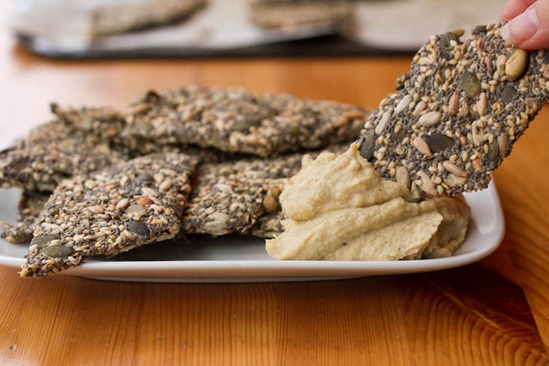
Remember the chia seed crackers that we ate at Chocolatree Café just before hiking up 0.6 miles of rocky mountainside?
ƒHere they are in all their glory.
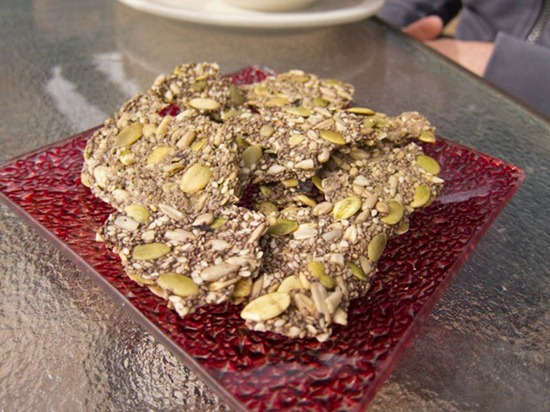
We kicked some major mountain booty that day and I’d like to think the chia seed crackers had something to do with it. After all, the Aztecs and Mayans used chia seeds (known as a “running food”) for hundreds of years to fuel their long journeys!
As soon as I got home, I knew I had to bust out a version of these in my own kitchen. I was “running” on 3 hours of sleep thanks to a 4am wake-up call and the chocolate I was inhaling wasn’t making me feel any better. The chia crackers came to my rescue!
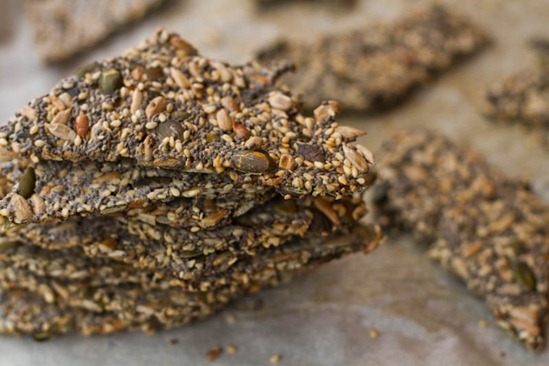
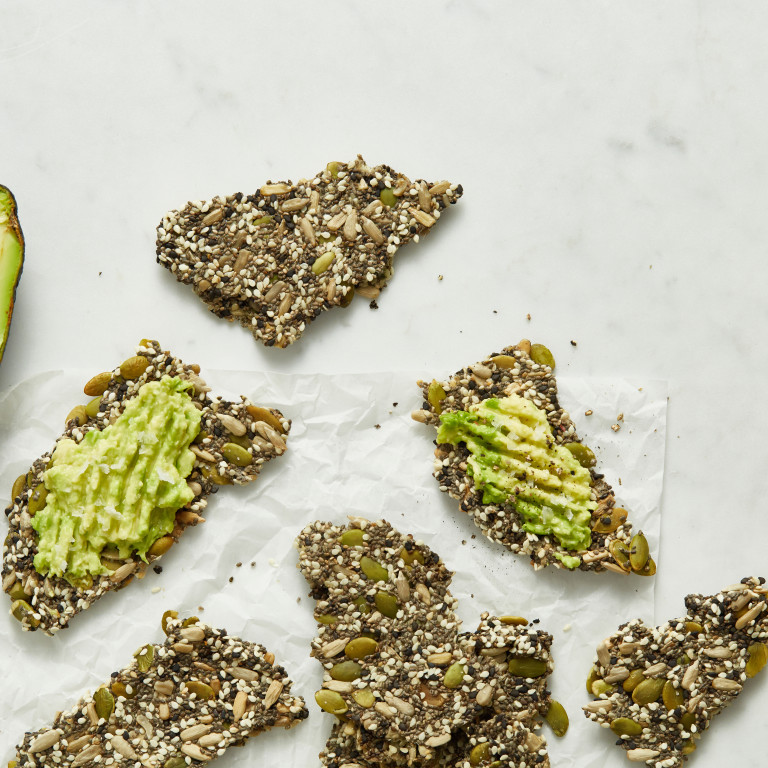
Endurance Crackers

Yield
22 large crackers
Prep time
Cook time
Total time
These Endurance Crackers are extremely light, healthy, and crispy while providing long-lasting energy. I love serving them with hummus (obviously) or smashed avocado and sea salt. Feel free to change up the seasonings and spices as you wish. These crackers are inspired by the ChcolaTree Organic Oasis in Sedona.
Ingredients
- 1/2 cup chia seeds
- 1/2 cup sunflower seeds
- 1/2 cup pepita seeds (or pumpkin seeds)
- 1/2 cup sesame seeds
- 1 cup (250 mL) water
- 1 large garlic clove, finely grated on a Microplane
- 1/4 teaspoon fine sea salt, plus more for sprinkling
Directions
- Preheat the oven to 300ºF (150°C). Line a large baking sheet with parchment paper.
- In a large bowl, combine the chia seeds, sunflower seeds, pepita seeds, and sesame seeds.
- Add the water, garlic, and salt. Stir with a spatula until combined. Allow the mixture to sit for a couple of minutes until the chia seeds absorb the water. After the 2-minute rest, when you stir the mixture, you shouldn’t see a pool of water on the bottom of the bowl.
- With the spatula (and a hand, if necessary), spread the mixture onto the prepared baking sheet in two small rectangles, about 12x7 inches each and 1/8 to 1/4 inch thick. Sprinkle additional salt on top.
- Bake for 35 minutes. Remove from the oven and carefully flip each rectangle with a spatula. Bake for 25 to 35 minutes more, until lightly golden around the edges. Watch closely near the end to make sure they don’t burn. Let cool for 10 to 15 minutes on the pan and then break the rectangles into crackers and let cool completely on the pan. Store in an airtight container or jar on the counter for up to 2 weeks. You can also freeze the crackers in freezer bags for up to 1 month.
Tip:
- * If the crackers soften while storing (this can happen in humid environments), toast them in the oven on a baking sheet at 300ºF (150°C) for 5 to 7 minutes. After cooling, this should return them to their former crispness!
Nutrition Information
(click to expand)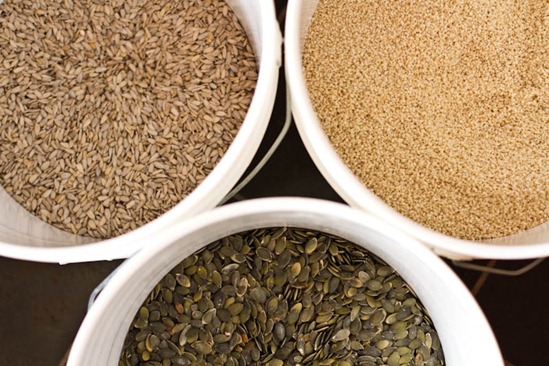
As I reached for my garlic powder, I thought why not use fresh garlic instead? My mom recently shared a trick with me for mincing garlic: just use a fine grater instead of chopping it. I used my Microplane and it was the perfect consistency for these crackers. Just be careful you don’t saw off the end of your nail like I almost did.
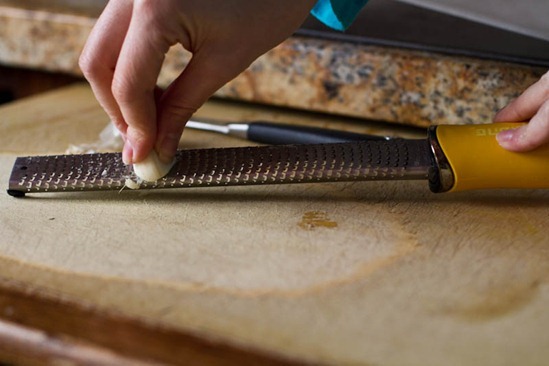
10 seconds flat for fresh garlic!
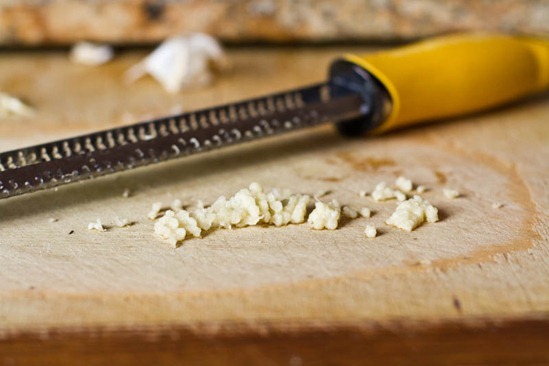
After grating, I whisked the garlic in a glass with the water (note: I ended up using a full cup of water instead of the 1/2 cup shown here).
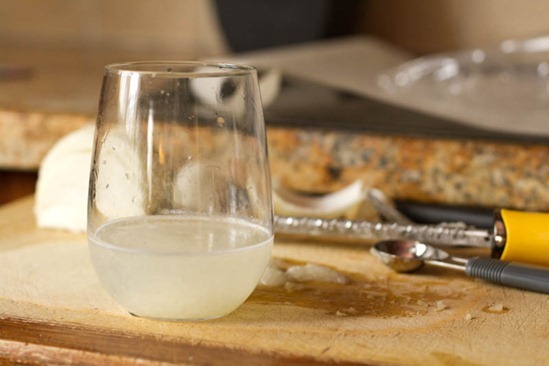
Pour the water mixture into the seed mixture and stir well. It will be thick and gel-like in consistency.
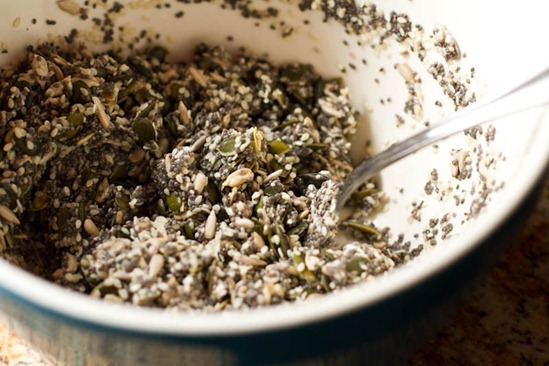
Now season as you wish.
I used a mixture of Herbamare, kelp granules, and kosher salt for maximum flavour, but you can really play around with the seasonings any way you like! Add some spices too if you wish. Taste and adjust if necessary.
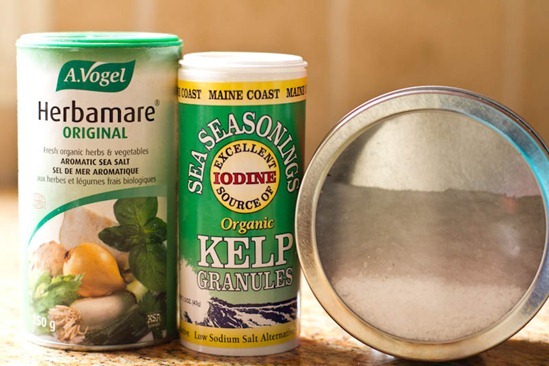
This picture hates me, clearly.
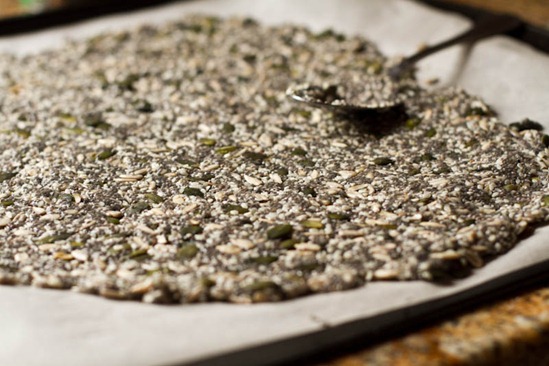
Spread onto your baking sheet lined with parchment (or a non-stick mat, but you will have to bake them a bit longer). You want to spread the mixture as thin as possible.
After baking for 30 minutes at 300F, remove from the oven and slice crackers with a pizza slicer.
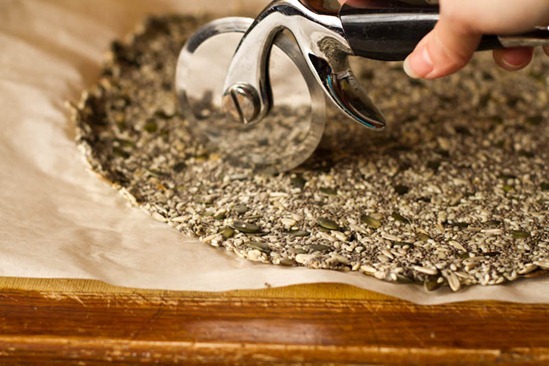
I did a large diamond shape. You can do any size and shape you want, depending on how much ninja power you are looking for!
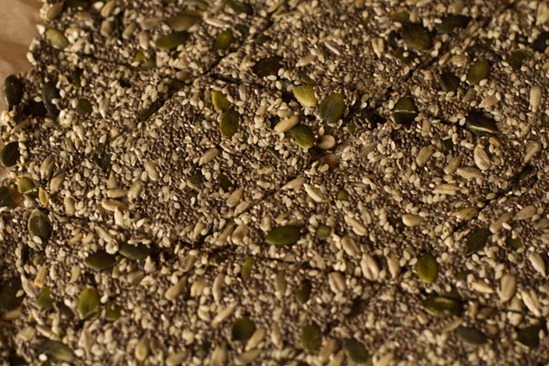
With a spatula, carefully flip the crackers and bake for another 30 minutes until toasty and golden on the bottom. Mmm.
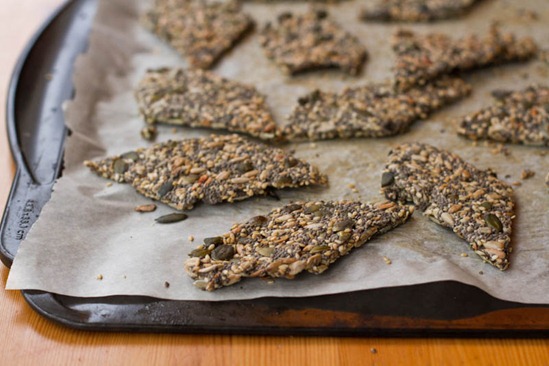
My new favourite cracker, easily.
Not only are they vegan, gluten-free, oil-free, soy-free, nut-free, and sugar free, but they can be made raw if you dehydrate them.
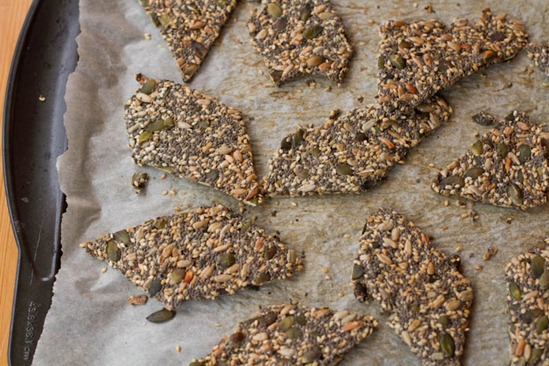
After cooling, they are crispy, chewy, and basically mind blowing ninja fuel perfect for dipping into hummus. Eric said they taste better than the ones at Chocolatree, but he may be biased. I couldn’t get over how light and crispy they are!
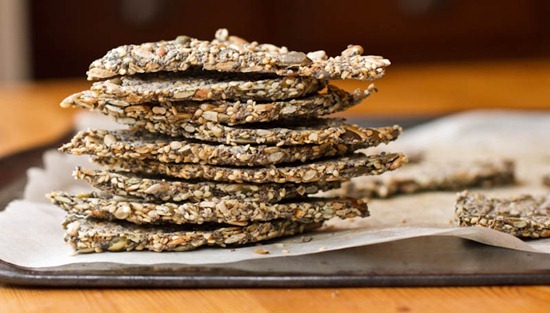
The question is: Whose butt do you want to kick this week?
Your boss, tough assignment, killer workout, or midterm exam?
Go make a list of things to butt kick.
Eat these crackers.
Kick some butt, ninja style.
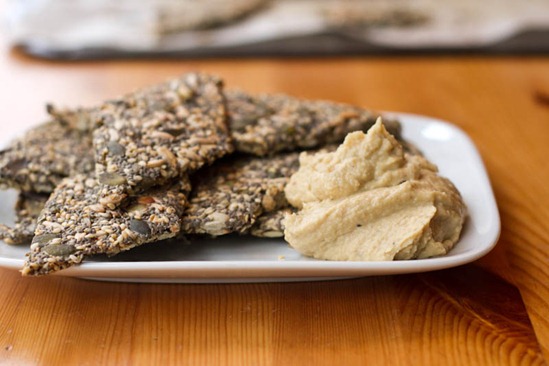
It’s like bird food, but waaaaay better.
Do you ever see a tired bird?
I rest my case.
~~
Many of you ask where you can buy chia seeds. If you are looking for an online retailer in the US, try www.chiaseedsdirect.com. I’ve found both of these businesses to have very competitive prices. You can also purchase chia seeds from bulk food stores like Bulk Barn here in Canada or in natural food stores! Update: More readers also told me Costco sells them (in the supplement section) and even Winners and Homesense! Who knew?


I have not read through all the comments but could you also do these in a dehydrator? Curious the temp and for how long?
Excellent. I baked them for 25 min at 275 and then flipped them onto a mesh dehydrator tray for 12 hours at 105. They are excellent.