
According to some psychology research, adults are supposed to be better than children at postponing gratification if they believe that the long term pay off will be higher. As an example, when a child is asked to chose between a $10 bill today or a $20 bill a week later, the child will often chose the $10 bill today (immediate gratification), whereas an adult would likely chose a $20 bill a week later (delayed gratification).
Many of us make choices everyday that might not provide immediate gratification because we know there will be a payoff in the future. For example, we may workout even though it might not make us immediately happy because we know that there will be a benefit in the future. We chose healthy food even though we might want something unhealthy because we think about how we might feel in the future. We might invest money into a RRSP even though we want to shop til we drop because we think it will pay off down the road.
Obviously, it can be perfectly normal to live in the present moment and want instant gratification too (you can fill in the blank here!), but generally speaking, our ability to delay gratification ameliorates with age.
And this is my long-winded way of leading into today’s post on renovations!
Eric and I recently delayed our gratification (yes, I’m still talking about renos!) when we decided to give up a vacation in order to pay for our dining room renovation. We postponed our immediate happiness for something that we thought would give us happiness down the road. And, damn, that is hard to do sometimes…even as an adult! But now that it is all said and done, we are both really proud of our hard work and we are happy that we did it. We’ll have to catch up with a vacation at a later date!
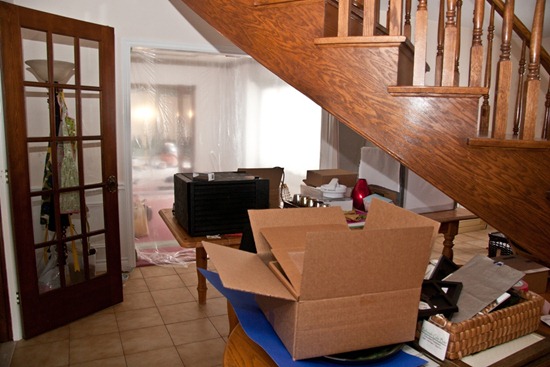
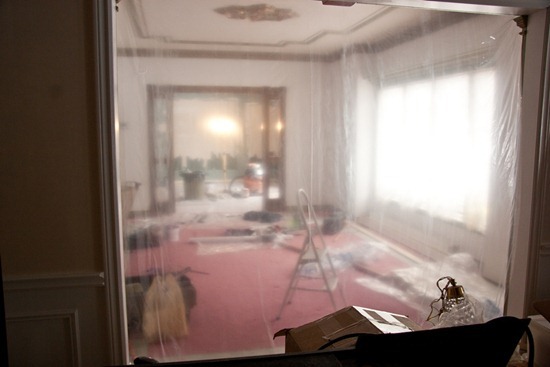
For 2 weeks (a week longer than planned) our house was in a disaster for our dining room renovation. Since we bought the house at the end of 2008, we have renovated the following:
- family room
- entry way
- upstairs hallway
- master bedroom
- sunroom
- master closet
- Living room (didn’t finish)
- and now the dining room
Our plan is to tackle our renovation projects little by little as we can afford it…and we will be DIY’ing to save as much money as possible.
This is what 2 years of renovations (a little at a time) look like! The biggest lesson we have learned throughout it all?
However much time you think it will take to do a project, double it!
Family room BEFORE:
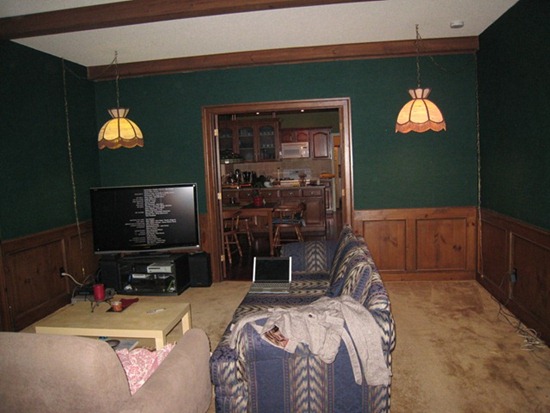
That wall paper was tough to remove because it had little pieces of wood all through it. It took us weeks to remove it and clean off all the glue!
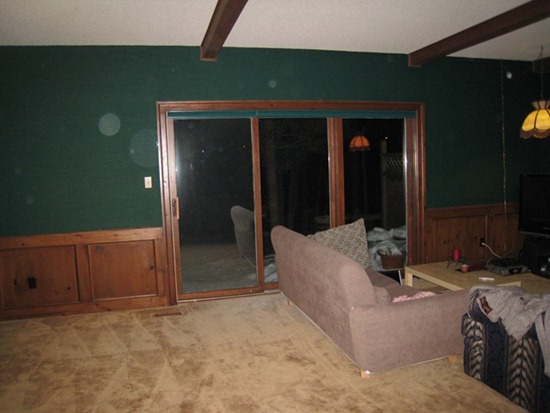
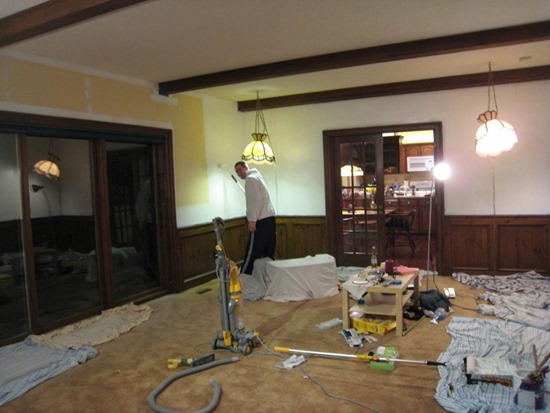
Midway:
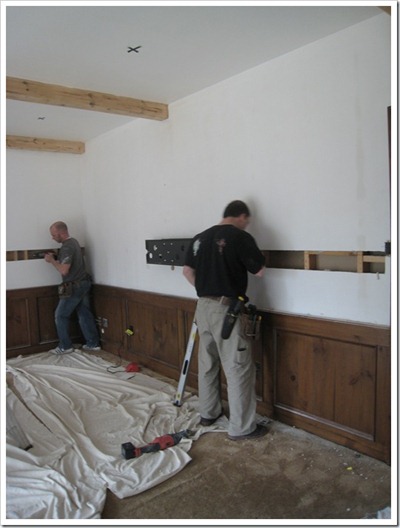
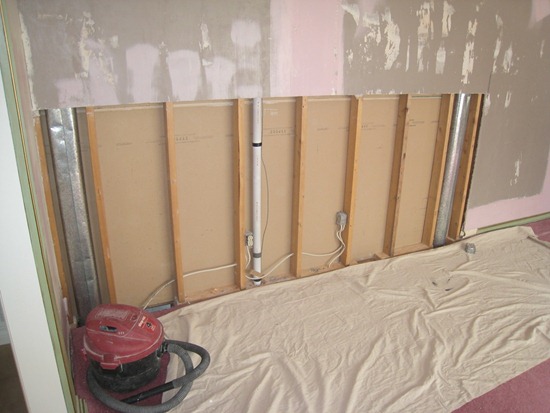
My brother Chris (he’s a contractor/firefighter) and friend Jay helped us with the electrical work in the family room. It is always wise to have a professional help with electrical work!
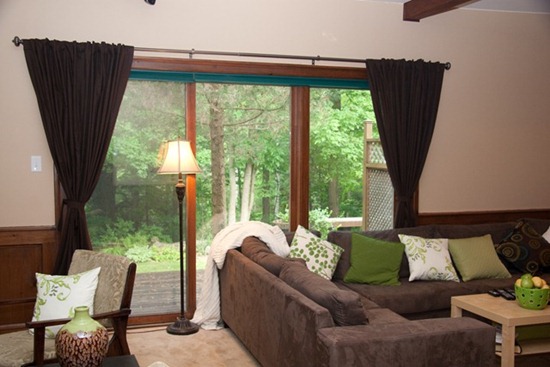
Family Room AFTER:
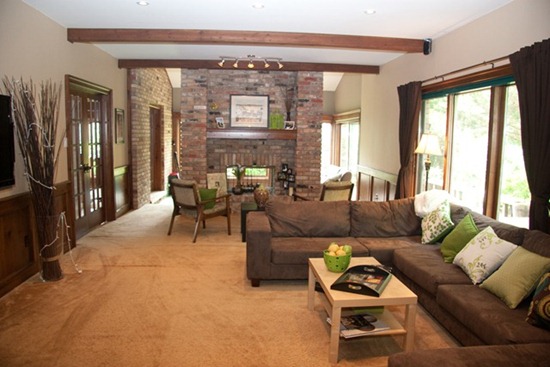
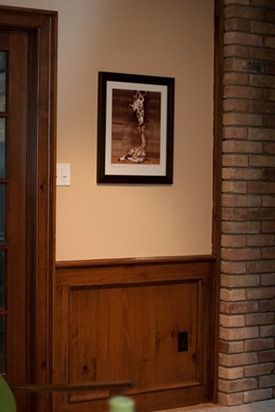
We purchased the sectional couch off Craigslist. We got a great deal and it was in mint condition when we bought it. I love Craigslist sometimes. It can be hard to find a ‘diamond in the rough’ but when you do, you score big!

After the family room, we stripped all the wallpaper in the living room and then primed it.
Living room BEFORE:
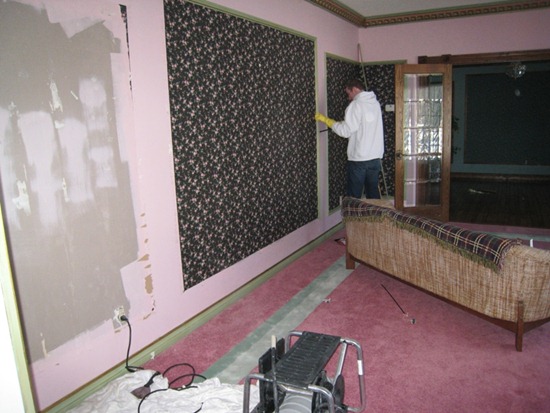
After stripping boxes and wallpaper:
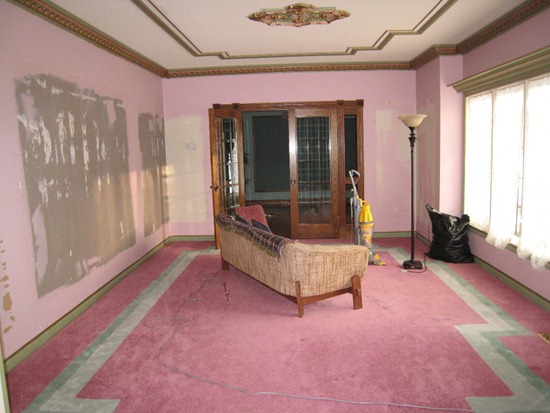
After priming:
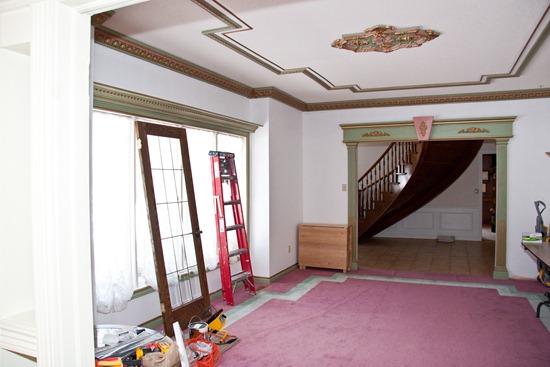
That is as far as we got with the living room. We are not done though…more on that below.
Upstairs hallway and Master Bedroom:
Hallway Before (this was after we stripped the pink and purple wallpaper off the wainscoting)
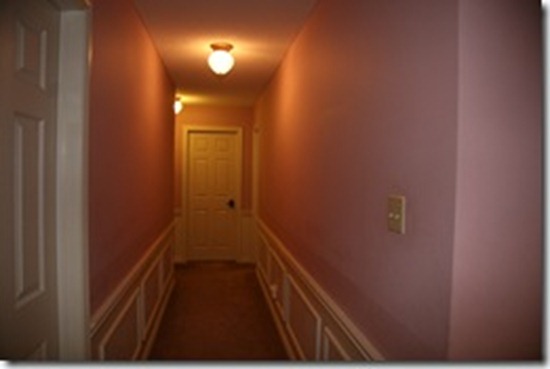
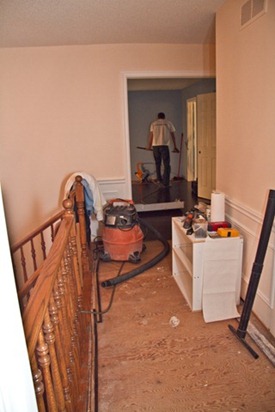
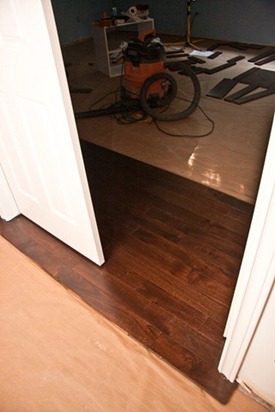
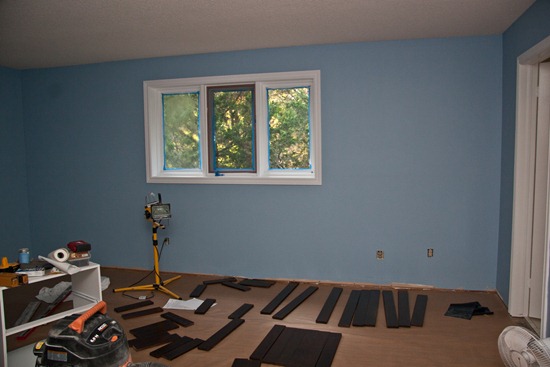
Eric installed hardwood flooring in our bedroom and in the hallway. Initially, this was a surprise for me while I was away (he planned on finishing it in a week) and it ended up taking 2 and a half months!!! LOL…I can laugh about it now, I guess.
We also painted everything.
Our bedroom after painting:
Master bedroom After:
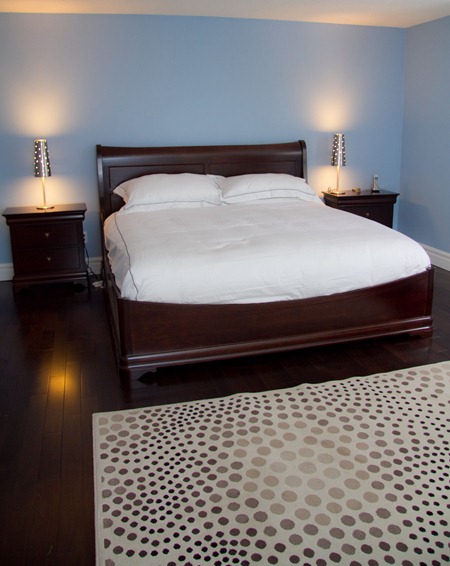
As you may have noticed we have no wall art. Rome was not built in a day! ;) Eric also refuses to let me put up the Ikea prints from University, haha.
Now onto the dining room…
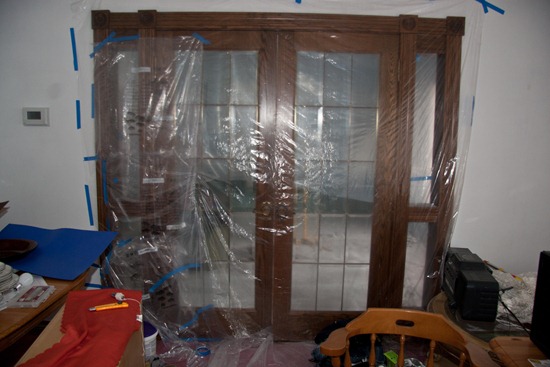
Dining Room before:
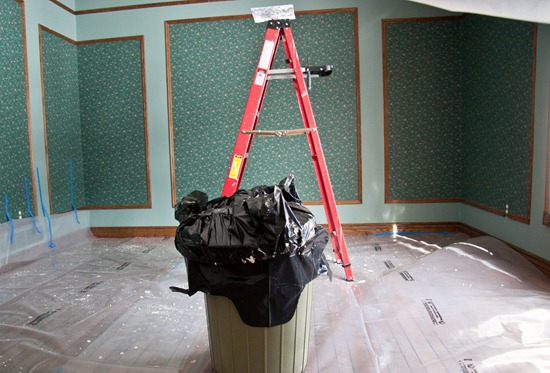
Chandelier Before:

[Is there any way we can salvage the chandelier or turn it into something else?? Crystal Jewelry, perhaps!]
The first thing we did was shave the popcorn ceiling and remove the box trim.
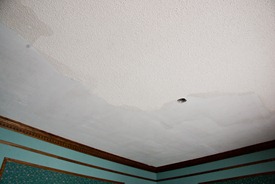
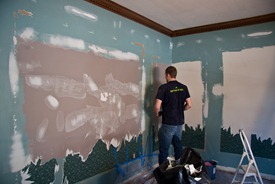
Sand everything down, wash glue off walls a million times, etc. Then prime x2.
This wood trim was the worst to paint because it was really hard to get into the grooves and the paint dripped a lot. Our arms screamed in pain! It was like a 10 hour Body Pump Class that focused only on the arms.
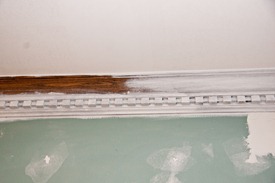
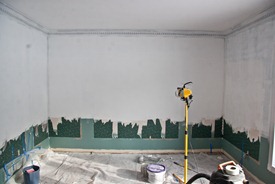
After priming, it was time to paint the trim. We painted 2 coats of primer on the trim, followed by two coats of the actual paint. It was very tedious work, but thank goodness for music and beer!!
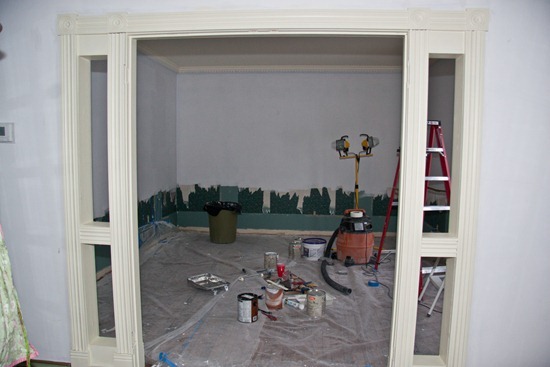
We had a lot of painting dance parties singing Lady Gaga and Rihanna while dangling off ladders. Lots of beer was involved.
And then we painted the pop of colour. Did anyone notice the orange paint in this pic that I posted last week? It was a sneak peak! I was wondering if any of you would catch the orange…

We chose a bright shade of orange called Carved Pumpkin by Para Paint. We got the sample matched to get a low VOC paint by Sherwin Williams. The wall needed THREE coats.
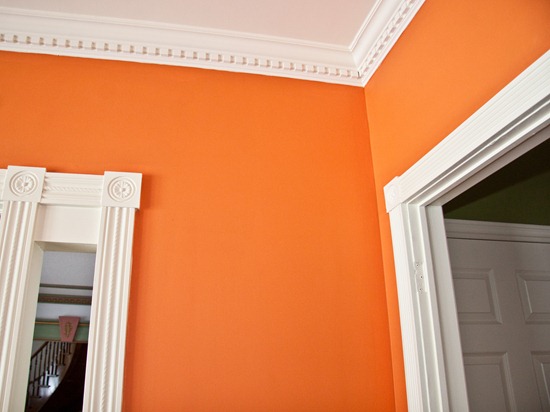
We love how fresh the orange is….it makes me happy just walking by this room!
We have wanted orange in the dining room since we moved in and it was so cool to finally see it happen. We painted all the other rooms neutral colours, but we are truly bold colour people at heart. It is so much more fun!
The wainscoting on the bottom helps balance out bold colours, so it is not overwhelming.
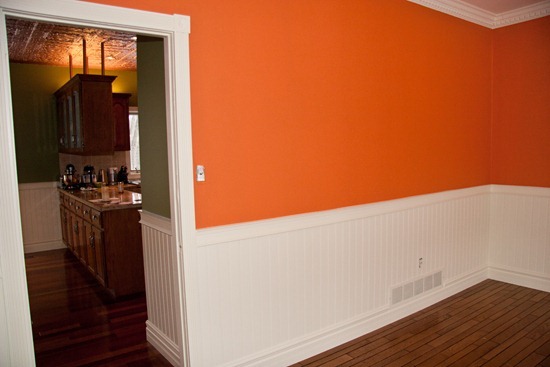
I think the dining room is a room that you can ‘go wild’ with and experiment!
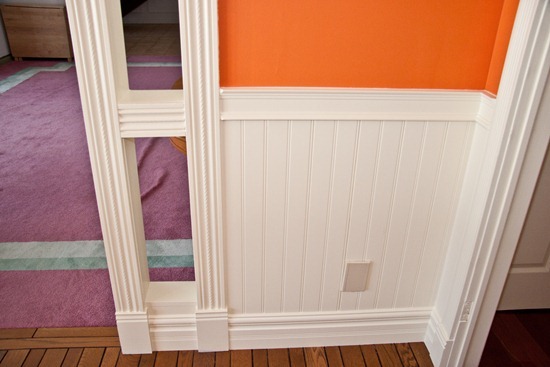
After painting the orange, we installed the chair rail (very scary because it has to be perfectly level!), then the wainscoting, and finally the baseboard. Two coats of primer and two coats of the off-white paint. Triple Yawn.
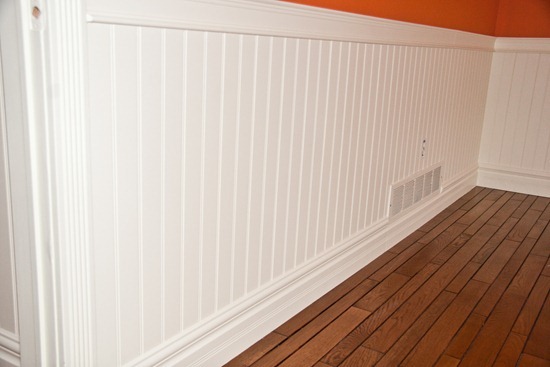
Sure looks sharp though!
Do you like our black dining table?
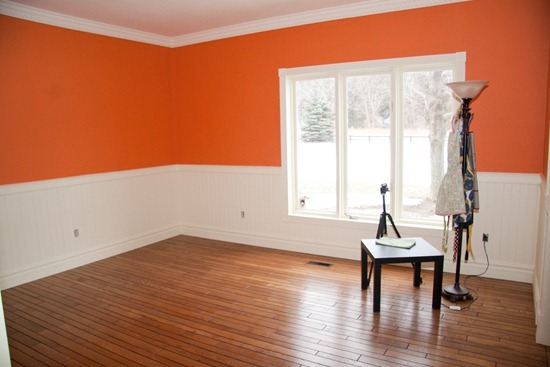
I joke, I joke…that is my AM photography station.
Below is our actual dining table, a hand me down from our brother in law and sister in law, Dave and Ewa.
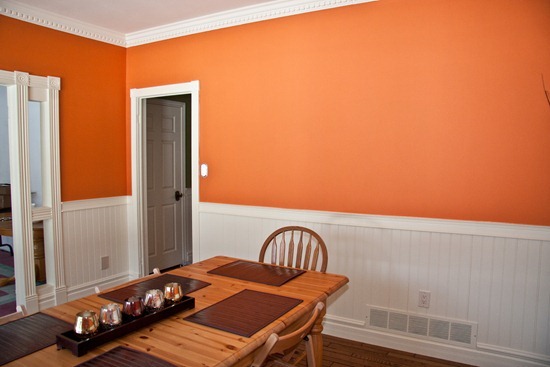
We have plans to refinish the dining table, but it won’t be for a while because we are taking a much needed break from renos. At some point, we will get some dining room furniture and a chandelier. Unfortunately, these things are really expensive so we might have to wait for a while. Finding a chandelier is really tough! We have been looking for a while now and we have no idea what will fit with our room (especially with not having much furniture).

We also installed a wardrobe during Reno-cation Week. I will not get into how painfully long this installation was! All I have to say is IKEA and you know what I mean.
After closet installation:
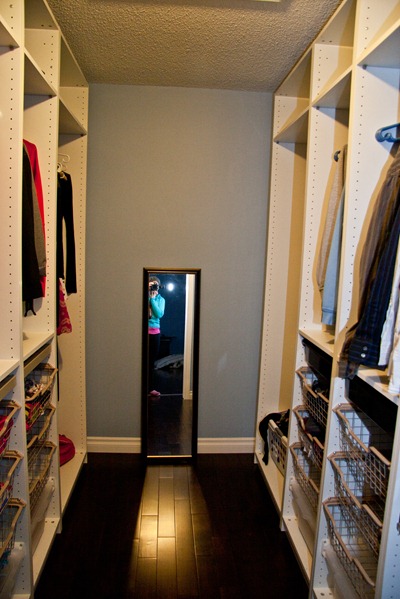
At some point, we want to buy a large antique mirror for the end of the closet.
I am donating this bin of clothing (a bonus of organizing clothing!). It also happens to be Sketchie’s new favourite sleep spot. ;)
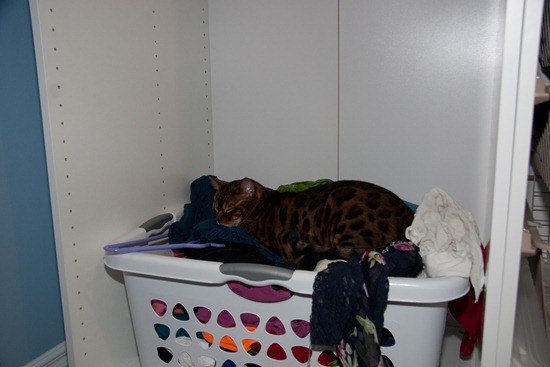
I hope we don’t donate him too!
Oh and this weekend was not restful at all. We realized we still had a lot of reno loose ends to tie up, as well as cleaning the entire house! No peace for the wicked as my grammie always says.
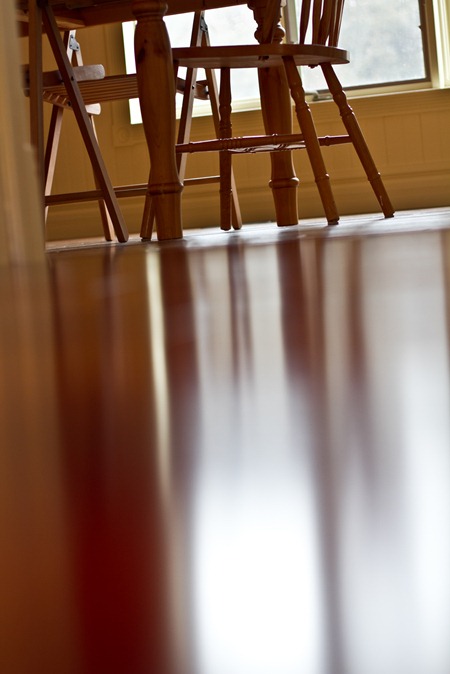
It feels good to have the house back in order now.
Sketchie is certainly happy to have his dining room back.

Our next room to tackle?
The living room…
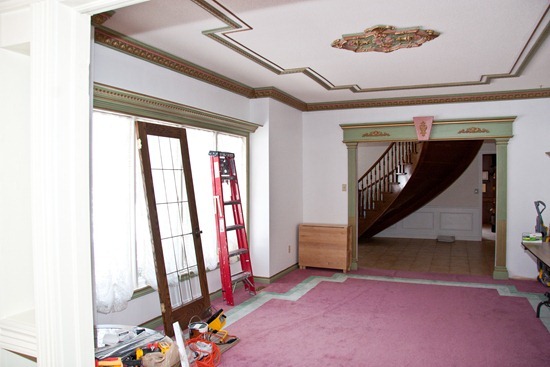
Our plans are to remove the ceiling and put up new drywall, remove the wooden green door frame, remove the pink carpet, and paint. We won’t be starting this for a while though! We are taking a much needed break. Doing renos on a tight budget is a bit difficult, but we are doing the best we can with what we have!
Maybe you can help us chose a colour for the living room? We want it to flow nicely into the dining room.







Love that chandelier! You should hang it in your walk-in closet!
so gorgeous!!!! absolutely love it..the pumpkin and trim color go SO WELL together! I cannot wait until it’s all finished!!!! so inspired…
Okay you have fabulous taste and I loveeee the orange!! It’s so happy.
I also just want to say that this is ridiculously inspiring. My boyfriend and I tried to just paint our living room/dining room/bathroom once and we were so tired and it looked so bad that we gave up and paid a friend to do it. But I’ve always liked DIY projects, and our bedroom badly needs a makeover, so I think I want to try again!
The renos look great! I actually like the details in the living room. I think if you painted the a contrasting color with the ceiling/entryway trim it would look amazing! Your house, though. :)
Your home is beautiful!!!
Very, very impressive Angela! I wouldn’t even know where to start with a project like that. I really love the orange walls in the dining room. Never a color I would think to pick but you’re right – like instant happiness!
You guys have been working hard! It’s paid off. I like the new colors and designs.
I am in love with the orange! Just seeing it makes me happy so I can’t even imagine how it feels to be in the room. :)
I’m having flashbacks to my own renovations, but it looks great! Also, my mom uses old chandelier crystals on her Christmas tree for a little sparkle.
Love that you went with a bold color! It really pops against the white and looks fantastic! So impressive with your DIY work…enjoy the delayed gratification!
wow, thanks for sharing.. you guys did a lot of work, but it was well worth it..love the master bedroom.. i think the blue paint contrasts well with the rug… great job
Wow!! You know, maybe the ceiling and moldings and door frame look different in real life than they do in these photos, but I would KILL to have a house with those details!! Are you sure you want to get rid of them?!?? But otherwise, AMAZING work – it looks like a really wonderful home to live in :)
We are debating painting the trim on the ceiling…but there is 10 coats of paint on it so we are worried it won’t ‘stick’! We’ll have to see I guess :)
I understand – we live in a rental in NYC, so the only renos we can do are painting, and there are so many layers of paint on everything that the doors and cabinets don’t even CLOSE anymore – there is one door frame where there is an old extension cord attached that got painted over (and therefore, to the frame) probably 50 years ago – it would be hilarious if it wasn’t so ridiculous!! There are services where you can take stuff like that off and send it out to be stripped for a pretty reasonable price, but I couldn’t recommend one in your area. Well, I think I can speak for everyone when I say good luck and we can’t wait to see the final results!!
oh that is interesting, I didnt know those services were available! We talked about it tonight and I think we are going to attempt to paint it and just see how it goes. Cant hurt right?
IT all looks so great!!!
i’m in love with that orange room! pretty sure that room could turn someone’s mood around instantly. it just made me smile! what a fantastic color :)! and no, it’s not because orange is my most favorite color ;)
Wow! I love your style… can’t wait to see more of your work! It must be such an amazing feeling to have accomplished so much and see it every day!
I LOVE the orange dining room. Beautiful. It will be such a nice place to be when it is cold and gray outside. I’m a big fan of color for sure.
You two are amazing!
The family room is quite possibly the most beautiful reno I have EVER seen! It looks modern but not cold at all – I LOVE it!
Oh and the orange is awesome – my mum is a therapist and has a counselling room and she did 3 of the walls that colour; it’s very relaxing and warm :)
Thanks everyone!
Your hard work definitely paid off. It looks amazing, and you and Eric should be very proud of your accomplishments.