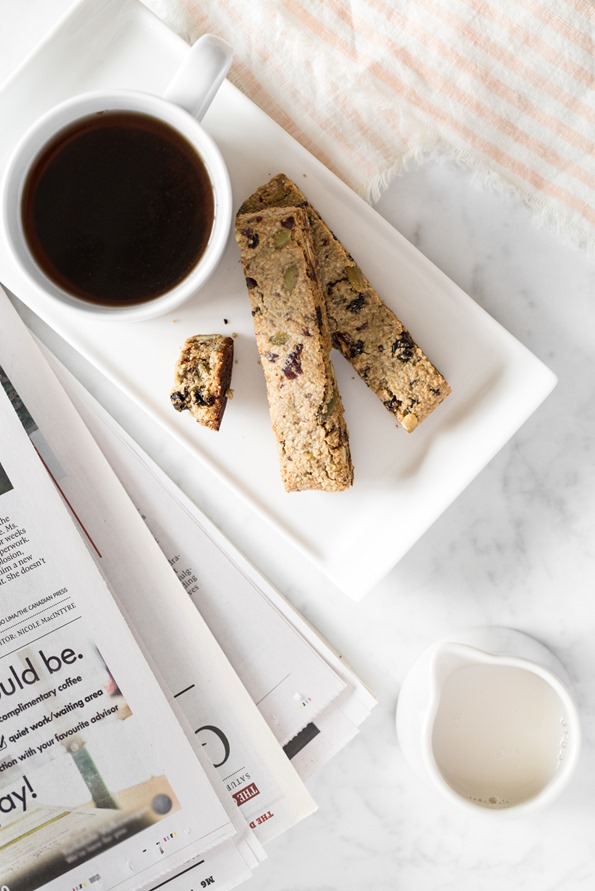
“…I’ve finally learned to greet anxiety with gratitude, because it is not my enemy but my teacher. And it’s taught me one of the greatest lessons of all: When faced with a problem, you can choose to avoid it, you can walk around it, and you can pretend that it doesn’t exist, but you will repeatedly run into its pain until you open your heart to its purpose.” Ashley Melillo, Blissful Basil
It’s no secret I’m a quote fan (and I love to include one in each issue of In the Glow), but lately I’ve been looking to them more and more for inspiration. I don’t know if it’s the dreary, sunless winter days of late or simply the phase that I seem to be in, but I’m craving new perspectives, some external sources of wisdom to reframe my thought patterns. The above quote from Ashley really spoke to me, so I thought I’d share it with you today!
I’ve been talking a lot with friends lately about how labels—both those we are given and those we give ourselves—can hold us back. We all have them, don’t we? Ways of thinking about ourselves can become an invisible boundary (conscious or subconscious) we never attempt to grow beyond because we actually believe that we can’t. It’s when you tell yourself NOPE before even giving yourself a chance. It’s a self-imposed personal growth ceiling. It’s thinking, I’m too this, or not enough that. Or how about, I don’t have that skill set; I’m not that type of person. Before long, a single label can start to represent our whole selves, rather than just a PART of what makes us who we are (and who we are is pretty awesome, by the way).
I often use the anxiety label as a reason for why I can’t do something. But what if I viewed my struggles with anxiety as something that makes me stronger? Something that if talked about openly could lift me (and maybe others) up, and take away its power to hold me back? Having shame about something and burying it deep below the surface seems to only give it more leverage. Our struggles are what make us human and relatable and we shouldn’t be embarrassed by them, ya know?
Think about something you have long thought of as a personal disadvantage or weakness. Now, try to picture yourself taking small steps to overcome it, and imagine that feeling of personal strength that you’d get from doing so. It feels good, right? Scary too, perhaps, but good. It won’t be an overnight success story, but the fight will be worth it.
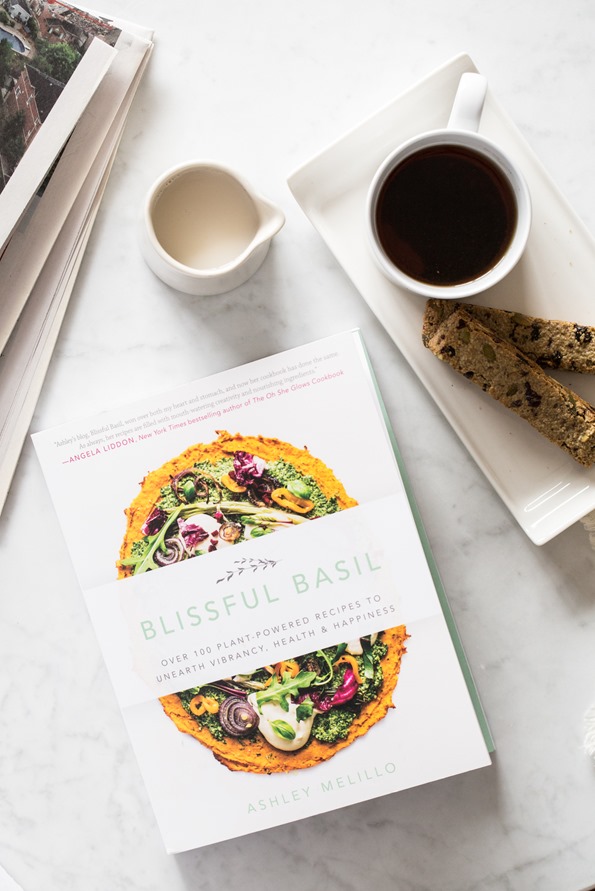
For many of you, the author of the lovely quote at the top of this post needs no introduction; Ashley, the author, photographer, and recipe creator of Blissful Basil, has been blogging for a little over 6 years now. Her quest for inner peace led her to discover the benefits of a plant-based lifestyle, and she never looked back. The quote is an excerpt from the introduction of her beautiful new cookbook, Blissful Basil. Just like on her blog, Ashley’s voice and vulnerability are so beautifully intertwined throughout this book. Her passion for creating feel-good recipes just leaps from the pages, and I think it’ll inspire you, too.
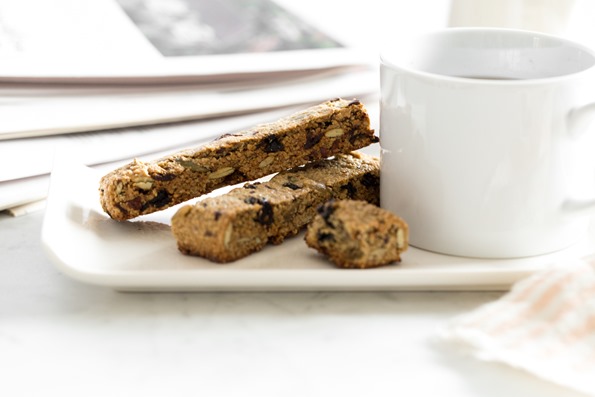
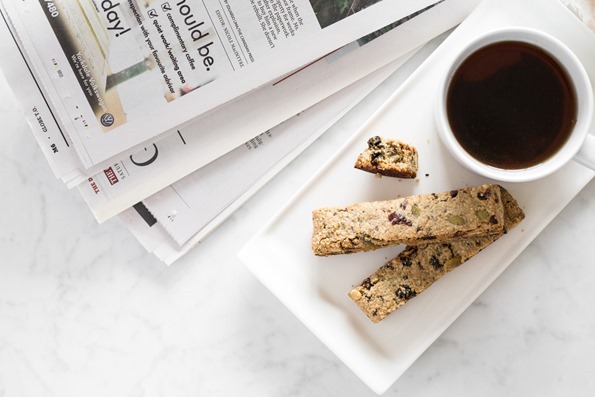
A few recipes you’ll find within these pages are: Simple Sweet Potato Cinnamon Rolls with Maple Glaze, Roasted Cauliflower Salad with Tahini-Cilantro Vinaigrette, Sloppy Shiitakes with Tangy Rainbow Slaw, and Baked Yellow Split Pea Burgers with Tzatziki Sauce. I’m thrilled to share Ashley’s Power Biscotti recipe with you today. (Many of you asked for this recipe when Ashley did an OSG Instagram Takeover last year, so it’s coming full circle!) Made with a base of ground sunflower seeds (grain-free biscotti, what!?) and very lightly sweetened with maple syrup, it’s about as healthy as biscotti gets. Upon first bite, I wasn’t too sure about the subtle flavour, but as my taste buds adjusted for the reduced sweetness (compared to traditional biscotti) I came to love this healthified version and found myself reaching for it non-stop.
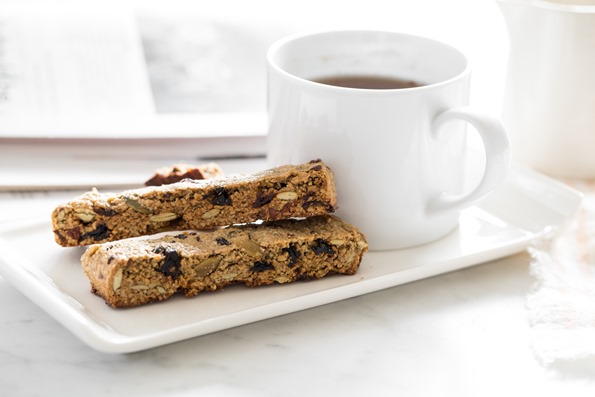
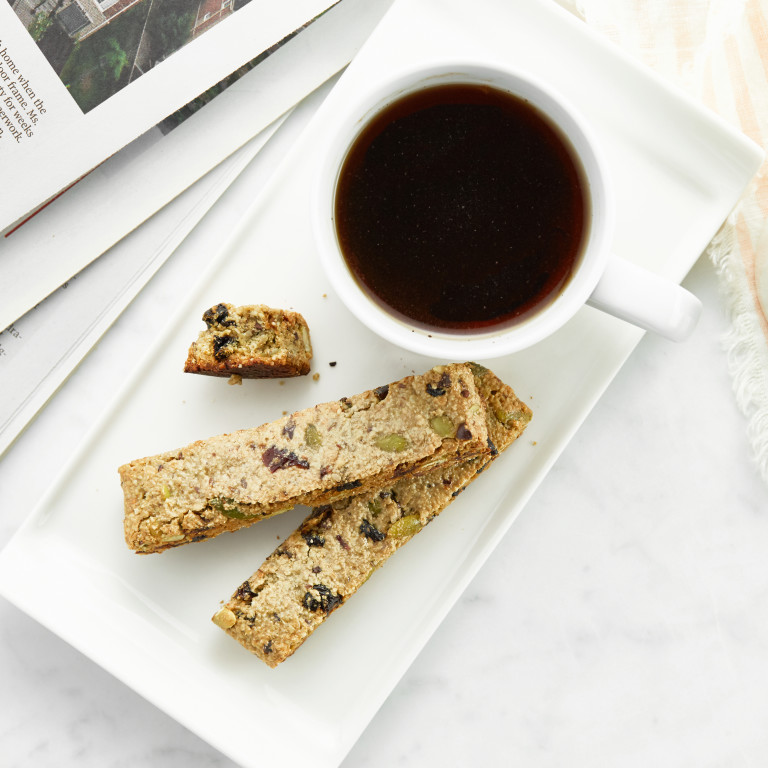
Power Biscotti

Yield
14 biscotti
Prep time
Cook time
Total time
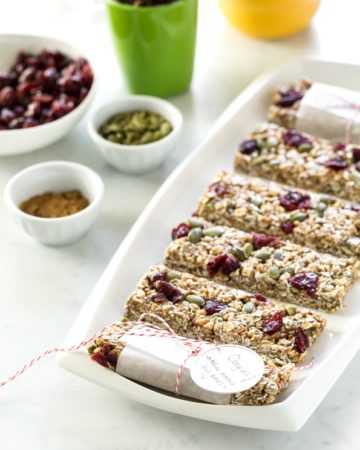
These crunchy snacks were specially designed to be nutrient-rich down to their last grain-free bite. Rather than grain-based flour, these biscotti are made with homemade sunflower seed flour. Dried fruit, pepitas, and cacao nibs are folded in to offer pops of texture, while pure maple syrup provides subtle sweetness. These biscotti make a fantastic energizing snack or breakfast that you can grab on your way out the door. Don't forget to decrease the oven temperature to 275°F (135°C) after the first bake time or you'll risk burning the biscotti during the second and third baking rounds. Shared from Blissful Basil by arrangement with BenBella Books. Copyright © 2016, Ashley Melillo. The recipe below is lightly edited to reflect my own testing process.
Ingredients
- 1 tablespoon (7 g) ground flaxseed
- 2 tablespoons (30 mL) filtered water
- 2 cups (300 g) raw shelled sunflower seeds
- 1 tablespoon (8 g) arrowroot starch
- 1/4 teaspoon fine sea salt
- 1/2 cup (60 g) dried cherries, cranberries, or blueberries, roughly chopped
- 1/3 cup (53 g) raw pepitas
- 2 tablespoons (18 g) cacao nibs (optional)
- 1/4 cup (60 mL) pure maple syrup
- 1 teaspoon (5 mL) pure vanilla extract
Directions
- Preheat the oven to 350°F (180°C). Line a large baking sheet with parchment paper.
- In a small mixing bowl, whisk together the ground flaxseed and water. Set aside for 5 minutes to thicken.
- Meanwhile, add the sunflower seeds to a food processor and process for 45–60 seconds, or until you have a coarse flour or fine meal, stopping to pulse several times to ensure even processing. The texture should be flour-like; be careful not to overprocess or you’ll end up with sunflower butter.
- Transfer the sunflower flour to a large mixing bowl and whisk in the arrowroot and sea salt. Stir in the dried fruit, pepitas, and cacao nibs (if using).
- Add the maple syrup and vanilla extract to the small mixing bowl with the flaxseed mixture and vigorously whisk to combine. Pour over the dry sunflower mixture, and use a large wooden spoon to mix well for about 30 seconds. At first it will seem like there isn’t enough liquid, but keep stirring until the liquid is evenly dispersed and you have a damp dough.
- Turn the dough out onto the lined baking sheet, and divide it into 2 equal pieces. Use lightly wet hands to shape and compact the dough into 2 tightly packed rectangles. Each rectangle should be approximately 4 × 6 inches, and just shy of 1 inch thick.
- Bake for 18–22 minutes, or until the edges are light golden brown and each rectangle feels well set, yet retains a soft indentation when gently pressed. Remove from the oven and cool for about 20 minutes.
- Meanwhile, decrease the oven temperature to 275°F (135°C).
- Once the biscotti rectangles are mostly cool, use a sharp knife to cut them widthwise into 1-inch-thick slices, pressing straight down and rocking the knife back and forth to slice rather than using a sawing motion. You should have a total of 12–14 biscotti, 6–7 from each rectangle.
- Carefully return the biscotti to the lined baking sheet, sliced-side down. Bake for 16–18 minutes. Then, carefully flip each biscotti, and bake for another 16–18 minutes, or until a light golden brown and crisp to the touch. They’ll continue to crisp as they cool, so keep that in mind when testing for doneness.
- Carefully transfer the biscotti to a wire cooling rack. Cool completely. Store in an airtight glass container to maintain crispness. They’ll keep for up to 1 week at room temperature, or you can store them in the freezer for a bit longer.
Tip:
Oven temperatures may vary greatly, so be sure to keep an eye on the biscotti during all three stages of baking to avoid burning it.
Nutrition Information
(click to expand)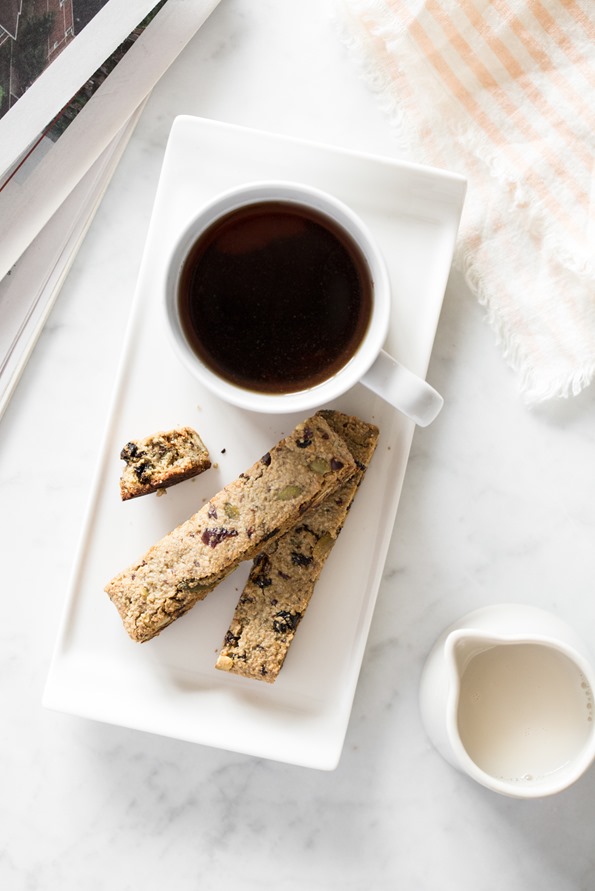
Before I go, I want to let you know about a fun interview I did with Anna and Nia from Vegan Creative. They’ve shared their review of Oh She Glows Every Day, too, so be sure to check out their post!

I have made this recipe numerous times, and each time I find a “new trick” to shaping the dough before baking. I thought I would share it with you. When the dough has absorbed all the moist ingredients, and a ball if formed, I wet my hands, and roll it into a cylinder about 8 inches. Then I cut the cylinder in half and roll each half into the necessary length and shape. Your hands must wet. Also, I add about 1 tablespoon to the dry ingredients for extra flavour and nutritional value. My friends, even those who are no gluten free, love these biscotti, and I have received so many requests for this when I visit or attend meetings. Thank you so much for this treat!