Happy Thursday! I hope you’re enjoying the week. Some of you have asked for more life updates in my blog posts, and I think that’s a fun idea to bring back more often! Without further ado, a little update and then the recipe…
Our week has been filled with a grab bag of things, as it usually is! On the business side, the Oh She Glows app work has still been filling our days and keeping us busy. I added 7 new recipes to the app over the past 2 weeks, so I’ve been a busy bee working around the clock! Each time I add a new app recipe I have to re-test the recipe (I also have one of my incredible recipe testers test it as well), re-write the recipe (especially if it’s a recipe published before 2013—let’s just say my recipe writing has changed over the years!), edit the recipe, shoot the photo, and then upload the recipe to the app testing site. From there, I position the recipe title, add metric conversions (all recent and future recipes will have metric conversions on the blog and in the app—major yay!), give the recipe a final edit, and make sure everything looks good before I make it live. (My OCD self usually checks it over a gazillion times.) I’m getting the hang of the process now and I really enjoy it. The great news is even if you don’t have the app you’ll still benefit, because as I’m revamping recipes, I’m adding the updated versions to the original blog posts. This means easier-to-follow recipes, and in many cases, even better-tasting recipes. Check out this video Eric put together below for a sneak peek of 6 recipes that were recently added to the app. I’m having so much fun with the photography.
On the home front, we’ve had quite a bit of excitement this week! You may have read in a recent In the Glow newsletter that this year we’re starting up the home renovation process once again (despite my pregnant self not wanting any part of it!), and right now we’re in the design phase. This week, we met with our designer to go over her drawings of the spaces. The design phase is my favourite phase (aside from when the renos are 100% complete, that is) because it’s all rosy and dreamy and filled with hopes of what could be. There’s no mess, no noise, no going over budget, and no dust (yet). So I love this stage, and Eric and I are pretty quick at making decisions together. We’re planning to finish the unfinished basement and a couple other projects before our second little one arrives in September. I must have fallen on my head to agree to this! Eric loves doing renos so I kind of gave in. I have to admit, going through the kitchen reno while 7–9 months pregnant in 2014 was pretty hellish (to put it lightly…hahah), but I’m hoping this process goes more smoothly since it’s not my kitchen that I’m giving up. NOBODY WANTS TO GIVE UP THEIR FOOD SANCTUARY…am I right? This is probably wishful thinking though. I figure that it’ll be easier doing the renos before the baby arrives because we all know when a newborn is in the house not much is getting done aside from feeding, changing scary diapers, and praying for more sleep. Plus, it would be great to have a finished basement where Adriana can have a real playroom! I’ll keep you guys posted on the journey and hopefully post some progress pictures in months to come.
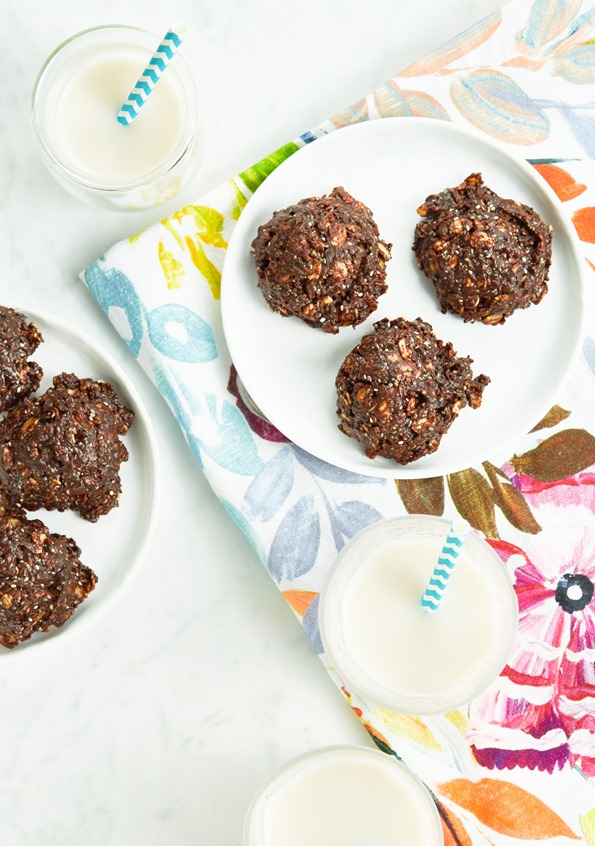
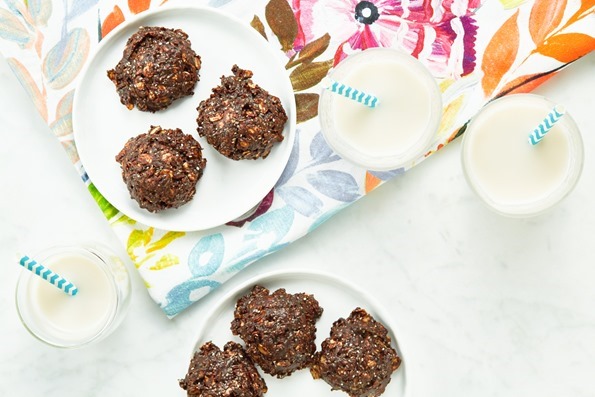
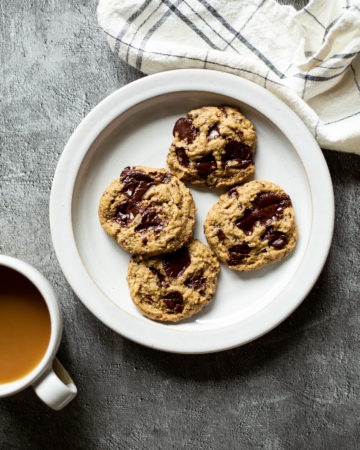
Today’s recipe features one of the new recipes I uploaded to the app—my current favourite way to satisfy my chocolate fix! I didn’t want anything to do with chocolate during the first trimester, but lately I really crave it from time to time. Eric is so enthusiastic about these cookies I probably shouldn’t write the choice words he yelled out when he tasted them! (If you have our app, this recipe should automatically download when you open it next. Sometimes it can take up to 24 hours to display, but since I uploaded it yesterday afternoon it shouldn’t be long!)
No-Bake Chocolate Fudge Cookies

Yield
8 cookies
Prep time
Cook time
0 minutes
Chill time
15 minutes
Total time
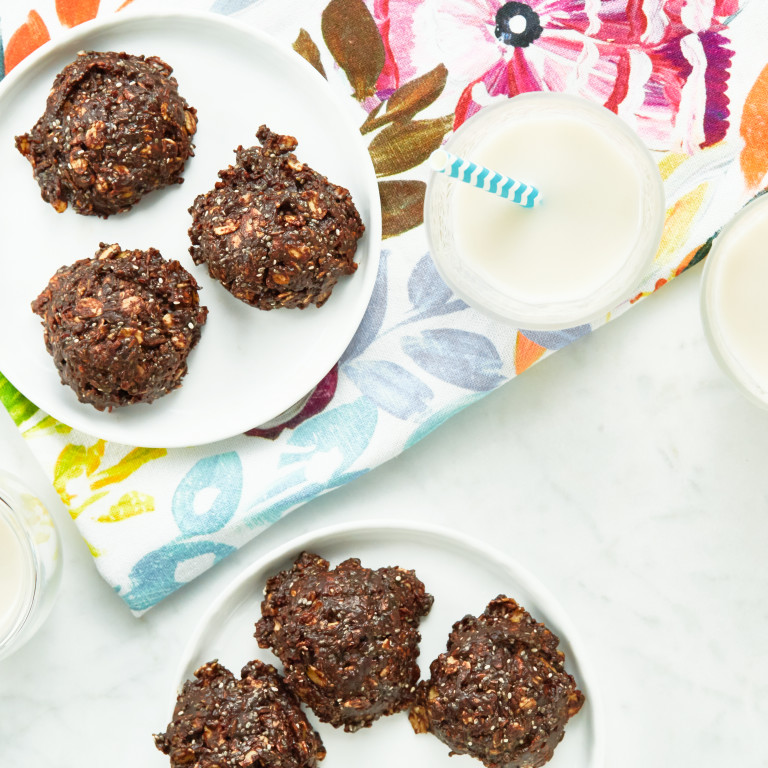
These no-bake fudge cookies are my quick and easy solution when a chocolate craving strikes! I start with a homemade coconut oil chocolate base (made even creamier with sunflower seed butter!), and add chia seeds for healthy Omega-3 fats, shredded coconut for a hint of macaroon flavor and texture, and of course rolled oats for the classic no-bake cookie ingredient. The cookies will soften a great deal at room temperature, so I recommend enjoying them straight from the fridge.
Ingredients
For the wet ingredients:
- 3 tablespoons (45 mL) virgin coconut oil
- 2 tablespoons (30 mL) sunflower seed butter*
- 1/4 cup (20 g) unsweetened cocoa powder
- 1/4 cup (60 mL) pure maple syrup, or to taste
- 1 teaspoon pure vanilla extract
For the dry ingredients:
- 7 tablespoons (50 g) gluten-free rolled oats
- 6 tablespoons (35 g) unsweetened shredded coconut
- 2 tablespoons (25 g) chia seeds
- 1/8 teaspoon fine sea salt, or to taste
Directions
- Line a large plate with parchment paper and set aside.
- In a medium pot, melt the coconut oil over low heat. Whisk in the sunflower seed butter, cocoa powder, and maple syrup until smooth. Remove the pot from the heat and whisk in the vanilla.
- Add the oats, coconut, chia seeds, and salt into the pot and stir well until combined. The mixture will be thick, dense, oily, and gel-like (from the chia seeds), but this is normal. Swear.
- Using a retractable ice cream scoop (approximately 2 tablespoons/30 mL) or simply a spoon, scoop the dough and place the mound onto the plate, leaving a bit of space between each cookie.
- Place the cookies in the freezer to set for about 10 to 15 minutes, until firm, or simply chill in the fridge if you have the patience.
- Store leftover cookies in an airtight container in the fridge for 1 week, or freeze them for up to 4 to 6 weeks. These cookies have the best texture/flavour straight from the fridge (rather than the freezer) so I prefer to store them in the fridge.
Tip:
- * Instead of sunflower seed butter, feel free to use natural peanut butter or almond butter. I also recommend stirring the nut or seed butter very well before measuring (if it has oil on the top) to avoid oily cookies.
Nutrition Information
(click to expand)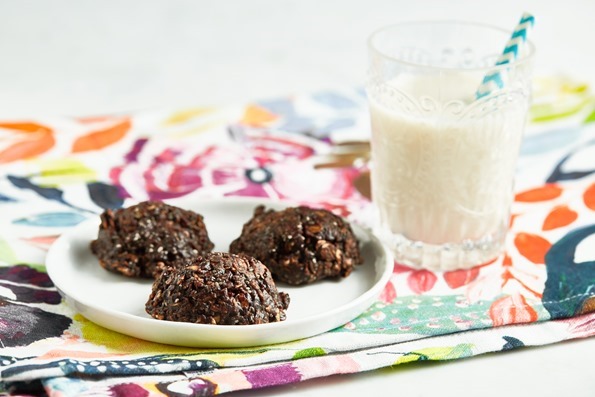
Last but not least, I forgot to announce in last Friday’s post who won the iPad giveaway and stand. A huge congrats to the winner (who was chosen randomly by Rafflecopter), Rochelle E., for winning these two awesome prizes! Rochelle, as I mentioned in my email, they will be on their way to you soon! A big thanks to everyone for entering the contest.
See you tomorrow for another installment of Friday FAQs!

My entire family just loves these. We make at least one batch per week and they are the perfect after dinner treat- thank you, Angela!
What do the chia seeds do in this recipe? Can they be replaced?
Or am I doing chia seeds wrong? They seem like hard little gravels in the cookie, and I have to pick them out of my teeth for hours after if I can’t get to my floss. Am I missing something about chia? I did a chocolate chia pudding too, that was much the same – crunchy hard seeds in a soft pudding seemed odd.
I am new to some of the common vegan food items, so any help is appreciated.
Hey Tamara, Oh you are so right about chia seeds – they can take some getting used to (and even then I know they aren’t for everyone). :) They do add some crunch in things for sure and can stick to the teeth! To be honest, I havent tried this recipe by removing the chia seeds so I’m not 100% sure how they’d turn out. Chia seeds can help with binding and thickening. If you try anything id love to hear how it goes!
These are my favorite cookies! They are the perfect chocolatey hit without all the sugar.