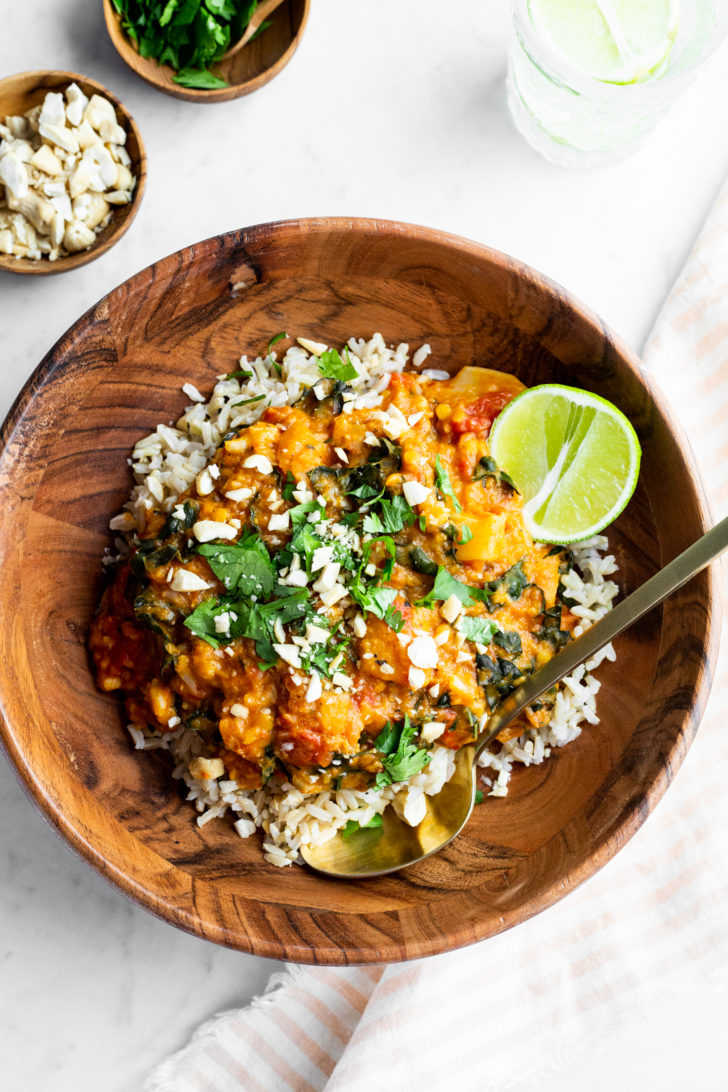
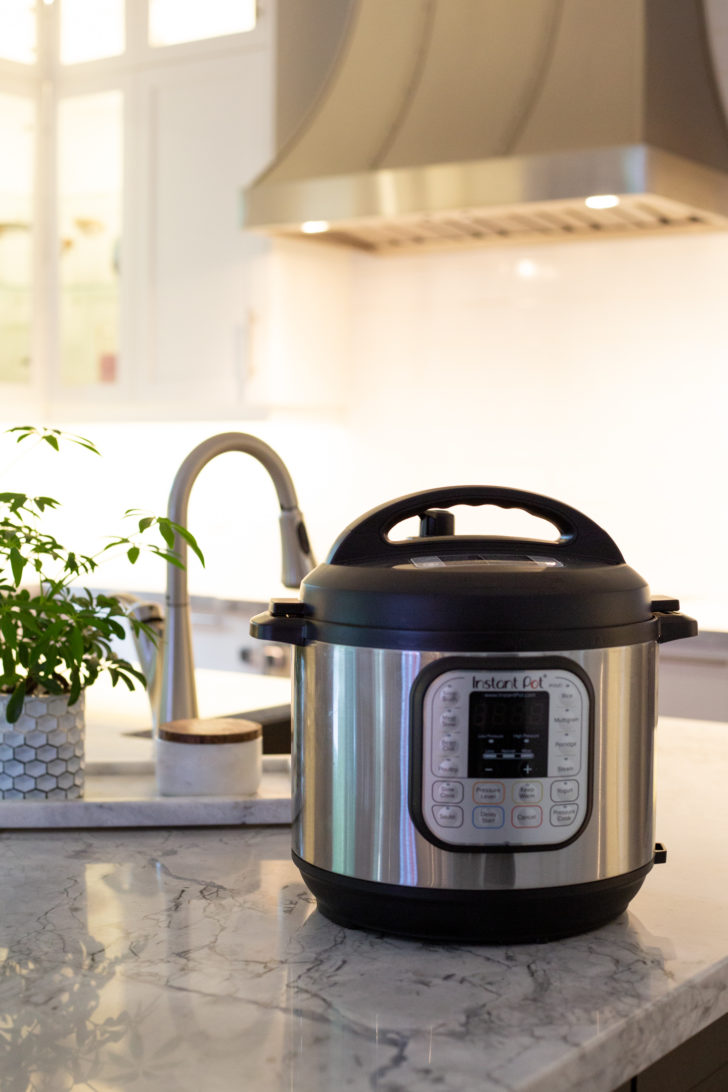
My very first vegan Instant Pot recipe is here! I finally took the plunge and purchased an Instant Pot after being on the fence about whether I wanted a new appliance to take up real estate on my counter (it would have to fight for space next to the kids’ piles of artwork, after all). Thanks again for the Ask Angela weigh-in back in February. I’m usually suspicious of new trends and like to wait a good while before I take the plunge, but I’m loooving it so far. I had totally underestimated how nice it is to put the lid on a recipe and walk away! But this same convenient feature also makes it challenging to develop recipes because you have ONE SHOT to get the cook time/pressure correct. No big deal. This curry took over 10 trials to get perfect…I changed up the flavours, cook time (6 minutes, 5 minutes, 1 minute, 4 minutes…ahh!), liquids-to-solids ratios…you name it, I tweaked it! Nicole and I love a challenge, though, so it’s been fun figuring it out and I do think we’ll get quicker as we go.
I had a stovetop pressure cooker back in the day and that thing used to scare the bejesus out of me with all of its rattling and clanking around. So the first two times I cooked with my new Instant Pot, I handed Eric a wooden spoon and instructed him to release the steam while I hid. I’m not proud, but hey, at least I’m now doing it myself! It’s really not that bad at all, and it feels so much safer than my old stovetop pressure cooker ever did.
Don’t worry if you don’t have an Instant Pot, though! I got yo’ back. We’ve tested this curry on the stovetop as well because I want everyone to be able to make these easy recipes at home! I haven’t had a chance to test this curry in a slow cooker yet, but if any of you do, could you please leave a comment and let us know how it goes? The beauty of this curry is that you literally throw everything (except the greens) into a pot, stir it, and cook. It couldn’t be easier! Of course, I wouldn’t call this an authentic Thai curry by any means, but it’s delicious and comes together quickly on those busy weeknights.
Anyway, if you have any questions about this recipe or the Instant Pot in general, please fire away below! If I can’t answer your question, maybe someone else can help by chiming in with their experience.
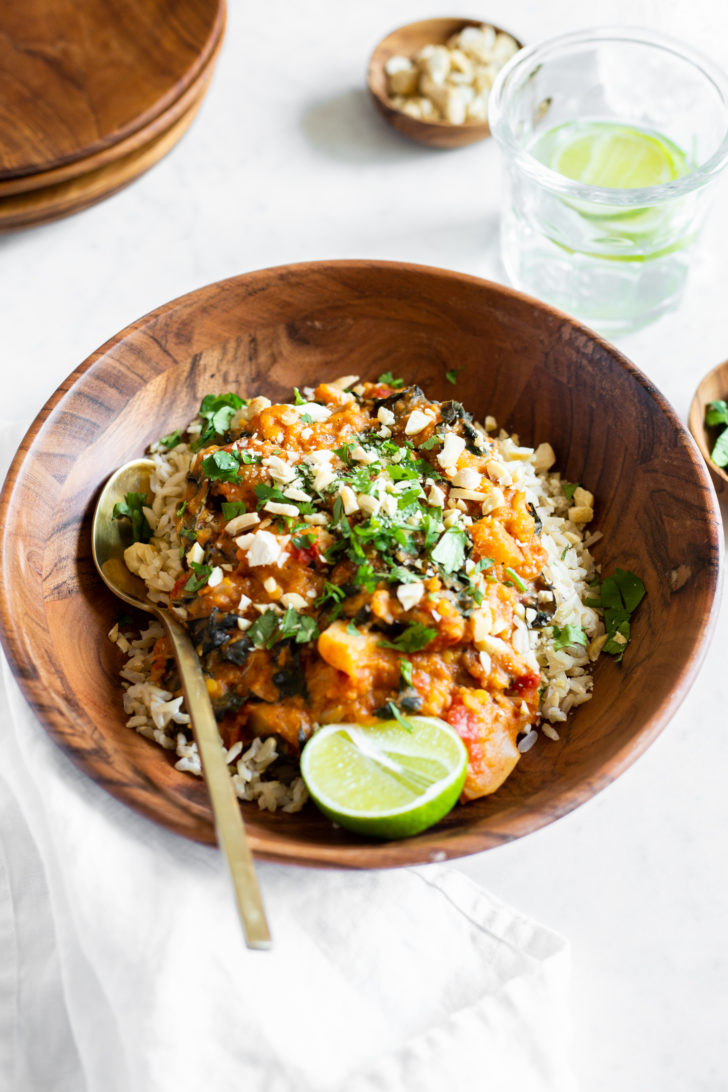
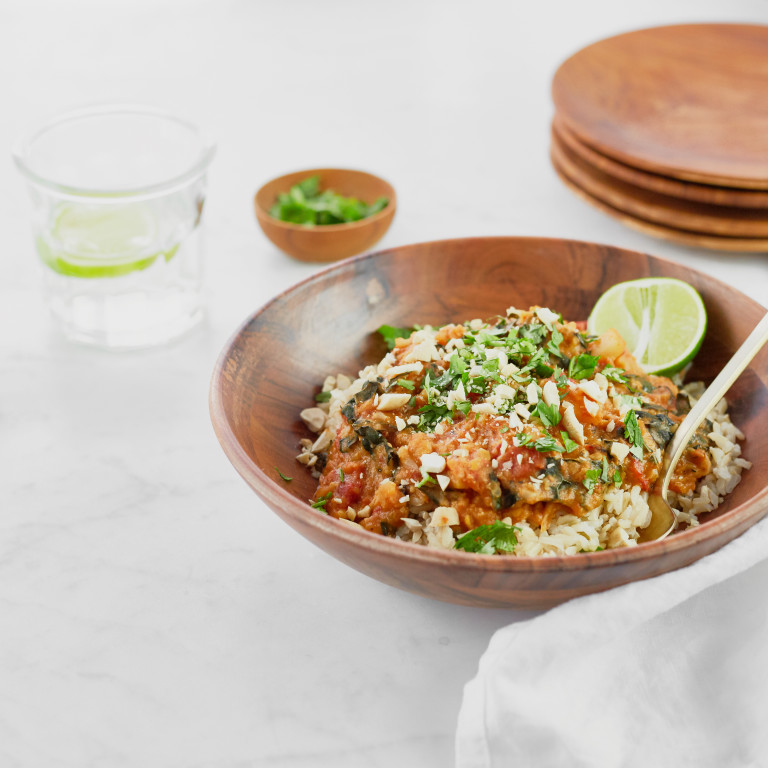
Instant Pot Cauliflower Thai Curry

Yield
5 1/2 cups (1.3 L) or 4 servings
Prep time
Cook time
Total time
I love the soft, stew-like texture of this spicy curry and how serving it over a cup of fluffy rice lends just the right amount of chewiness! This dish is one of those crave-worthy comfort foods that I reach for again and again. I created this recipe out of a need for more go-to pantry dinner options that take advantage of my speedy new Instant Pot electric pressure cooker. Not to worry if you don’t have one, though—follow my directions in the tip below to make this curry on the stovetop instead. It’s important to follow the Instant Pot directions carefully to avoid overcooking the veggies. This recipe's directions (steps 1 and 2) have been lightly edited as of January 10, 2018 to avoid some machines getting a burn notice. This recipe is adapted from my 8-Minute Pantry Dal.
Ingredients
For the curry:
- 1 tablespoon (15 mL) extra-virgin olive oil
- 1 (14-ounce/398 mL) can light coconut milk
- 1 (14-ounce/398 mL) can diced tomatoes, with juices*
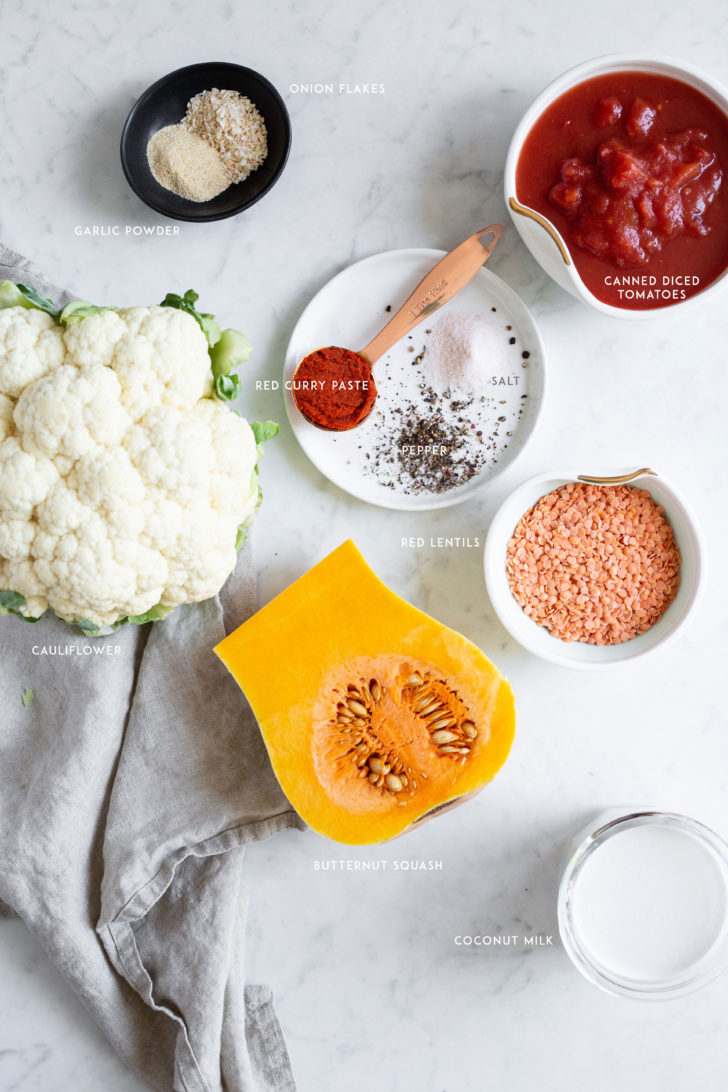
- 2 cups (260 g) chopped cauliflower florets (1-inch pieces)
- 2 cups (340 g) peeled and cubed (3/4-inch) butternut squash
- 2 tablespoons (30 mL) red curry paste**
- 1 teaspoon (5 mL) dried flaked onion***
- 1/2 teaspoon (2.5 mL) garlic powder
- 3/4 teaspoon fine sea salt, or to taste
- 1/4 teaspoon cayenne pepper
- Lots of freshly ground black pepper, to taste
- 1/2 cup (100 g) uncooked red lentils
- 2 cups (75 g) packed stemmed and finely chopped kale or chard
Serving suggestions:
- Cooked jasmine rice or grain of choice
- Fresh chopped cilantro leaves
- Fresh lime juice
Directions
- Add all of the curry ingredients (except the red lentils and kale/chard) to the Instant Pot and stir until combined.
- Add the red lentils on top of the mixture and gently press them into the liquid (do not stir the lentils into the mixture as this can result in a burn notice in some machines).
- Secure lid in the lock position and check that the Steam Release Handle is pointing to the “Sealing” position.
- Press the “Pressure Cook” button (or “Manual”, on some machines) and set the cook time to 5 minutes on high pressure. After 5 seconds you’ll hear a couple beeps and the screen will say “on”. The cooking process has begun! You can now go do something fun for about 10 to 15 minutes while the curry cooks.
- You’ll hear a few beeps when the timer is up. Immediately do a “Quick Pressure Release” to avoid overcooking the curry. I stand back and use a wooden spoon handle (never my hand!) to shift the Steam Release Handle to the “Venting” position to release the pressure. Once all of the pressure has been released, the float valve will sink and you won’t hear steam anymore.
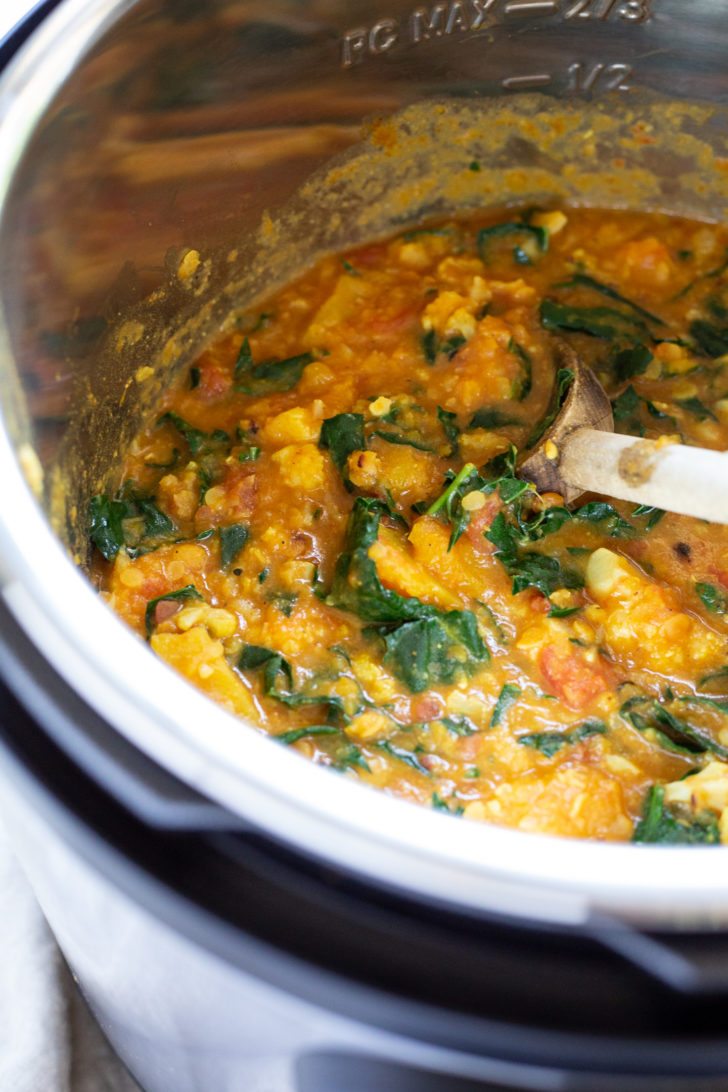
- Carefully open the lid and stir the curry. To achieve a thicker texture, I like to mash a bit of the curry with a potato masher, simply pulsing about 4 or 5 times around the pot. You can also blitz it for a second or two with an immersion blender.
- Stir in the chopped greens until thoroughly combined and secure the lid. Set the Instant Pot to the “Keep Warm” setting and allow the greens to wilt for about 5 minutes in the curry. Press “Cancel” to turn the heat off and release the steam again, if necessary, before removing the lid.
- Serve over rice or grain of choice, if desired, and garnish with cilantro and lime. The lime juice gives it a lovely brightness, but avoid using too much as it can overpower. I always add a sprinkle of salt and pepper before serving too.
Tip:
* The canned diced tomatoes that I use are quite "soupy" and liquid-y. If your can seems to be on the low end of the liquid content, I would recommend adding a 1/2 cup of water to this recipe before cooking.
** I love this Thai Kitchen Red Curry Paste—it’s shelf stable and comes in a small glass jar. You can often find it in the international cuisine aisle of grocery chains.
*** Dried flaked onion is less concentrated than onion powder. Onion powder will work as a substitute if that's what you have on hand, but I would suggest using a smaller amount (around 1/2 teaspoon) as it’s more flavourful.
STOVETOP OPTION: Not to worry if you don't have an Instant Pot as this recipe works great on the stovetop too. Simply add all of the ingredients except the kale (or chard, if using) to a large pot, stir, and bring to a low boil over medium-high heat. Reduce the heat to medium-low and simmer, covered, for 25 to 35 minutes (adding the kale/chard during the last 10 minutes), until the veggies and lentils are tender. Stir the curry every 5 minutes while cooking, and reduce the heat if necessary to prevent it sticking to the pot. Follow directions #5 and #7.
Note: Cauliflower amount has been changed from 2 1/2 cups to 2 cups as of Sept. 25/18.
Nutrition Information
(click to expand)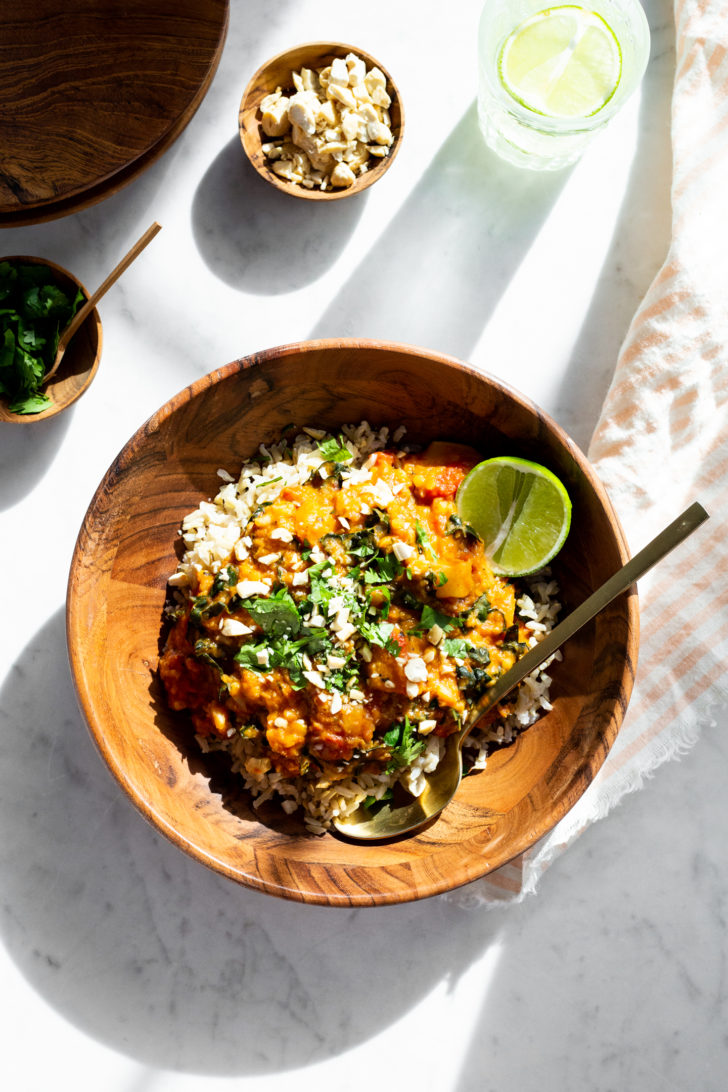



Hi there! Sorry if this question has been asked a hundred times, but can I use brown lentils instead of red?
Yes, but it’ll throw off the cooking time quite a lot. They take twice as long to cook, and then your veg might have melted into the sauce. You could either cut the veg very large or precook your legume and then add it at the end. IMO, though, that makes an easy recipe much more complicated. The red lentils melt into the sauce if you make it as it’s written, FYI.
How hot/spicy is this? I have 2 young kids.
P.s. I made this for my wife and I and it is the best tasting instapot recipe I’ve made to date. I made it as per instructions. To answer my own question, maybe a little spicy for young ones but I’ll try again with less spice. Great recipe.
Soooo good! I made this 2 nights ago and have eaten all of it myself. I used a bit more curry paste than it calls for and made it on the stove top instead of instant pot, but otherwise followed the directions and it turned out perfectly! YUM
We love it and have shared it with many others. Its spiciness will vary widely based on the curry paste you pick. The ones from Safeway have almost no spice compared to what we get from our great Asian groceries. You can taste it ahead of time and adjust accordingly.
It’s perfect as written, and we’ve also made these substitutions:
A whole bag of frozen spinach on top of the lentils before the pressure cooking instead of the fresh greens later
A big 28-oz can of tomatoes instead of the smaller can
Acorn squash (we don’t peel this or the butternut), cut into 1-inch wedges
Potatoes (cut them small if you want them to disintegrate, or large chunks to keep their shape)
Green curry paste instead of red curry
Extra squash when we didn’t have cauliflower
Add canned chick peas, etc, after cooking if you don’t have lentils
Added cubed tofu after cooking
Crispy chili oil as a garnish
They’ve all been delicious! Thank you for this terrific recipe.
This was delicious and soooo easy!!! I used pumpkin purée instead of squash because I had some open. It was definitely an addictive meal. Thank you!!
I really like this recipe. I am not a fan of cauliflower plain but with the coconut milk and curry it was good. I make a lot of soup this is a nice change. My partner liked it also but he is not remotely picky lol so it goes without saying.
Can we freeze this?
Love it. Made it so many time.
How is it without the lentils? Does that seriously change the dish. I have been asked to bring a vegan mail to a dinner party. My daughter-in-law makes this and I love it but my hostess has a serious legume allergy.
Made this in the IP and stovetop. So good! I used green Curry paste instead of red and that’s good too. Thanks for a great recipe! Perfect for a chilly fall evening.
This is so good and easy! I’ll be making again.
Can you use a slow cooker if you don’t have an instapot?
Such a simple, healthy, and easy weeknight recipe!
I added 1 tsp of chili powder to the dish, however, it wasn’t spicy enough for my family. So I will be adding more spice (chili flakes, powder, and maybe some chopped peppers in my next round).
I cooked the curry paste with a little olive oil and seasonings to bring out the aroma before tossing in the rest of the ingredients.
I used chard (so good) and added a potato to the mix as well.
For the rice, I sauteed the whites of a green onion, cooked the rice and then zested the lime into the rice. It added a nice flavor to the over all dish!