Yesterday, I did my first timed Run/Walk experiment!
I decided to follow Running Room’s 10 min run: 1 min walk plan, except that I decided to do run 1 mile, walk 1 minute instead. I just figured it was easier for me to keep track this way.
At each mile (give or take 0.05 miles if I forgot to look at my watch), I stopped and walked for 60 seconds at about a 15:00 min/mile pace.
I decided to compare my overall time with a previous 8 mile run that I did before the 10-miler, where I did not stop and take walk breaks.
My time for the previous 8-mile run was 1 hour and 20 minutes.
Now this isn’t a true experiment obviously because for one, I didn’t run the same course. The course I ran yesterday was very hilly (murder hill + others), while the previous 8 mile run was done on smaller hills. Secondly, because I knew that I was comparing this run to my previous run it may have made me run faster (possible confound!). At any rate, it was fun to see the results.
Yesterday’s 8 miler (run 1 mile, walk 1 min repeats)
- Duration: 1 hour 17 mins.
- Avg pace: 9:44 min/mile
- Max pace: 7:52 min/mile
- Max HR: 171 bpm
- Avg HR: 152 bpm
So even though I walked about 8 minutes out of the 1:17, I still beat my previous time where I didn’t walk at all. Pretty amazing!!!
The benefits of the run/walk:
- Many of you have told me that it prevents injury and you can run much farther
- Psychological benefits- I felt more confident because I knew I could stop soon
- I could maintain a faster pace
Drawbacks:
- I found that it made me focus on my watch/time too much, rather than just ‘zoning out’ and enjoying the run
- Sometimes I just wanted to keep on walking past 1 minute! lol
- At times, it made each mile seem long
All and all, I definitely think that the run/walk intervals helped my endurance and for this reason I will probably continue to use this technique for long runs to see how it goes. I feel like I need to test it out more to see how I really feel about it. I can’t imagine using this for shorter runs though, I think it would really throw me out of the zone.
~~~~~
Blister Prevention:
Some of you have been asking me what my technique is for preventing blisters so I thought I would do a quick tutorial.
The only thing that has worked for me is moleskin and black electrical tape. The black electrical tape is very easy to remove and very soft. So the sock literally slides off of it instead of creating friction. It also holds the moleskin in place.
My Life brand Moleskin from Shoppers. It comes in a big roll and is the best bang for my buck. I actually would like to find it in bulk though as it is still expensive ($9-10 for a roll). Eric bought me BULK black electrical tape last night! What a man, eh?
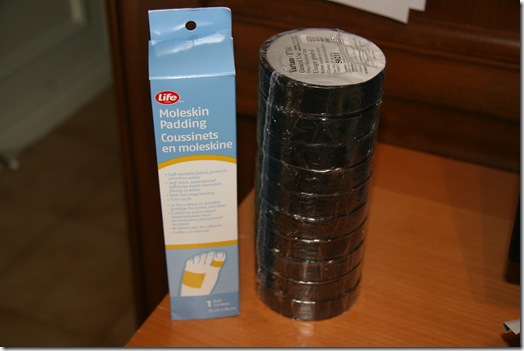
1) Find your blister prone area. For me it is everywhere, but I will pick my heel for time sake.
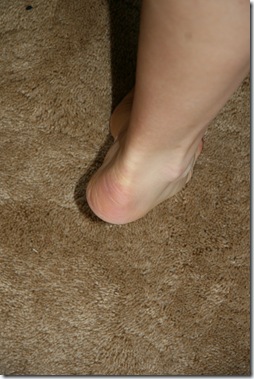
Notice not one blister on my heel? Before I started doing this I had huge blisters on my heels!
2) Cut a piece of moleskin and tape:
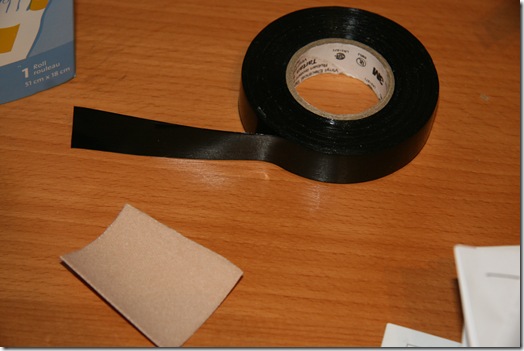
3) Remove backing and stick onto blister prone area.
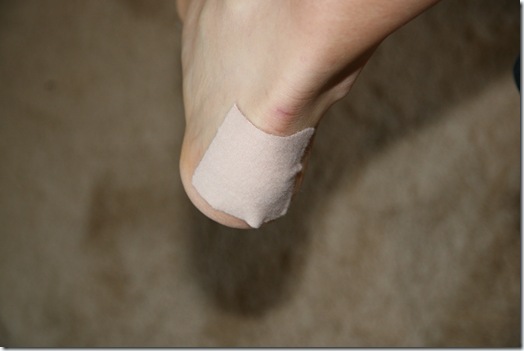
4) Now cover in the opposite direction with a piece of black electrical tape.
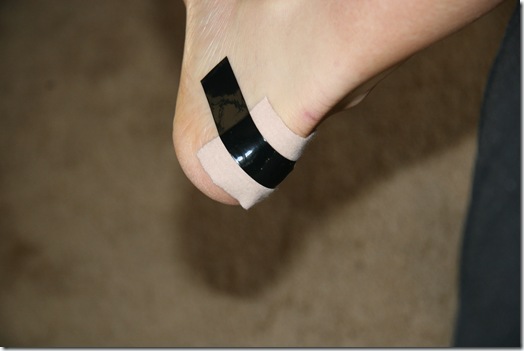
This is my lifesaver. Thank you to everyone who recommended me moleskin!
I’m off to go on a special anniversary errand. I hope I like the ‘proofs’!


