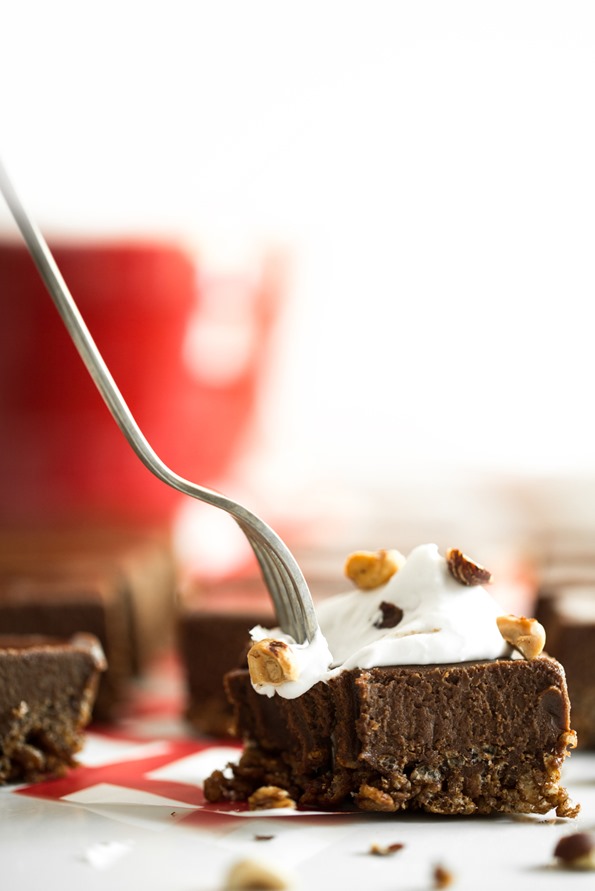
Meet my newest hot weather summer dessert.
It’s cold.
crispy,
creamy,
chocolaty,
nutty,
no-bake,
vegan,
gluten-free,
and seriously hard to resist! No, make that impossible to resist.
This chilled dessert is a hybrid of two of my favourite desserts in The Oh She Glows Cookbook – the Chilled Chocolate Espresso Torte (p. 241) and my Beat the Heat Frozen Dessert Pizza (p. 269). Now that the temperatures are finally rising here in Southern Ontario (YAY), I knew I had to transform my beloved torte into something that didn’t require turning on the oven.
Because a pregnant lady, humidity, and a hot oven just don’t mix.
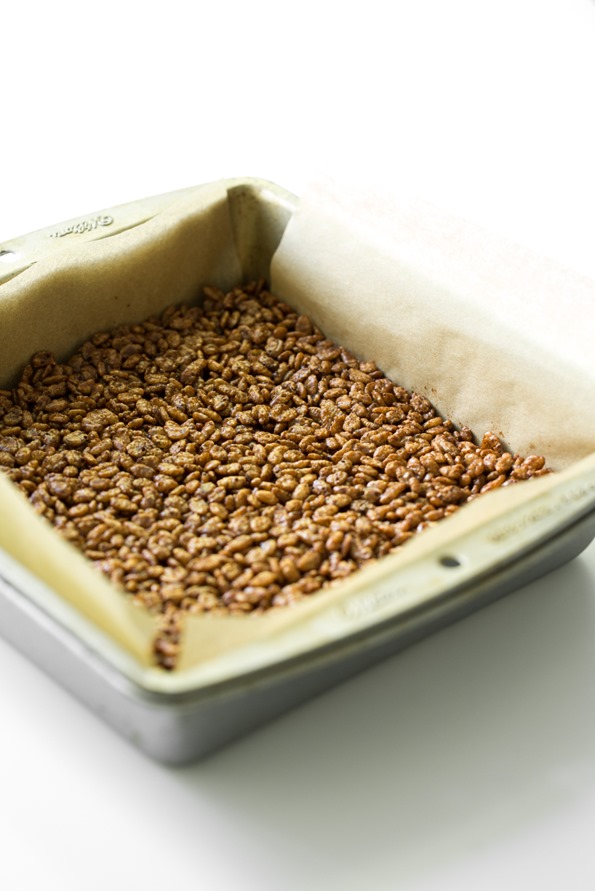
Instead of my nut-based baked crust, I used the no-bake chocolate rice crisp crust from the frozen dessert pizza recipe. It’s such a simple swap, but it worked so well. The crispy crust is the perfect contrast to the creamy chocolate filling. Plus, it was so much faster to make. The prep is less than 5 minutes for the crust. Fool. Proof. I will be using this crust again and again this summer. In fact, I’m already planning on serving this as a dessert option at my baby shower. I think it’s going to be a big hit!
I poured on the rich & creamy chocolate filling and let it firm up in the freezer for a few hours. All you do after that is slice it and serve with some coconut whipped cream and chopped nuts, if you wish. I had some toasted hazelnuts leftover from a previous recipe so I just sprinkled those on top. Absolutely divine!

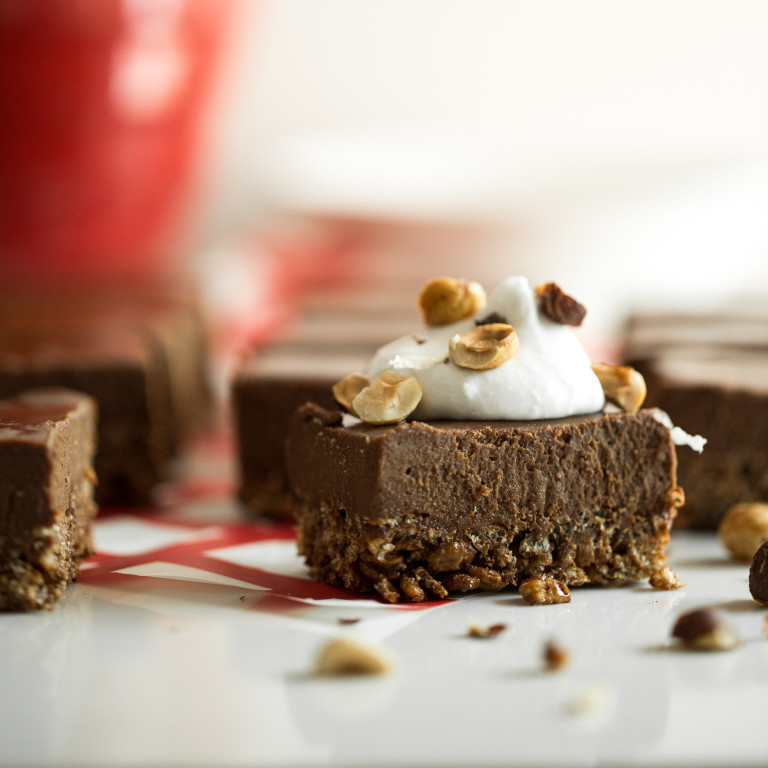
Double Chocolate Crispy Frozen Dessert Bars

Yield
15-18 small slices
Prep time
Cook time
0 minutes
Chill time
3 hours
Total time
This creamy + crispy double chocolate dessert is no-bake and perfect for those hot summer days. It's meant to be served chilled, straight from the freezer just like an ice cream cake. I recommend using a high-speed blender like a Vitamix or Blendtec for this recipe because you'll need a machine that blends the soaked cashews super smooth. Less powerful blenders just might not cut it for this one (be sure to let us know in the comments if your brand does a good job!). Also, be sure to soak the cashews in a bowl of water about 8 hours before you plan to make this recipe. This ensures that the cashews are super soft for easier blending and it also has the added bonus of making the nuts more easily digested. Recipe adapted from Chilled Chocolate Espresso Torte and Beat the Heat Frozen Dessert Pizza from The Oh She Glows Cookbook.
Ingredients
FOR THE CRUST:
- 2 cups rice crisp cereal (use certified gluten-free if necessary)
- 4 teaspoons unsweetened cocoa powder
- 2 tablespoons coconut oil, melted
- 2 1/2 tablespoons brown rice syrup or coconut nectar syrup
FOR THE FILLING:
- 1 1/2 cups raw cashews, soaked in water for at least 8 hours
- 1/2 cup virgin coconut oil, melted
- 2/3 cup agave nectar or 3/4 cup pure maple syrup
- 2 teaspoons pure vanilla extract
- 1/3 cup cocoa powder or raw cacao powder
- 1/3 cup dark chocolate chips, melted
- 1/2 teaspoon fine-grain sea salt, or to taste
- 1/2 cup toasted hazelnuts, for garnish
- Coconut Whipped Cream, for garnish (see link below)
Directions
- Place cashews in a bowl and cover with 1-inch of water. Let soak for about 8 hours until soft and plump.
- Grab an 8-inch square cake pan and line it with 2 pieces of parchment paper, one piece going each way so it's easy to lift out.
- For the crust: In a large bowl, add the rice crisp cereal and cocoa powder. Stir to combine. In a small pot, melt the coconut oil over low heat. Pour the oil and syrup onto the rice crisp and stir very well until combined. If the mixture seems a bit dry you can add another 1/2 tablespoon of syrup and stir again. Spoon the crust mixture into the prepared pan and smooth out. Grab a small piece of parchment paper and use it to press down the crust until packed and even. Place the pan in the freezer so the crust can set while you prepare the filling.
- For the filling: Drain and rinse the soaked cashews. In a small pot, melt the coconut oil over low heat. Pour into a high-speed blender. Now add in the agave nectar or maple syrup and vanilla, followed by the cocoa powder, melted chocolate, fine grain sea salt, and drained cashews. Starting on low, blend the mixture until it comes together and then gradually increase the speed until the mixture is super smooth. If using a Vitamix use the tamper stick to get it going.
- Remove crust from freezer and pour on all of the filling. Smooth it out with a spatula and then place the pan back in the freezer (uncovered is fine) for about 3 hours (or longer if desired) until the filling is firm to the touch.
- Slice and serve chilled straight from the freezer with a dollop of coconut whipped cream and chopped hazelnuts.
- Store leftovers in an air-tight container in the freezer for up to 3 weeks. I like to freeze the slices, then wrap them in tin foil, and place in a sealed glass container for maximum freshness.
Tip:
If your blender is having a hard time blending the filling mixture you can try adding a bit more liquid sweetener or melted coconut oil to help things along. Adding a bit of almond milk might be an option too, but I wouldn't add more than 1/4 cup at most. To make this recipe soy-free, use a soy-free chocolate such as Enjoy Life brand. Looking for a nut-free option for the filling? I haven't tested one for this particular recipe, but you might want to try out this filling recipe using an avocado-based filling (simply swap the almond milk for a nut-free milk and the peanut butter for sunflower seed butter).
Nutrition Information
(click to expand)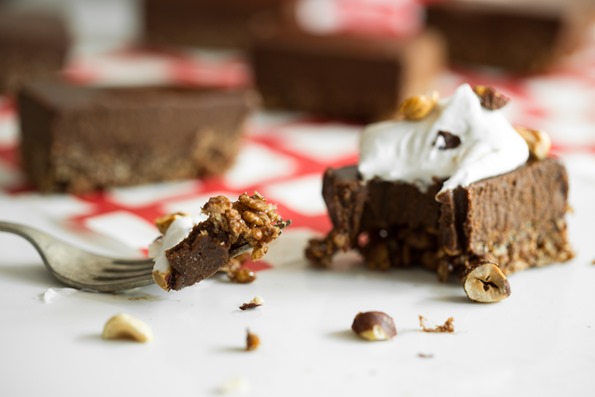
The added bonus is that you can make this dessert in advance, freeze it, and not have to fuss with it the day of your event. The best kind of dessert if you ask me!
I hope you enjoy cooling down with this summer treat as much as we do. Happy (almost) summer.

Is the nutritional information listed with each recipe? I see a tab for that, but cannot see any information on the macros.
Hey Lynda,
Happy to help :) If you click on the “+” sign next to “nutritional information” near the bottom of the recipe (right about tips), the nutritional info will drop down.