

When it comes to onion rings, I’m a bit of a late bloomer.
I don’t think I tried my first onion ring until I was in my twenties, and when I did, I can’t say I was blown away. They were a bit bland and I could think of a million other foods I’d rather eat.
However, I soon realized that not all onion rings are created equal.
Years later, everything changed when I tried Fresh restaurant’s quinoa-battered onion rings. Their onion rings have been celebrated as some of Toronto’s best and I quickly agreed, being the onion ring connoisseur that I was…not.
But I do know good food when I taste it. You too?

Deep-fried, crispy, thick, and flavourful…they made me an instant onion ring fan for life.
Not long after, I was in the kitchen trying to make my own onion rings, only these would be baked instead of fried, more of an “everyday” onion ring, if you will.

My first few trials were decent, but still a far cry from what I hoped they’d taste like.
The problem? Too many breadcrumbs and not enough other goodies!
One of my first trials, heavy on the breadcrumbs:

I experimented with a few different coatings and batter mixtures until I found a combo that I loved. My first winning combo involves breadcrumbs, cornmeal, nutritional yeast, dried herbs, and black sesame seeds. Don’t fret if you don’t have one of these ingredients because they can be adapted very easily.
Oh boy, I. could. not. stop. eating. them.
The photographic evidence…

I thought I could sneak an onion ring before the timer ended and the camera fired, but I guess I wasn’t quick enough. The camera sees all!


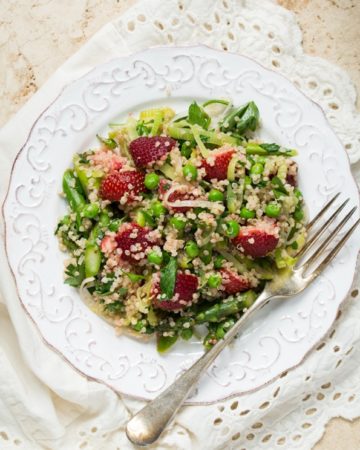
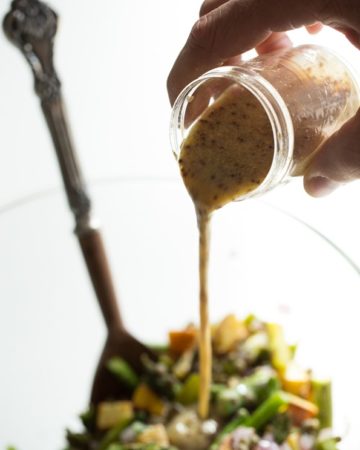
Featuring all new, protein-packed salads, hearty toppers, flavour boosters, and dressings you'll want to drink, my new cookbook will transform the way you think about salads. Oh, and be sure to flip to the back for a surprise dessert chapter!

Crispy Baked Onion Rings

Yield
15-22 onion rings
Prep time
Cook time
Total time
Crispy, flavourful, and good-for-you, these onion rings make a great snack or addition to any meal. I could also see a big batch of these being made for a party served with a homemade dip. To make these gluten-free, use gluten-free bread crumbs and gluten-free flour (and of course, double check the rest of your ingredients). Also, keep in mind, you’ll have coating leftover that isn’t used up.
Inspired by Fresh and my Crispy Tofu Strips.
Ingredients
- 1 large sweet onion
- 2/3 cup flour of choice
- 2/3 cup + 1 tbsp vegetable broth
- 2 tbsp cornstarch (or arrowroot flour)
- 1/2 cup cornmeal
- 1 cup breadcrumbs
- 1/4 cup nutritional yeast (optional, but recommended)
- 3/4 tsp kosher salt
- 1-2 tbsp black sesame seeds (optional)
- 1 tsp garlic powder
- 2 tsp dried herbs (I used 1tsp each basil & oregano)
Directions
- Preheat oven to 425°F and line a large baking sheet with parchment paper or spray with cooking oil. Slice onion into rings, 3/4 inch in width (larger than shown in pictures as I made mine too thin), and reserve about 15-22 or so, wrapping up the leftovers for another use.
- In a shallow dish, whisk together the batter ingredients (flour, broth, cornstarch).
- In another shallow dish, whisk together the coating ingredients (cornmeal, breadcrumbs, nutritional yeast, salt, sesame seeds, garlic powder, and herbs).
- With a fork, dip an onion ring into the batter, coating all sides. Now transfer it to the coating mixture and toss it around a bit. Use a clean & dry hand to scoop up coating and sprinkle it all over the ring. If at any time your hands get sticky or coated, simply rinse and dry before starting again. Place onion rings on prepared baking sheets and repeat for the rest. Don’t worry if things get messy or they don’t coat “perfectly”…just consider them rustic and call it a day! You will have coating leftover that isn’t used up.
- 5. Bake for about 18 minutes at 425°F, flipping once after 10 minutes. You can broil them for a minute or two at the end to brown. Serve with your favourite dip or ketchup. These are best served immediately.


You’ll want to create a workstation with everything set up before you begin. Also, note that I sliced my onion rings too thin and they were much better at thicker widths of about 3/4 of an inch. The thicker you slice them, the juicier and heartier they will be!
Workstation order: Onion rings, batter, coating, pan…also use shallow dishes if possible. A narrow bowl was awkward.

I tried out all kinds of batter/coating methods because the process can be a bit tricky to get right.
My favourite method was using a fork to dip the ring into the batter and transferring it to the coating mixture.

Then I used my dry hand to grab the mixture and sprinkle it over the ring, over and over. Once it was coated, I’d flip it and repeat on the other side. If my fingers got wet and covered, I would stop and rinse them off and quickly pat dry before starting up again.
Above all, don’t worry if things get messy or they don’t coat “perfectly”…just consider them rustic and call it a day! They will taste good regardless.

I loved the look of them with the black seeds.

Once I filled my pan, I cooked them in two batches since I only have 1 large baking sheet. Of course, you can use two baking sheets and cook them at the same time, rotating the pans once half way through baking.

After about 18 minutes of baking, I broiled them for a couple minutes to brown them up.

Ding, ding, ding…we have a winner!

I devoured the entire batch..all while telling myself I should “save some for Eric”.
Oops.
But everyone knows onion rings are best served immediately anyways, right?

I’m pretty pumped to experiment with different flavours and coatings for these bad boys. I have several flavour ideas up my sleeve, including beer batter, pizza, and nut butter coatings!
Or maybe I should just re-create a Bloomin Onion a la Outback Steakhouse?
Link Love
+ Did you know that it’s National Eating Disorder Awareness Week in the US? I recently had the pleasure of connecting with Blisstree for an interview on my past struggles with disordered eating and road to recovery. You can check out the interview here.
+ The Homies 2012 blog nominations are going down over at The Kitchn. Nominate and vote for your favourite blogs (including your own!) until March 1st.
Have a great Tuesday!


Onion rings are one of a few foods I always WISHED that I liked…and once I tried them baked, I really DID like them! Same with fries!
These look amazing and so easy! Typically, when we have veggie burgers, we make sweet potato fries but I am definitely going to try these out!
Yum! These look good! I love homemade onion rings, there the best! I make mine with ground up Fiber One Cereal.
Wow – I’m sitting at my desk at work, eating an amazing salad for lunch, checking your blog, and I see these onion rings – how I wish I had them right now instead! haha
That being said, I can’t wait to try making them this weekend! Thanks for sharing all your great recipes with us :)
I noticed your “question” at the end. Should you try re-creating the Outback Bloomin’ Onion? Oh please, please, please, please do!! And their dipping sauce. That was such a treat for me when I was younger – but I would never eat one now, knowing how unhealthy it is!
My sister makes baked onion rings all the time, and she knows by now to just plop them down right in front of me. I’ve been known to polish off an entire tray. ;)
That being said, having a recipe at my disposal is extremely dangerous. DELICIOUSLY dangerous. :D
Hi
I am new to your site and so far I like what I see (or should i say eat?)…these onion rings are soooo delicious! Just made them for an afternoon snack. Working up the nerve to try your green monster next. Keep up the good work!
glad you enjoyed them Meghan!
Well, I have to admit I’ve never been an onion ring fan… but maybe these will make me reconsider…
I don’t really like onion rings, but these look so healthy and delish…so creative!
Just made these- delish even without the black sesame seeds
You might have just made me an onion ring fan out of me
The black sesame seeds are lovely.
Next time I will def make them with the black seeds
Just added you to my Blogroll :)
Great interview over at blisstree – well-timed and honest, thank you! And these look phenomenal! I’m thinking a similar breading/cooking method could make for some delish faux nugs!!!
I adore anything that’s coated with breadcrumbs, sesame, and garlic, especially when that something is an onion! This looks amazing!
I tried to read the whole post, but I died and went to heaven after the first picture ;)
My daughter, Jasmine who is 8 years old, and I are working on a pancake cookbook. We have been working on the ideas for awhile and are just trying to get started. We would like to know what type of camera you use to take your pictures and if you have any tips for getting a cookbook started.
We would really appreciate it if you could give us any advice at all. Thanks for all the great recipes over the last year or so that I have been following you – we love them all!
Laura and Jasmine
Hi Laura,
Congrats on your cookbook journey! How exciting. I use a Canon DSLR camera with a macro lens (1.4 50 mm). As for my tips on getting started, what I’ve done is compile all of my favourite recipes that I’ve already made and also ones that I want to change up. That gave me a good base to make me feel like I was getting somewhere! Good luck, Angela
I think a BBQ flavor would be amazing!
Yes! I was just craving onion rings! These look so much better than greasy fried restaurant ones. Making these ASAP!
Onion rings used to be my kryptonite. I suppose they still could be if not for the small detail of my gluten allergy and the rarity of finding onion rings from a dedicated fryer. But this, THIS, opens up so many possibilities. Though my waistline may not thank you, I will wholeheartedly Thank you for sharing, Angela. Have a wonderful week!
Did you use brown onion or white onion?
I used a sweet vidalia onion
Love the new header! Wow! Gorgeous!