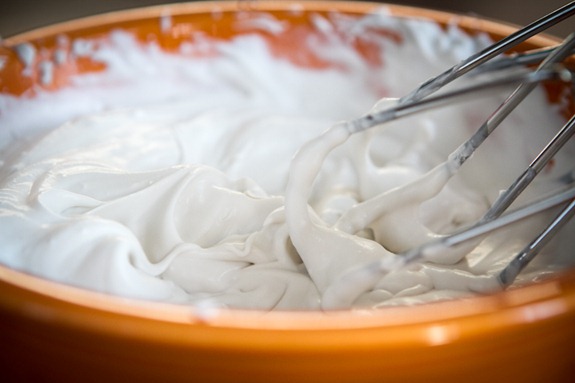
Did you know you can make a decadent whipped cream by using a can of coconut milk? Not only is it simple to make, but it’s easily the best-tasting whipped cream I’ve tried.
I know whipped coconut cream isn’t new to many of you – people have been making coconut whipped cream for years and years. I first read about it a couple years ago on Vegan Joy’s website and have seen it popping up everywhere.
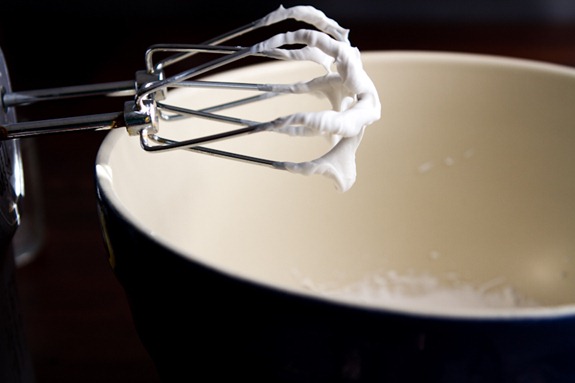
In today’s post, I’ll show you just how easy it is to make. I can promise you, your life will change when you taste this stuff!
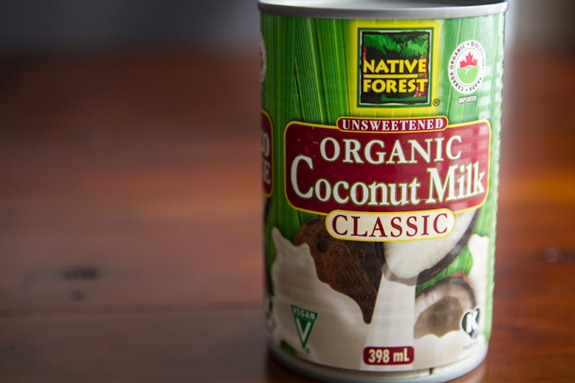
1. Grab a can of full-fat can coconut milk (without guar gum listed as an ingredient) – Update: Native Forest now puts guar gum in the ingredients and this causes the cream and water to emulsify which is not what we want. The can must also be full-fat because you will be whipping the solid cream. Do not use light coconut milk because it won’t turn out. In summary – look for a full-fat can of coconut milk that does not have guar gum listed on the ingredient list. Cool?
Many of you have had trouble making whipped coconut cream with certain brands because some cans don’t always separate. A reader let me know that Thai Kitchen has changed their formula so that it doesn’t separate anymore. Apparently they are coming out with small cans of pure coconut cream instead. Be on the look out! I used Native Forest with decent result, although I have had some duds before.
2. Place can in the fridge overnight. This is another crucial step. You need to chill the coconut cream until it’s very firm. I once tried to make whipped coconut cream without chilling the can – big mistake! It was a watery mess. I like to keep at least a couple cans in the back of my fridge just in case I need a quick whipped cream for a recipe. Then you always have it on hand and don’t have to wait overnight to use it. A few extra cans of chilled coconut milk never hurt anyone.
Just before you make your whipped cream, place a mixing bowl in the freezer for 5 minutes or so. This helps keep everything cold and will be especially helpful for those of you in very warm climates. You can also put the beaters in the freezer too, but it’s not necessary.
3. Remove the chilled can from fridge and FLIP it upside down.
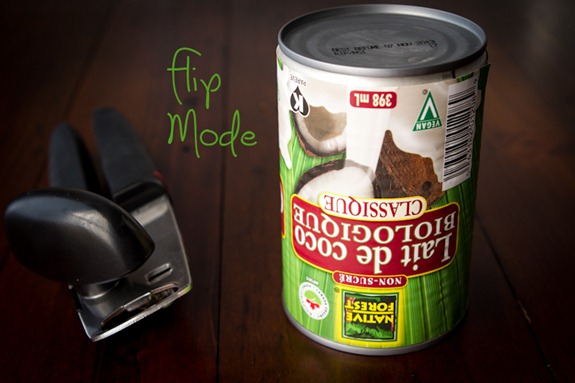
Why flip it upside down?
The liquid coconut milk (the part that doesn’t harden) will now be at the top of the can! Note: Not all cans work for this – check yours.
4. Open the can. See the liquid at the top? You won’t be whipping this part.
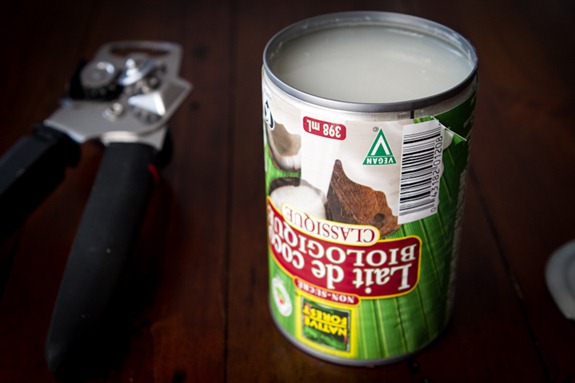
5. Pour the coconut liquid into another bowl. You should have just under 1 cup of liquid, but this yield will vary a bit by brand and even by can.
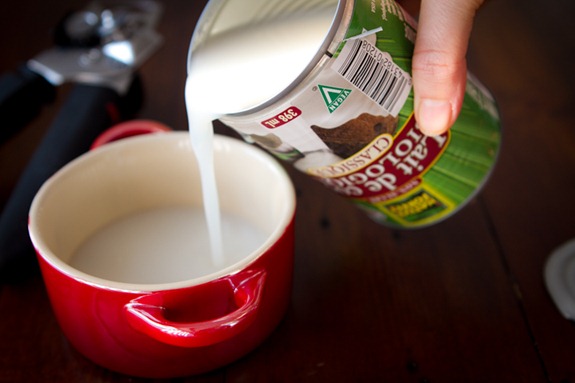
Don’t throw it away – I like to use it in smoothies along with mango, kale, banana, and chia for a fun tropical smoothie. You can also use it in baking and cooking.
As you can see below, you are left with only the hardened coconut cream! Come to mama!! This is exactly what we want to use to make our coconut whipped cream.
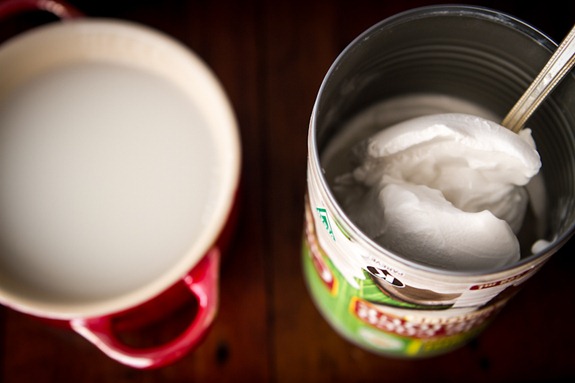
6. Scoop the coconut cream into your chilled bowl. (I don’t recommend using a shallow bowl like this one – I only used it for photo purposes so you could see it better!)
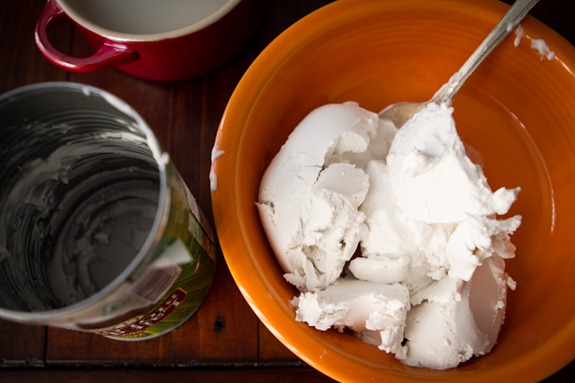
As you can see, you get a lot of hardened cream to work with!
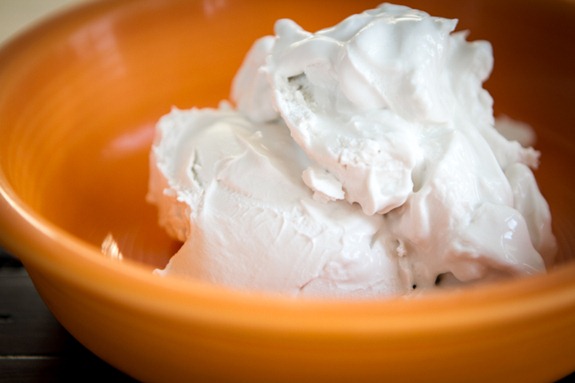
7. Whip the cream. Grab a hand mixer (alternatively, you can do this in a stand mixer – just chill the bowl first) and whip the cream until fluffy. It’s really too much fun.
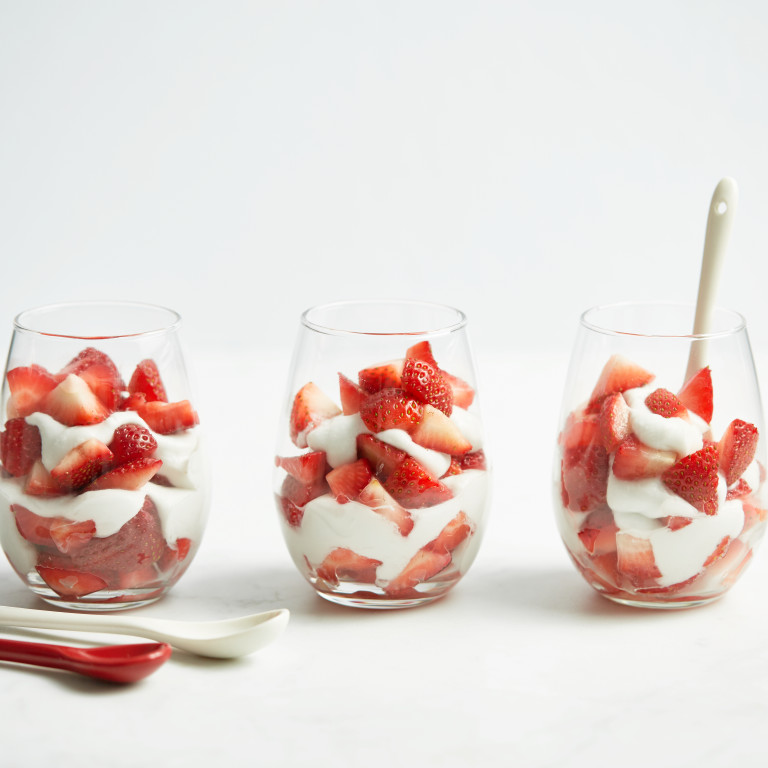
Coconut Whipped Cream

Yield
1 cup (250 mL)
Prep time
Cook time
0 minutes
Total time
You can easily create a decadent, fluffy whipped cream by using a can of full-fat coconut milk. Not only is the technique simple, but it’s easily the best-tasting whipped cream I’ve tried. You can use this whipped cream just like regular dairy whipped cream. I like to use it in a bowl of fruit, on top of a fruit crisp, or stirred into Banana Soft Serve. The options are really endless! One important tip: you’ll want to chill the can of coconut milk for at least 24 hours before you begin to ensure the white coconut cream solidifies (be sure to read all my tips below on how to buy the right coconut milk for this recipe).
Ingredients
- 1 (14-ounce/398 mL) can full-fat coconut milk, chilled for 24 hours*
- 1 to 2 tablespoons (15 to 30 mL) sweetener (maple syrup, powdered sugar, cane sugar, etc), to taste
- 1 vanilla bean, scraped or 1/2 teaspoon (2 mL) pure vanilla extract (optional)
Directions
- Chill the can of coconut milk in the fridge for at least 24 hours. I like to keep a few cans in the fridge at all times so I don’t have to wait.
- About 1 hour before making the coconut whip, chill a mixing bowl in the freezer.
- After chilling the can, open the can and scoop the solid white coconut cream into the bowl. Discard the coconut water or save it for another use (such as coconut water ice cubes).
- Using an electric hand mixer or a stand mixer with the whisk attachment, beat the cream until fluffy and smooth. Add in sweetener to taste and vanilla.
- Return whipped cream to fridge until ready to use. It will firm when chilled and soften at room temperature. This will keep in the fridge in a sealed container for up to 1 week or you can freeze it in an airtight freezer-safe bag for up to 1 month. After chilling in the fridge, allow it to sit at room temperature until it softens slightly and then you can re-whip it as needed.
Tip:
- * Some brands of canned coconut milk will be better than others for making whipped cream, and even some cans within the same brand can vary quite a bit. For whatever reason, the cream and water in some brands or cans do not separate. A few of the most consistent brands for making coconut whipped cream are: Thai Kitchen full-fat coconut milk, Trader Joe’s Coconut Cream (just the cream—no water in the can!), and Native Forest. I always keep at least a few cans of full-fat coconut milk in my fridge at all times just in case I get a “dud”—then I know I have more on hand. If you happen to get a dud don’t be discouraged. Try out one of the brands above, and be sure to chill it for at least 24 hours. Odds are you will find your perfect brand after some trial and error!!
Nutrition Information
(click to expand)
There may be a strong urge to shove your face in the bowl.
8. Add in a touch of sweetener and vanilla extract and whip it again.
You can use regular cane sugar, confectioner’s sugar, or even a touch of maple syrup. I find 2-3 teaspoons usually does the trick for my taste buds. I also like to add about 1/4-1/2 tsp pure vanilla extract or a vanilla bean. The vanilla really takes it over the edge – I don’t suggest skipping it!
The first time I made this I could not get over how amaaaaazing it tastes. Eric even said he wouldn’t be able to tell that it wasn’t made from dairy. Two big thumbs up from us!
How to use:
You can use this whipped cream just like regular dairy whipped cream. I like to use it in desserts & frostings, it’s amazing over a simple bowl of fruit or pancakes, and sometimes I add a dollop on my vegan overnight oats for an extra creamy bowl. You can even spoon a bit on top of a pie or fruit crisp or stir some into a bowl of banana soft serve. The options are really endless! Have fun making different kinds of flavours and fooling your friends and family.
If making a whipped frosting, I suggest storing the decorated cake/cupcakes in the fridge until ready to serve.
Storing:
Have leftovers? You can easily store it in the fridge for at least 1.5 weeks (probably longer) in a sealed container. It will firm up a bit more in the fridge. Simply scoop it into a bowl and re-whip it when you need it.
I hope you enjoy this as much as I do! For those of you who’ve been making it for a while now, what’s your favourite way to prepare/enjoy it?


I just added coconut milk to my grocery list for this week! ;)
Just added it to my shopping list. ;) I’ve never been a huge fan of regular whipped cream. But I love coconut and my husband loves desserts and I think I’ll hunt up a tasty recipe to pair it with.
Thank you for giving us this step by step! Did not know about chilling the can. Makes total sense, since we used to do that with dairy cream.
Also, love the new look of the site!
This looks so yummy can not wait to have my kids try. Thanks for all the great posts.
This is insane! You have somehow triumphed your already genius self.
I have been meaning to make coconut whipped cream for ages, I’m not sure why it has taken me so long!?!?!
Yes! Finally! Dairy free whipped cream that does not contain seven hundred chemicals that I cannot pronounce!! Thank you!!
I have been absolutely obsessed with making whipped coconut cream for some time now. Everyone that I make it for cannot believe it isn’t dairy! And of course, look at you with the brilliant idea, I never thought to flip the can upside down. So smart. Thanks for the wonderful tip.
If you can only use a can opener on one end of the can, put the coconut milk in the fridge upside-down. When you flip it, the cream will have solidified in the “bottom” of the can.
Great tip Mary!
i was just thinking of thanksgiving and making a vegan pumpkin pie but what will i do about the whipped cream? yayyyyyyaaaaa
You’re giving me an idea: 70% dark chocolate silken tofu pudding, with this guy on top. And some fresh stawberries. Yum.
This looks amazing!
I can see myself licking the bowl ;)
This is revolutionary! I can’t wait to try it over a vegan crumble. I can’t believe I’ve never seen this before, it seems so important. :)
Nice step by step directions. My son LOVES whipped coconut. I first saw the recipe in a magazine years ago. yummy!
My friend Marla did a post on making whipped coconut cream and every time I see her pics, and now yours, I NEED to whip some up of my own. All that PUFFYNESS in that bowl, amazing, Angela…do you need help licking the beaters? :)
I love this post so much! Thanks for the tutorial….coconut milk just went on the weekly grocery list.
Great Ang! I did this once but you make it seem effortless. ;) I want some right now as a matter of fact!
I bet it would taste amazing on top of a nice bowl of banana buckwheat hot cereal… going to try it for breakfast tomorrow morning, thanks so much!
Who would have thought to make coconut milk whipped cream? I LOVE IT!!! So easy! Thanks!!
I’ve been waiting for this ever since you told me about it last weekend!!! (And I’ve had pavlova on the brain too… we MUST try to come up with a vegan pavlova!!) Time for me to buy some coconut milk…. this sounds heavenly!
I have easy access to fresh coconut milk so I have been making this for awhile now, straight from the coconuts at the market. I don’t have a hand mixer so I’ve been using my blender which has worked well. The last time I made it, however, I think I overdid the blending, and the stiffness totally collapsed on me and it became a runny, globby mess. So learn from my mistake, people, and don’t overdo it!