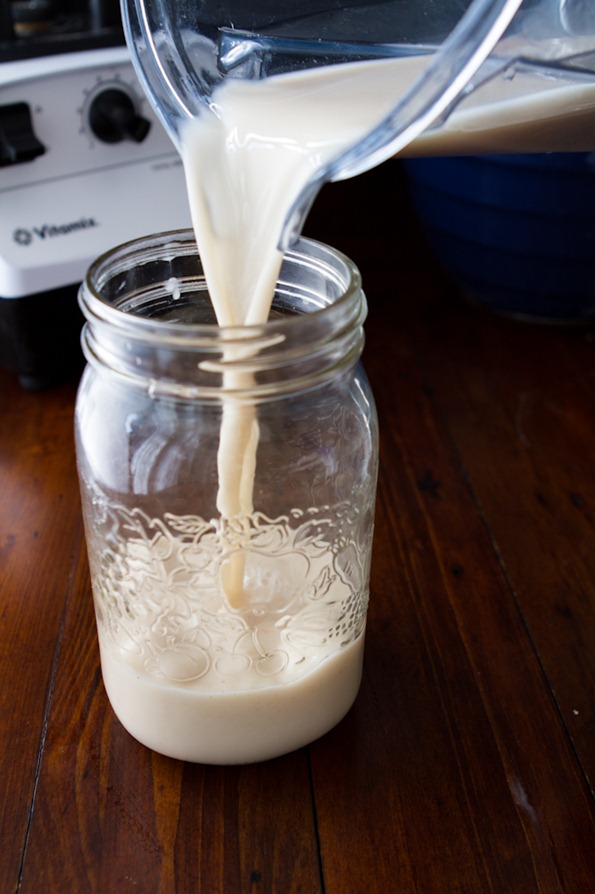
When I mentioned that I was working on a homemade milk post many of you asked for a low-cost and nut-free homemade milk recipe. I decided to put myself to the challenge. Homemade Oat Milk, it is!
First, I’ll show you how I made it with step-by-step photos and at the end of my post I’ll share my thoughts on flavour, price, texture, and overall pros and cons.
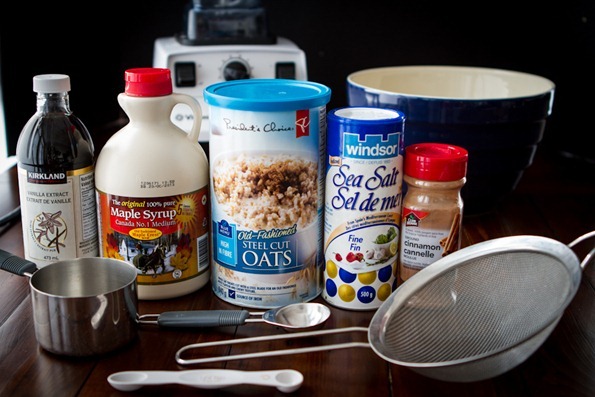
You will also need a blender (any blender should work as we don’t need to blend the oats super smooth), a fine sieve, a large bowl, a small bowl, and measuring spoons/cup. I haven’t tried this oat milk with cheesecloth or a nut milk bag yet, but if anyone does please leave a comment and let us know how it goes.
Homemade Oat Milk

Yield
3 cups
Prep time
Cook time
0 minutes
Total time
Ingredients
- 1 cup steel-cut oats
- 3 cups filtered water
- 1.5-2 tbsp pure maple syrup (or other liquid sweetener or pitted dates), to taste
- 1 tsp pure vanilla extract
- scant 1/4 tsp fine grain sea salt (enhances flavour)
- 1/4 tsp ground cinnamon (optional, but nice)
Directions
- Rinse and drain 1 cup of steel-cut oats. [I’ve heard you can also use oat groats.} Place oats into a bowl and cover with water. Soak for around 20 minutes. You can soak longer (even overnight) if desired.
- After soaking, rinse and drain the oats very well. This step is very important because you want to rinse off any of the oat slime that has occurred from soaking. Yes, oat slime is a thing...it happens.
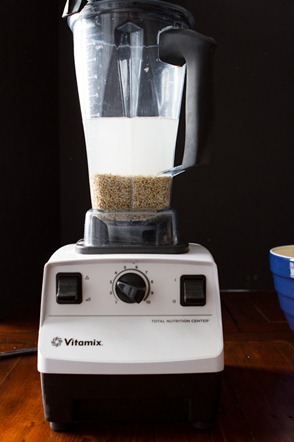
- Scoop oats into your blender and add 3 cups water. I prefer using 3 cups of water as opposed to 4 cups because it yields a creamier/thicker milk. Feel free to add more water if you wish, just know the more water you add the thinner your milk will be.
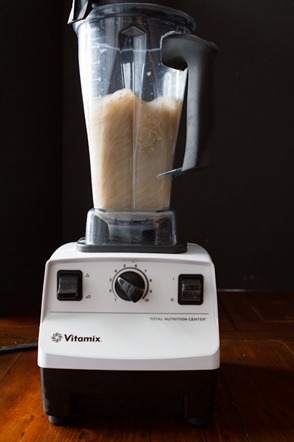
- Cover with lid and turn the blender on a low speed, increasing the speed gradually, and blend at the highest speed for about 8-10 seconds only. You don’t need to completely pulverize the oats.
- Place a fine sieve over a large bowl and pour the oat milk very slowly into the sieve. You might have to do this in a couple batches depending on the size of your sieve.
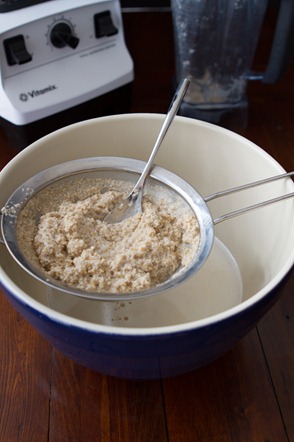
- With a spoon, gently push down on the oat pulp so the milk flows through. This helps push the milk into the bowl, leaving the oat pulp behind in the sieve.
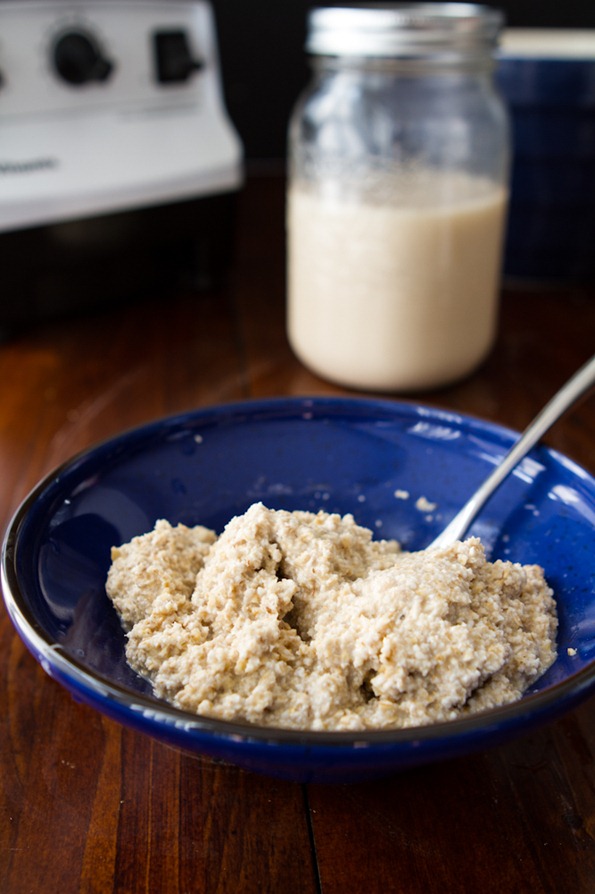
- Scoop the oat pulp into a small bowl and set aside. Clean out your blender and sieve with a good rinse of water until no pulp residue remains.
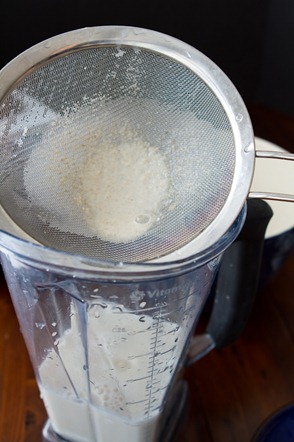
- Place sieve over top of your blender and pour the milk in once again and strain.
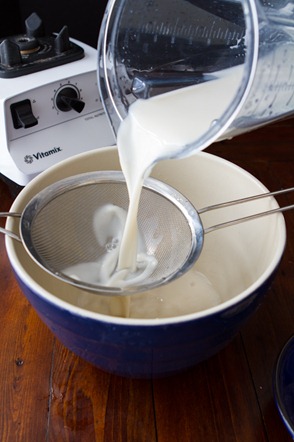
- Rinse out the bowl and sieve once again. Strain the milk through the sieve into the bowl (optional). If you don’t want to strain again, simply add in your mix-ins and blend on low.
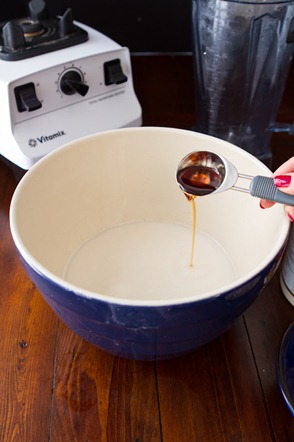
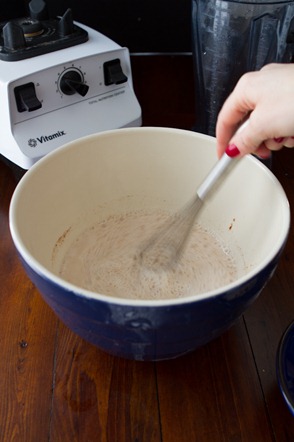
- I whisked in 1.5 tbsp maple syrup, 1 tsp vanilla, 1/4 tsp fine grain sea salt (enhances sweetness), and 1/4 tsp cinnamon. These mix-ins turn your oat milk from bland to hmm-this-could-be-decent-when-cold.
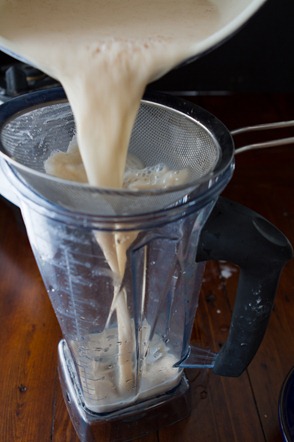
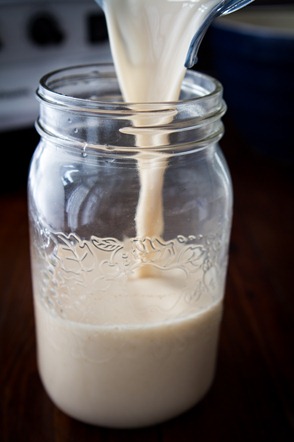
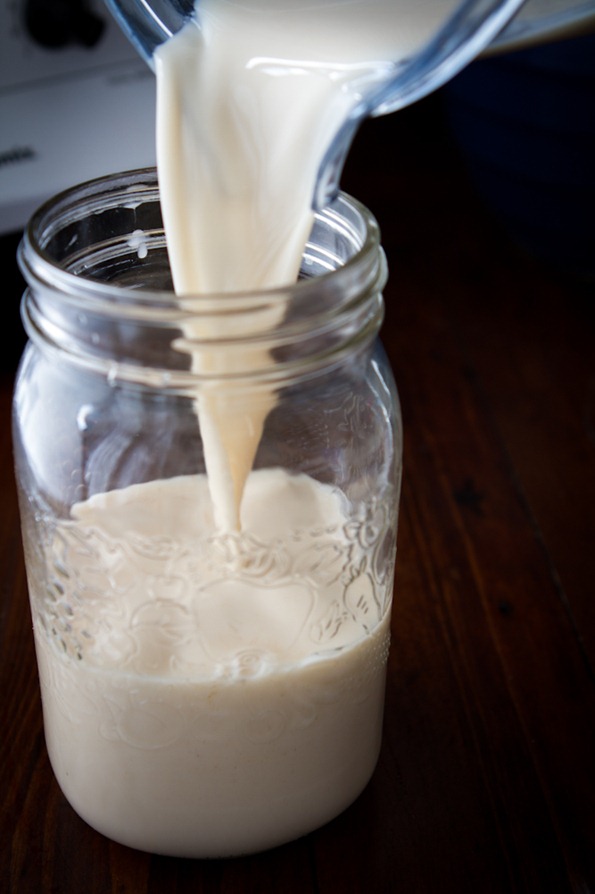
- I strained my milk one last time into a clean blender. Then I poured the milk from the blender into a clean mason jar for storage in the fridge.
Tip:
Notes: This should last in the fridge in a sealed container/jar for 4-5 days. Use it in smoothies, oatmeal, cereal, baking, or drink it straight. If you want to use it in a savoury recipe, you can omit the sweetener, vanilla, and cinnamon. Homemade milk does separate (remember there are no added emulsifiers!), so be sure to give your milk a very good shake (or stir) before using. No biggie. A little non-dairy milkshake never hurt anyone. I just don’t want you to be alarmed when you see the heavier ingredients sitting at the bottom of the jar.
This should last in the fridge in a sealed container/jar for 4-5 days. Use it in smoothies, oatmeal, cereal, baking, or drink it straight. If you want to use it in a savoury recipe, you can omit the sweetener, vanilla, and cinnamon.
Don’t let all the step-by-step photos fool you into thinking this is lengthy to make – it takes just 5 minutes once your oats are soaked.
Step 4:
Step 5:
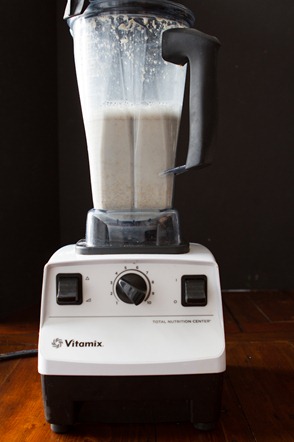
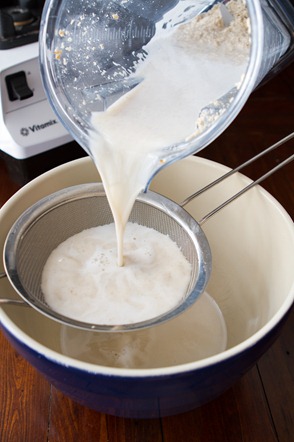
Step 6:
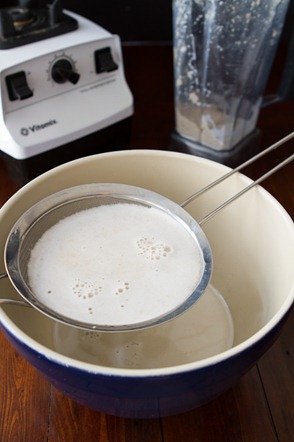
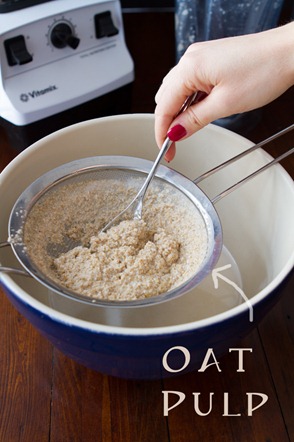
Step 8:
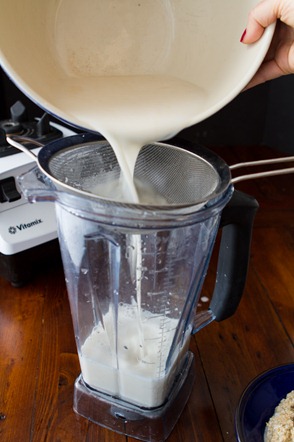
As you can see in the bottom left photo, straining twice gets even more pulp out yielding a smoother milk. I usually strain it 3 times or so, but it’s not necessary if you are time-crunched.
Step 9:
Step 10:
Step 11: I strained my milk one last time into a clean blender. Then I poured the milk from the blender into a clean mason jar for storage in the fridge.
Taste Report:
The flavour of this oat milk is much like I expected; it tastes like oats. Shocking, I know. The biggest challenge I had when testing this recipe was getting it creamy enough. I tried 1/2 cups steel-cut oats with 4 cups water and then 3/4 cups steel-cut oats with 3 cups water. I found both end results to be too watery. Using 1 cup of steel-cut oats to 3 cups of water was my favourite ratio (so far). If you play around with the recipe, I’d love to hear your versions too.
Keeping in mind that this homemade milk is free of emulsifiers and thickeners, I was fairly impressed with the texture. Is it just like store-bought milk? Of course not, but I do think it’s a decent option with a clean ingredient list. It’s much easier on the wallet too!
PROS:
- Very low cost (a batch using steel-cut oats cost me about 50 cents – or less if you can get a deal on oats)
- Nut-free so good for those with allergies
- Quick to make
- You don’t need a nut milk bag or cheesecloth
- Clean up was easy, even with all the spilling I seem to do…
- Decent, but not mind-blowing, flavour
CONS:
- Not as creamy compared to homemade almond milk
- Slightly watery (although this is improved when using 3 cups water instead of 4)
All in all, I feel that the pros outweigh the cons with this homemade oat milk. It’s so cheap to make and that is a huge plus for me. I personally don’t drink much milk by the glass so I think this will be just fine when added to cereal, smoothies, oatmeal, etc. But so far, I’ve been sipping the jar straight from the fridge, letting out satisfied mmm’s and dribbling milk down the front of my shirt. Eric, as always, is quite confident he married a weirdo.
Update: I tried the milk with some Nature’s Path cereal and it tasted a bit like cinnamon toast crunch, probably thanks to the cinnamon in the milk. yummy!
I also made a trial using cooked steel-cut oats and the milk turned out super slimy. I didn’t rinse the oats after cooking, but maybe I should have? I’m going to stick with the non-cooked method.
Odds are that some of you won’t like this milk at all, but it’s also likely that some of you will really enjoy it and appreciate this as a cheap, at-home alternative to the store-bought stuff. I’m quite anxious to see what you think and I welcome your feedback in the comments!
What can you do with the leftover oat pulp? I suggest saving it and mixing it into oatmeal and smoothies. If you have a dehydrator, I assume you could also dehydrate the pulp and then pulverize it in a blender to make flour. If anyone has any other ideas, leave ‘em below.
Have you ever made homemade oat milk or tried a store-bought version? Do you make your own milks at home? If so, what’s your favourite recipe?
Catching up in this series? See: Vegan How To: Introduction (Why this series?), Part 1: How To Make The Transition, Part 2: Replacing Dairy

Made it in my Ninja today but used only 2 cups of water because that was all that would fit. Strained once in a strainer and once more with a piece of cheesecloth in the strainer. Came out like a DELICIOUS creamer. Perfect!
Hi
This is a great recipe
I was wondering how long does this milk last in the fridge? and is it suitable for freezing? Thank you
Does this work with porridge oats? thanks
Great recipe, but, I must aver from salt “enhancing flavour”. All salt does in any mixture is make that mix taste salty. Folks have become so enured to the taste of salt, that they are oblivious to adding it to everything. Why else would it be on nearly every household table in NA? I even know folks who add crystal salt to the top of chocolate bark. YUCH!! All of this to say nothing about how it elevates blood pressure and contributes its share to making heart and stroke ‘issues’ as the #1 top-drawer killer of both men and women, here in Canada and stateside.
You are wrong #1 would be smoking
Truly appreciate the way you make this wonderful oat milk. Everything is so nicely described that really helped. Looking forward for more such recipes in future too.
Hi I’m trying to convince my boyfriend to stop drinking cow’s milk, it’s not going to be easy! Has anyone tried toasting the steel cut oats before making milk out of them?
Hi Jill! I just made this recipe, and decided to toast the oats before soaking them. It turned out pretty well! I didn’t notice too much of a difference from the non-toasted stuff; it definitely had a bit of a nuttier flavour, and I would argue has more “depth” (whatever that means, haha). I toasted them for approx. 6-10 mins at 400, until they were a light golden brown. Hope this helps! :)
I haven’t, but that sounds like a must try!
As for the pulp, you could mix with plain yogurt and honey and use as a facial mask, or a body scrub. Oats are very soothing on the skin.
I like it very much, because I know exactly what goes in. However, how do I get it to froth?
Most store bought barista alt milks have oils added in to make them froth so you’d probably need a different Recipe
Almond Milk has got $$$$$$ and is hard to find here sometimes.
Thanks for the Recipe can’t wait to try.
Just made the recipe. Exactly as posted and LOVE it! Thank you for sharing.