We had such a warm, Spring-like day yesterday! The temperature reached 11C and it was sunny for most of the day. Spring fever is officially in full force. ![]()
[Sadly, as I type this, a cold front has moved in and a snow storm is due tomorrow. A little piece of me just died inside.]
But since I am writing this post a day late, I am going to pretend this is today’s weather.
A lot of the snow and ice melted…and we can now see patches of grass.
Note: patches of grass. I’ll take what I can get…
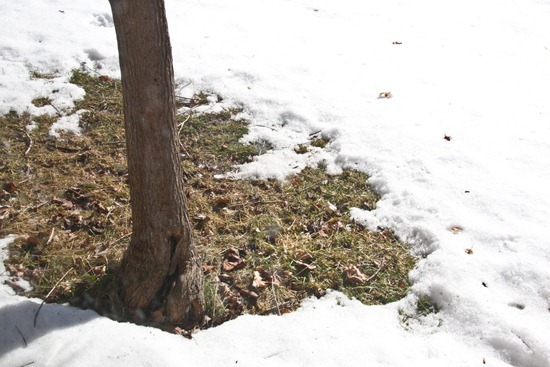
I went outside for a 2 mile run to celebrate the warm weather. It turned out to be the perfect mid-day pick me up during a busy work day (I was out and back in under 20 minutes!).
Then I chowed down on this awesome Taco Salad. This salad is definitely a keeper and will add a fun change to your lunchtime routine!

[print_this]
Taco Salad For One (Vegan + Gluten-Free)
Crunchy, refreshing, filling, and feisty, this taco salad will have you looking forward to salads at lunch once again. If you are packing this salad for lunch, you can keep the sauce in a separate container and then add just before use for maximum freshness.
Adapted from Itsy Bitsy Foodies. Recipe originally from Cooking Light.
Yield: 1 serving
Ingredients:
- Romaine or spinach (~1 cup, chopped)
- 1/3 cup Chopped tomatoes
- 1/3 cup Chopped bell peppers
- 1 small avocado, sliced
- Taco ‘Meat’ (I processed 1 cup of bean medley with 3 tbsp walnuts, see below)
- 1/4 cup chopped carrots
- Cilantro-lime vinaigrette (see below)
Directions: In a large bowl, toss the cilantro-lime vinaigrette with the rest of the ingredients. Serve with tortilla chips, crackers, and/or salad toppers.
Cilantro-Lime Vinaigrette
- 1/4 cup chopped, seeded tomatoes
- 1/4 cup chopped cilantro (optional, I didn’t have any but it was still great)
- 1 tsp extra virgin olive oil
- 1 Tbsp apple cider vinegar
- 1 tsp zested lime
- 1 Tbsp lime juice
- 1/2 tsp cumin
- 1/4 tsp chili powder
- 1/4 tsp black pepper
- 1/8 tsp-1/4 tsp garlic powder
Directions: Combine all of the ingredients in a food processor or high-speed blender and process until smooth.
[/print_this]
The first thing I did was make the Cilantro-Lime Dressing by processing the following ingredients:
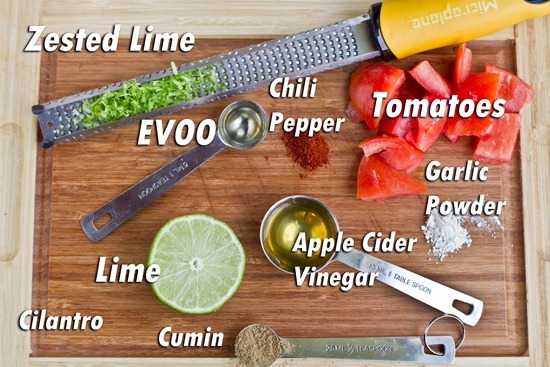
It makes enough for 1 serving.

Now, in the same processor bowl (no need to rinse!) add in 1 cup of bean medley and 3 tbsp of walnuts.

The original recipe was not vegan, so I thought this would be a great way to make a veggie ‘meat’. The walnuts gave it an amazing texture so make sure not to over process them.
The Taco ‘Meat’ turned out DELICIOUS- much better than ground beef in my opinion. ;) One serving of this packs in over 17 grams of protein and over 14 grams of fibre too.
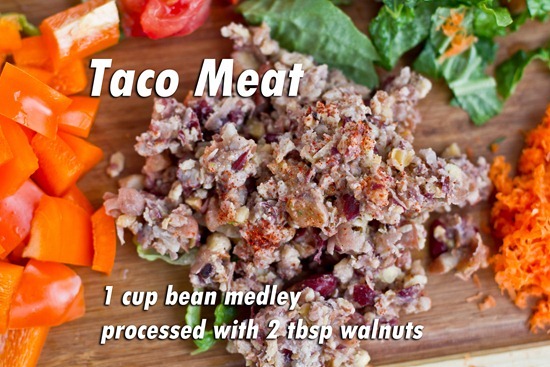
Grab your other veggies for the salad…whatever your little heart desires.

Mix everything together and serve. Easy as that.
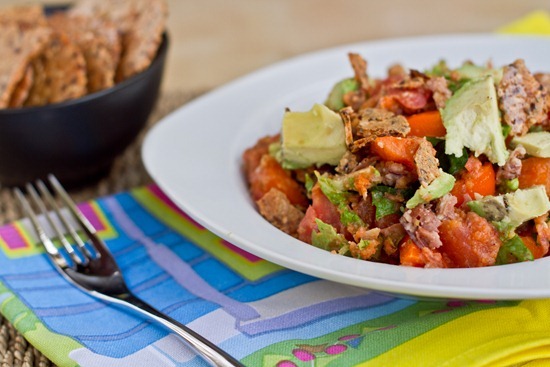
This was a great lunch and a fun change from normal salads.
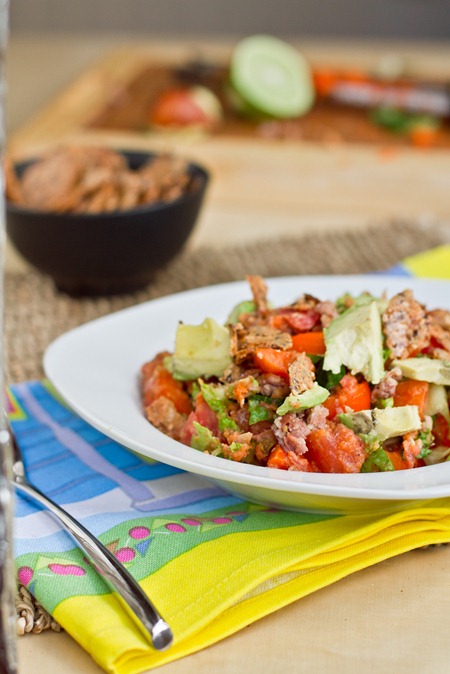
Serve with crackers, tortilla chips, or salad toppers.

Using Props with Food Photography
Lately, I have been making an effort to create a scene when I shoot my food photos. In the professional world, this is called Food or Prop Styling.
In my amateur world, it is called playing around with my photos. ;)
Prop styling is basically a way to:
1) Fill up empty space in your photo
2) Create a realistic scene at a table
3) Add dimension and depth
4) Make the photo come ALIVE!
If you are interested in reading more on this subject, there is a great article on Prop Styling here.
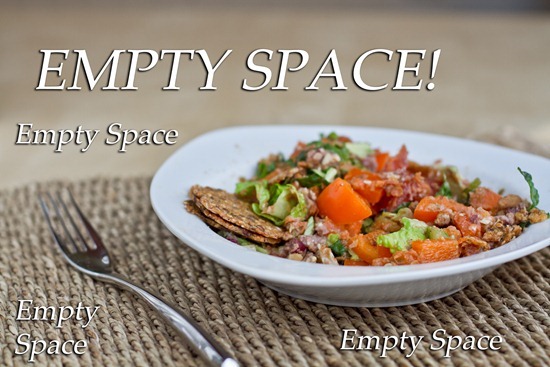
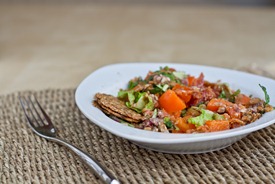
Here is one of the first shots I did for this Taco Salad:

It is a boring and blah photo, eh?
Nothing in the background = empty space!
After
Then I tried to fill up the empty space using a few ‘props’. (I dislike using the word prop when the things I used were actually things that I used for lunch!)
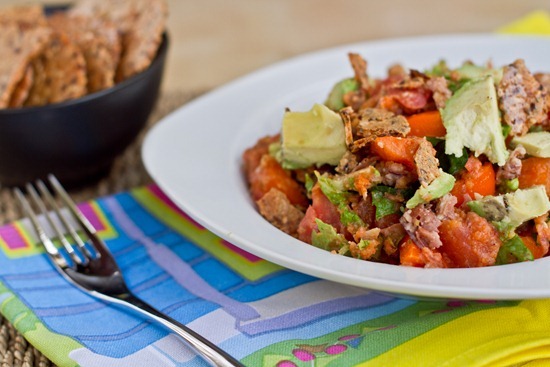
By just adding a simple bowl of crackers and a bright dish towel, I was able to fill up some of that boring empty space.
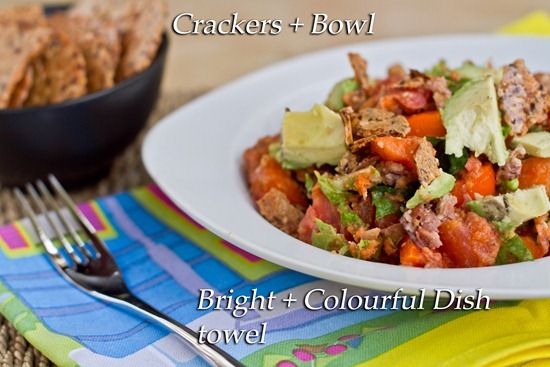
Side by side:
Before After
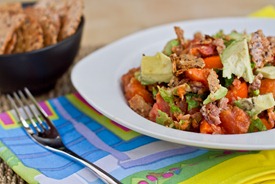
Big difference!
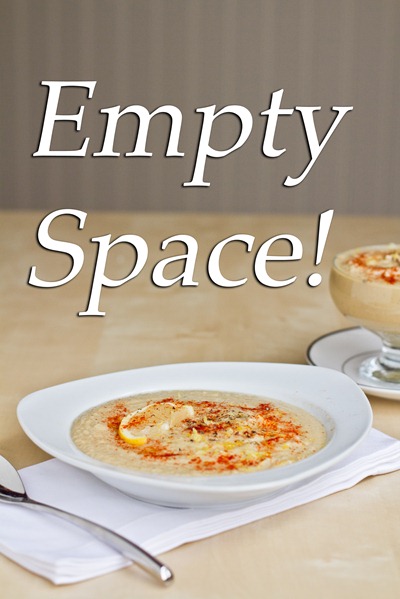
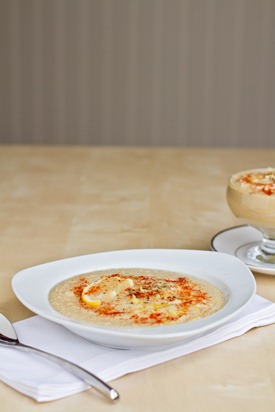
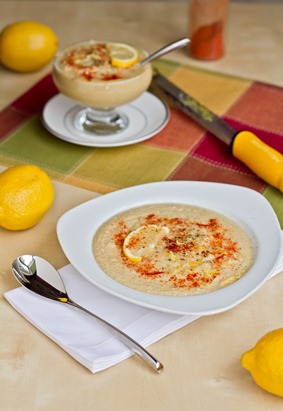
I also filled up some empty space in my Garbanzo Bean Soup photos.
Before:

That one didn’t start off incredibly bad since I already had a second bowl of soup in the background and a napkin, but there is still a huge amount of empty space in the shot.
Then I added a colourful placemat in the background (on a diagonal), a lemon zester, a few lemons, and some paprika.
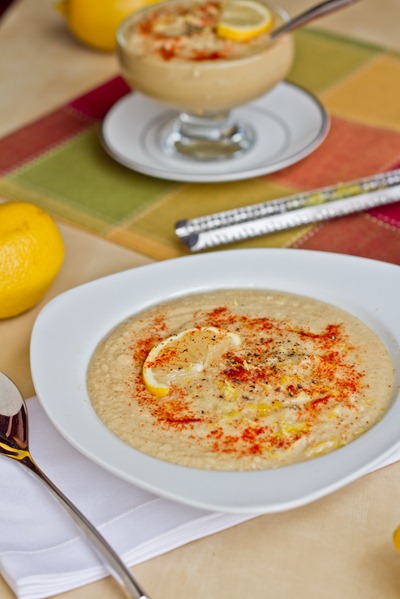
The photos came alive!
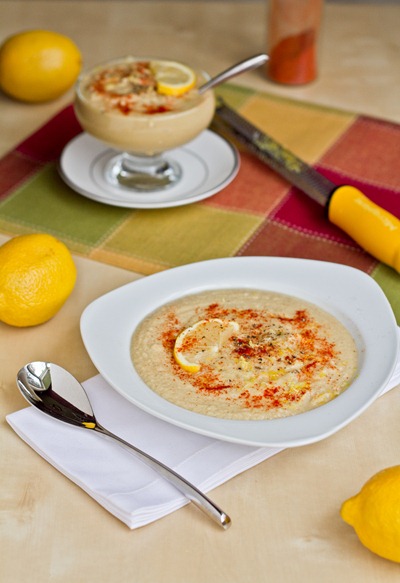
Looking at the photo today, I actually think it might be a bit too busy. A good rule of thumb with Food Styling is to remove one prop before shooting. You know the saying that you should remove one piece of jewelry after getting dressed? Well, the same applies here. ;)
Before After
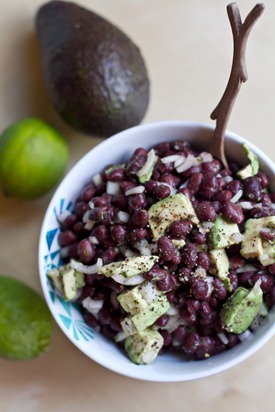
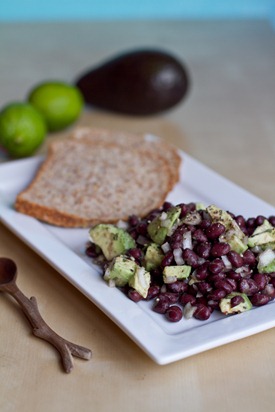
You can also see in this Avocado-Lime Black Bean Salad that I used 2 simple props to add dimension: an avocado and 2 limes. It really made the pictures pop!
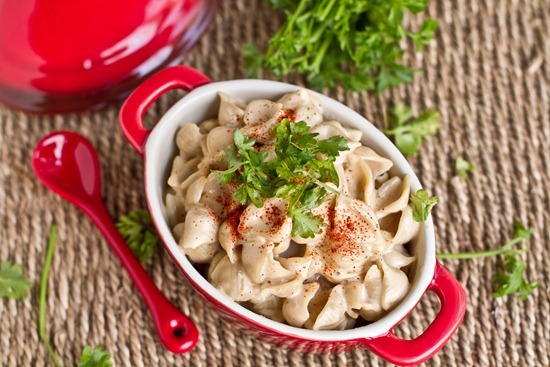
In the Vegan Alfredo, I used some herbs scattered about and a rustic looking placemat. It was SO simple and so effective.
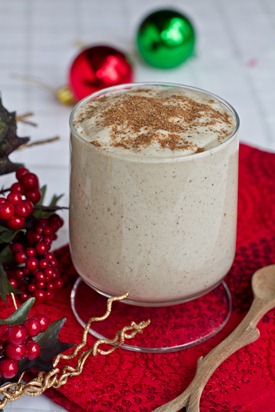
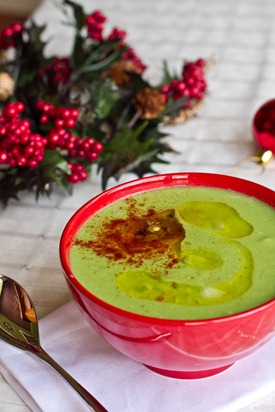
In my vegan nog recipe and High Protein Split Pea Soup, I used a holiday theme with a couple bulbs, a red placemat, and some garland.
Generally, I ask myself what about the recipe jumps out at me and then I use that as my inspiration!
- What flavours are prominent?
- What colours pop out?
- What are the main ingredients?
- What is the theme of the dish (i.e., is it Christmas, Halloween, Birthday, etc)?
- Type of cuisine
- What tools were used in the preparation
Of course, sometimes all I want is a beautiful close-up to highlight a dish as in my Red Quinoa Salad!
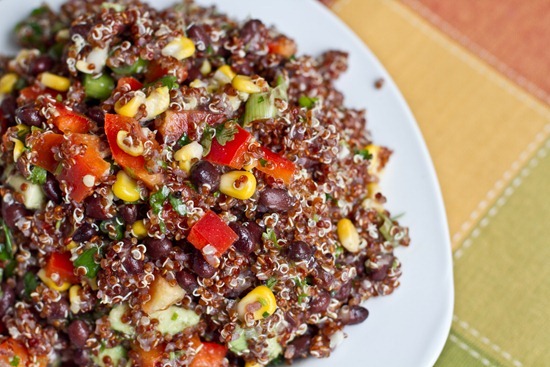
The point is to have fun with your photography and experiment, above all. :) Get creative and don’t be afraid to take some bad photos (I have LOTS that I should probably delete off my hard drive…or so my husband tells me…lol)
Missed my other photography posts? Check out How to make a Light Box and How to make a Light Reflector in 1 minute flat.

Love the taco meat idea! My boyfriend and I are going vegetarian (and maybe vegan…) for Lent, so I need some good salad protein additions! That dressing looks like it rocks, too!!!